Location photographer. Getting behind the scenes. Showing off the secret, and not so secret, treasures of the world.
Workshop: Marden Senior College
Taking a sneak peak into a workshop I conducted for Marden Senior College students.
Last week I gave a workshop to the students of Marden Senior College. Focusing on how I photograph food, but we also touched on location portraits.
The day was split into a studio food shoot, shoot in a kitchen, on location food shoot and portrait shoot.
I started off my intro by saying 'I am not a technical photographer, I go with a feeling. I care more about the story than the camera model or tech specs (although I am fully aware of how I'm shooting and why). Not everything I do is correct, but it's the way I do it.' I don't know if there is a dead set right or wrong way to do things in photography? Or life really.
We also spoke about Contra work, charity jobs, social media and how to get clients. There can be confusion and misunderstanding that there is a prescribed way of how you have to do things.
There isn't.
I accept or decline things on a case by case basis. Some things I do for love, practice, exposure or desire to help. Other things are purely business decisions.
But something I did want to 'bang on' about is the relationship building. It's so important. I have been in business since 2004 and put emphasis on networking, being friendly, doing a good job... people will talk. You know the old saying... 'It's not what you know, it's who you know.'
Studio - playing with angles, light, reflections in glass, working without a lightmeter and reading the histogram.
Kitchen - telling a story. Detail, medium and wide shots. Looking for interest. Keeping out of the way.
Food on location - light, direction, props, backgrounds, creating stories (including one here done by a student on healthy/indulgent), playing around.
People - Looking at interesting backgrounds, graphic, space, reflector or speedlight, working with your subject to make them comfortable.
I put a call out on Facebook for anyone willing to lend us some food... Kayla from Natural Naughties came to our party with some delicious, healthy food. Check out her food, recipes books and more here. http://www.naturalnaughties.com/
Tourism Hero Shots - what it takes to get them
Thinking out Hero Shots. You need them. How do you get them?
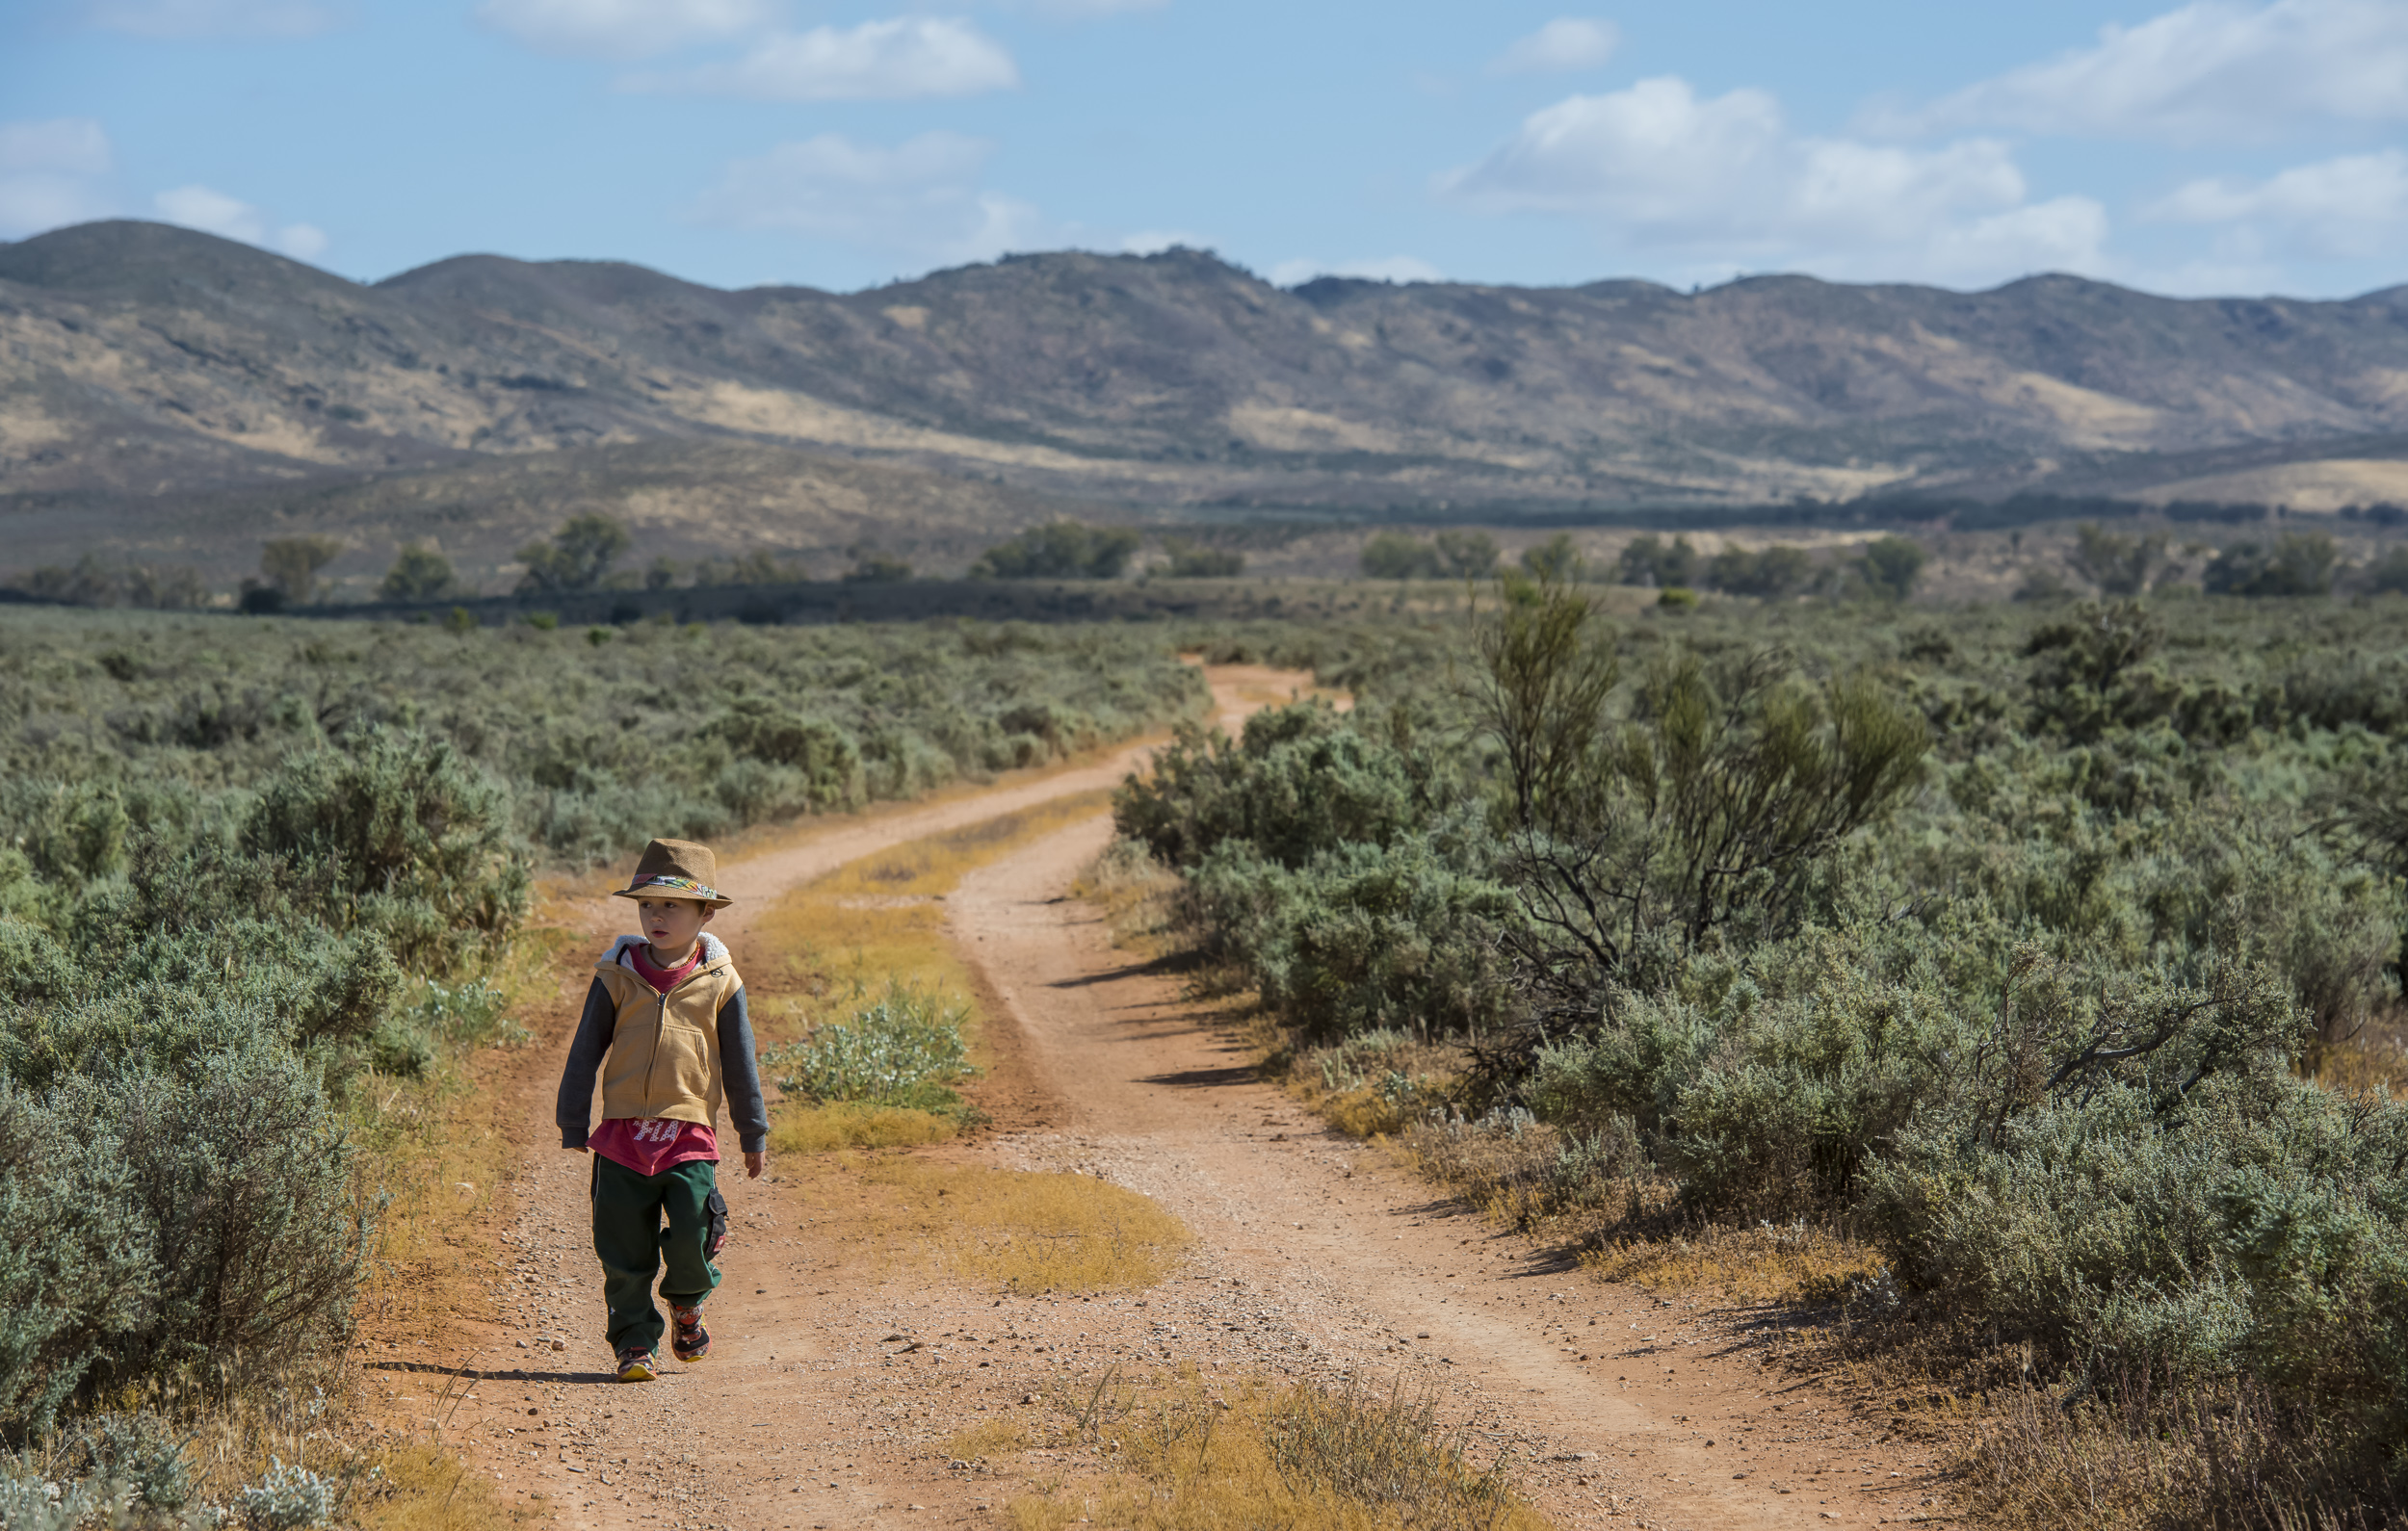
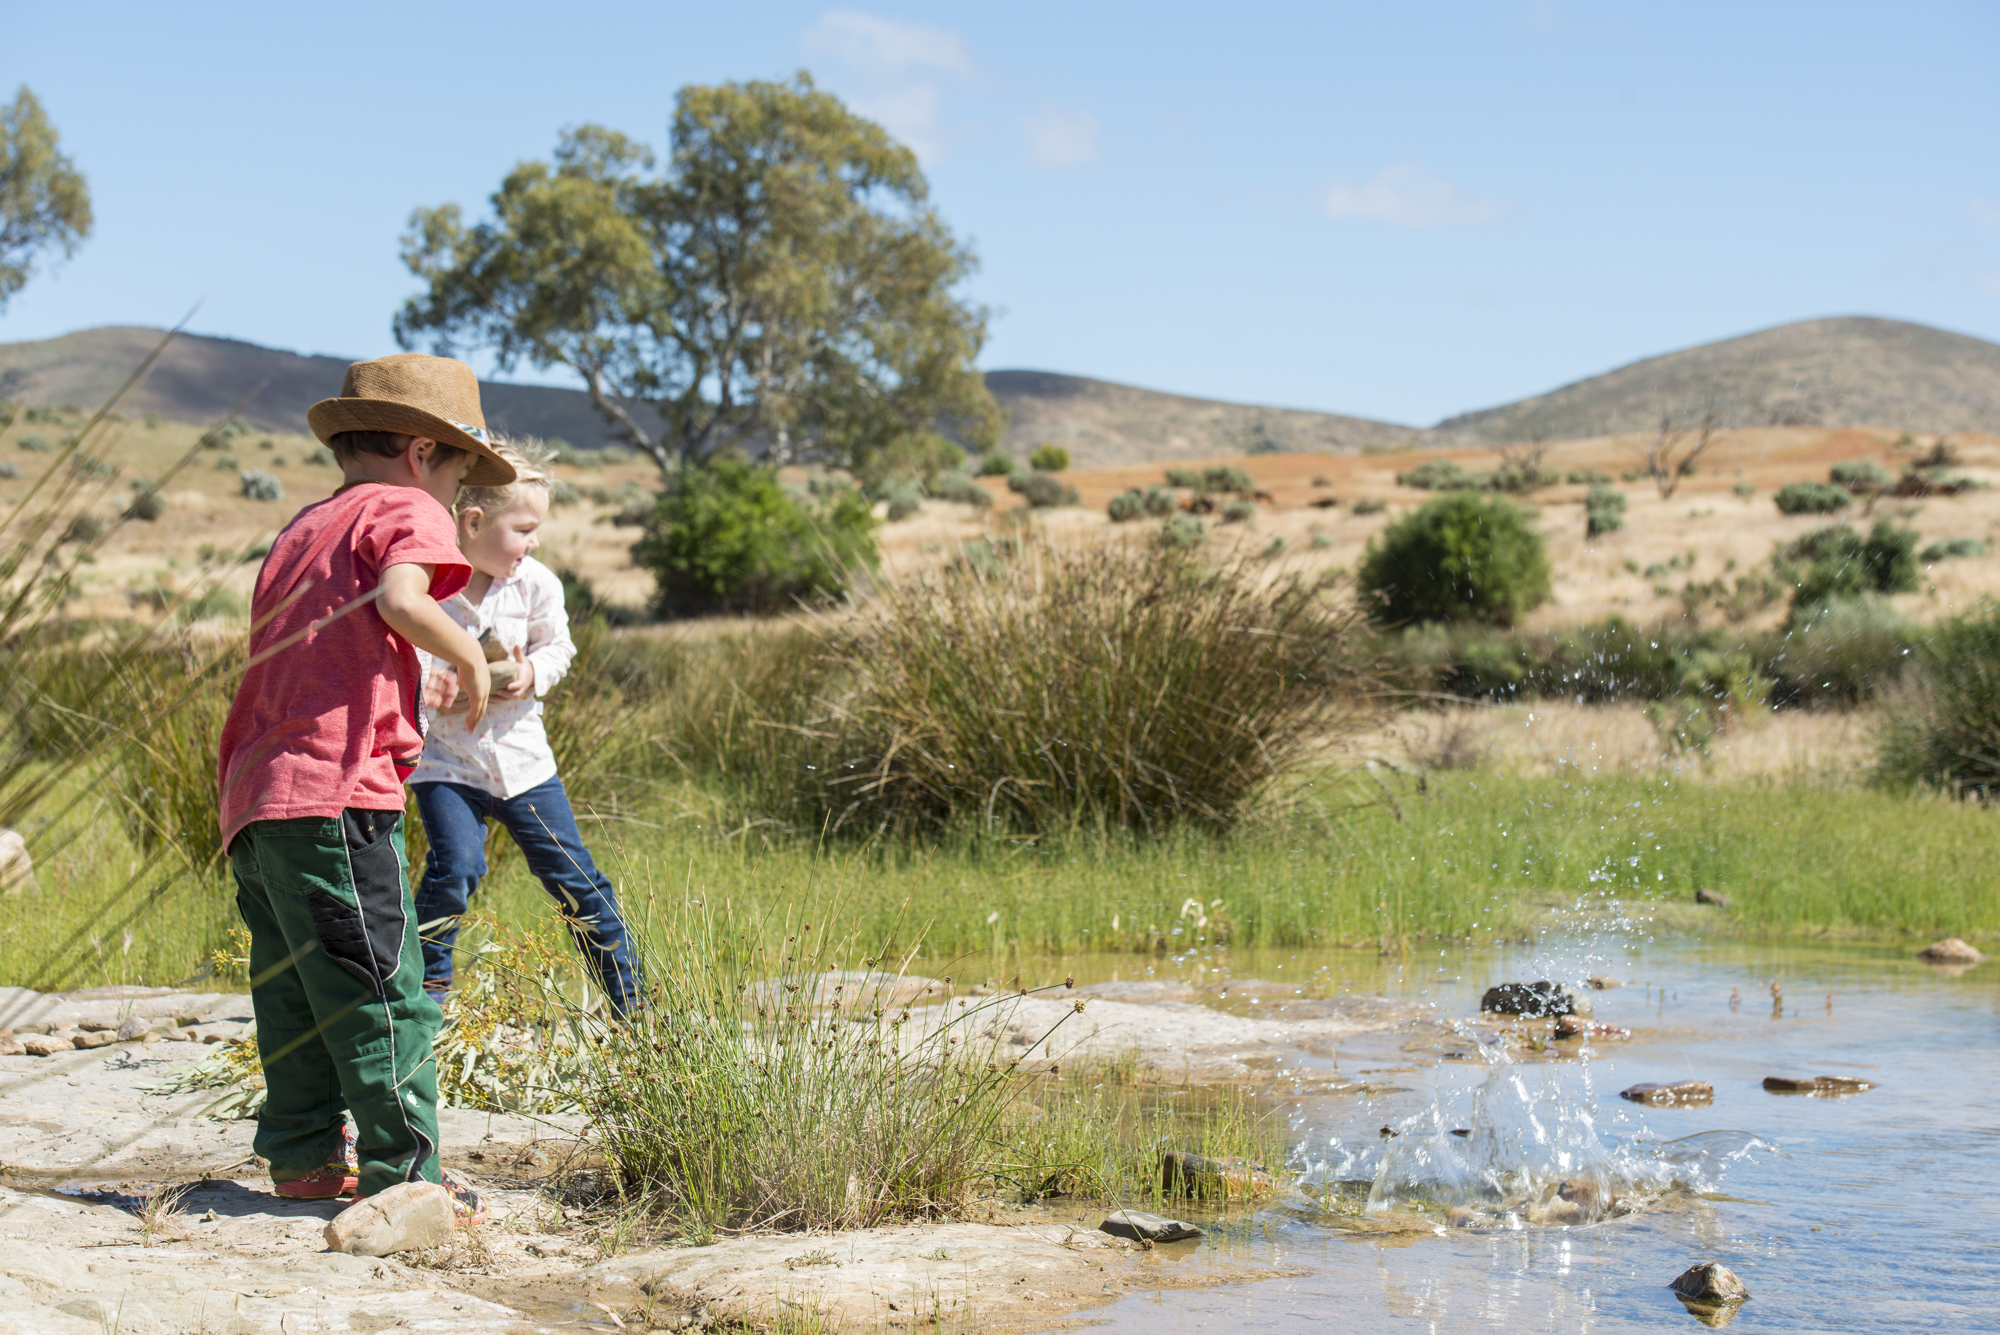
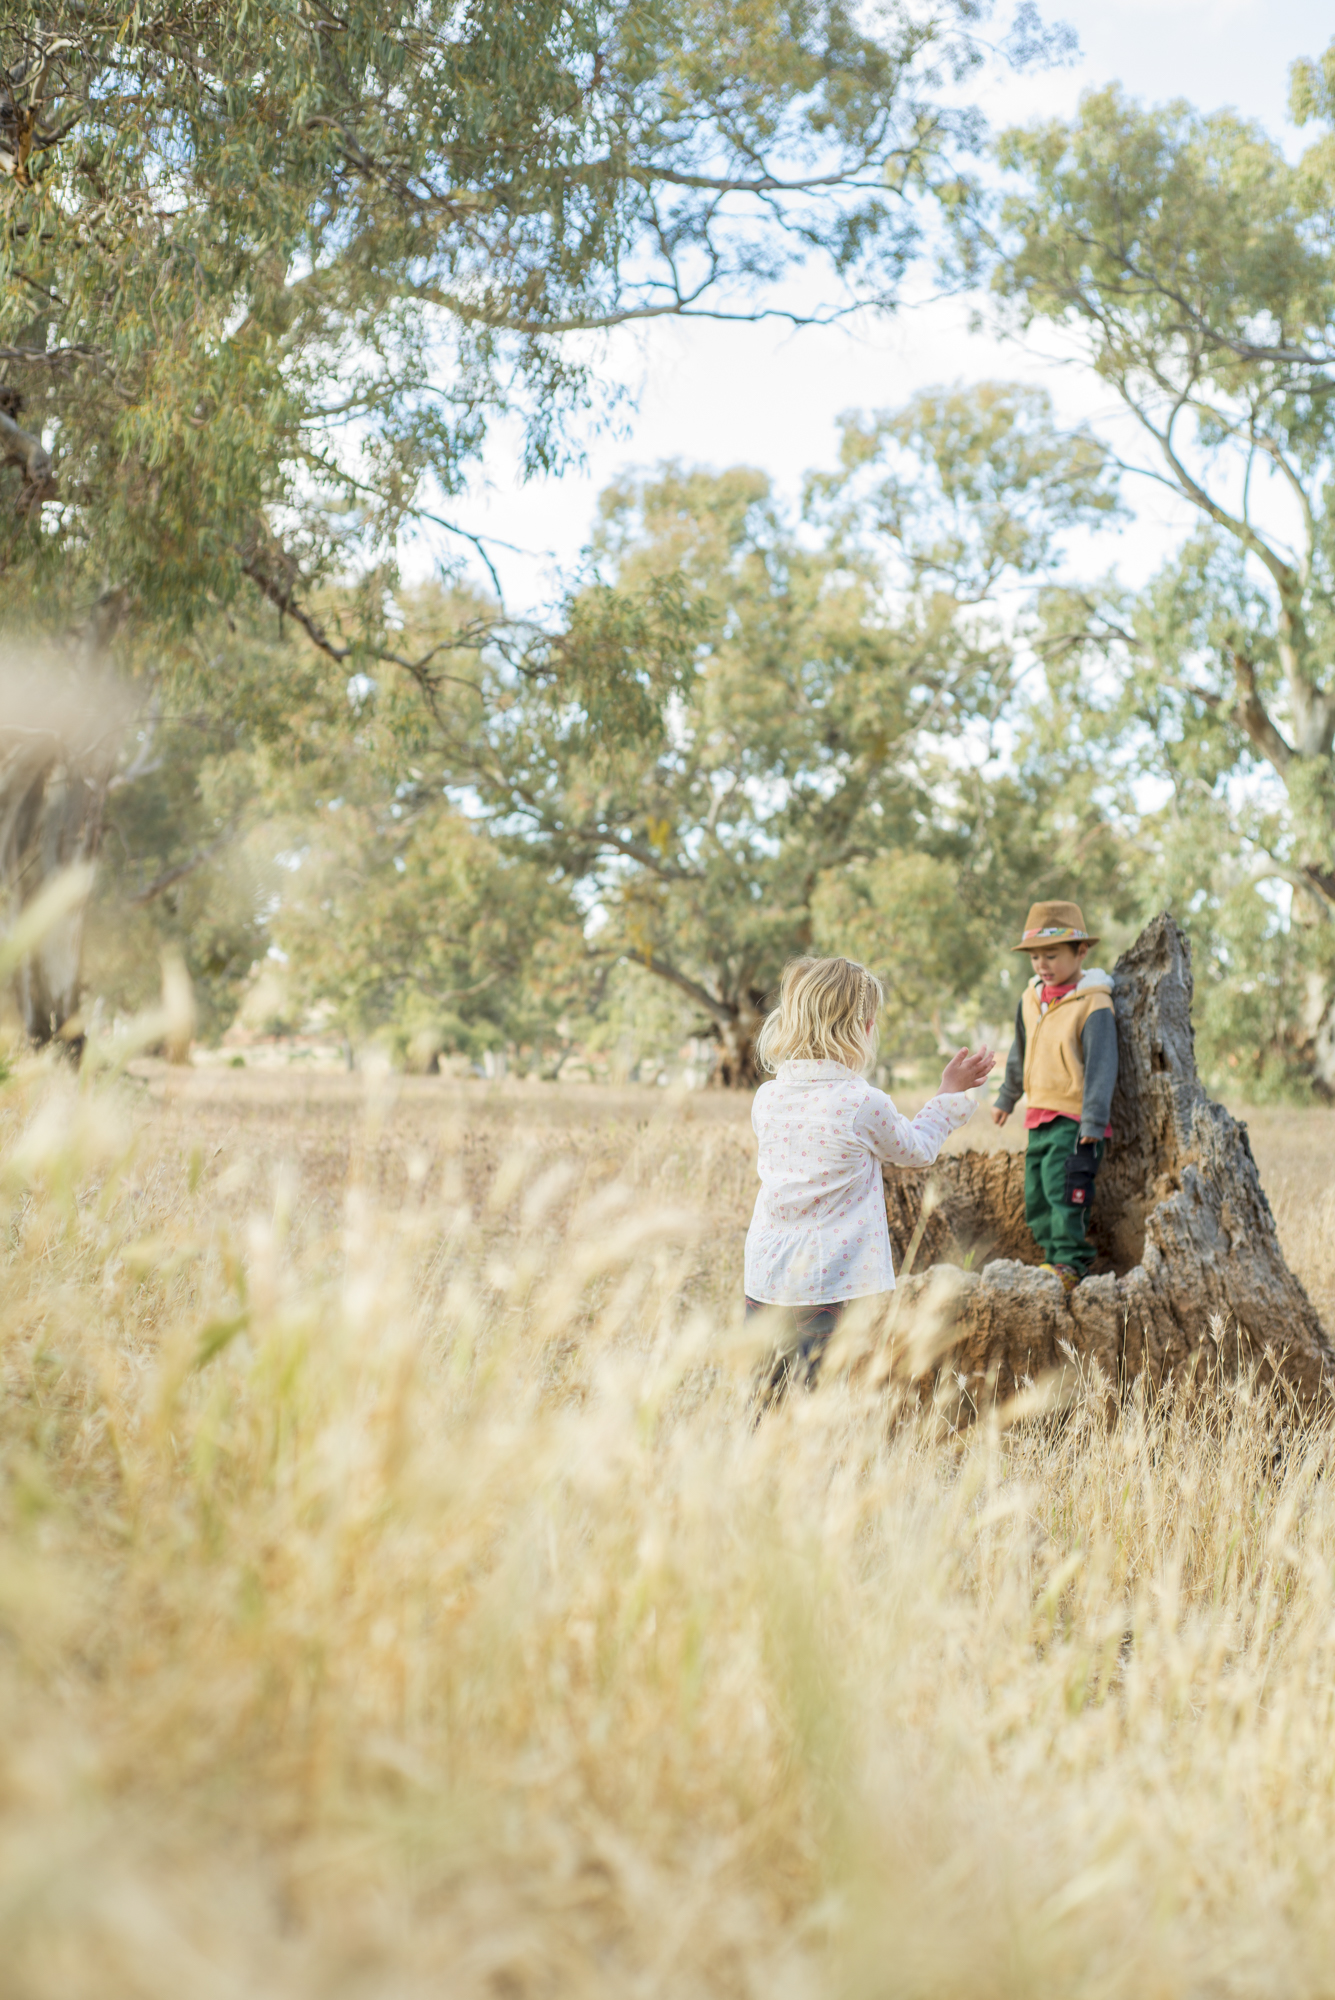
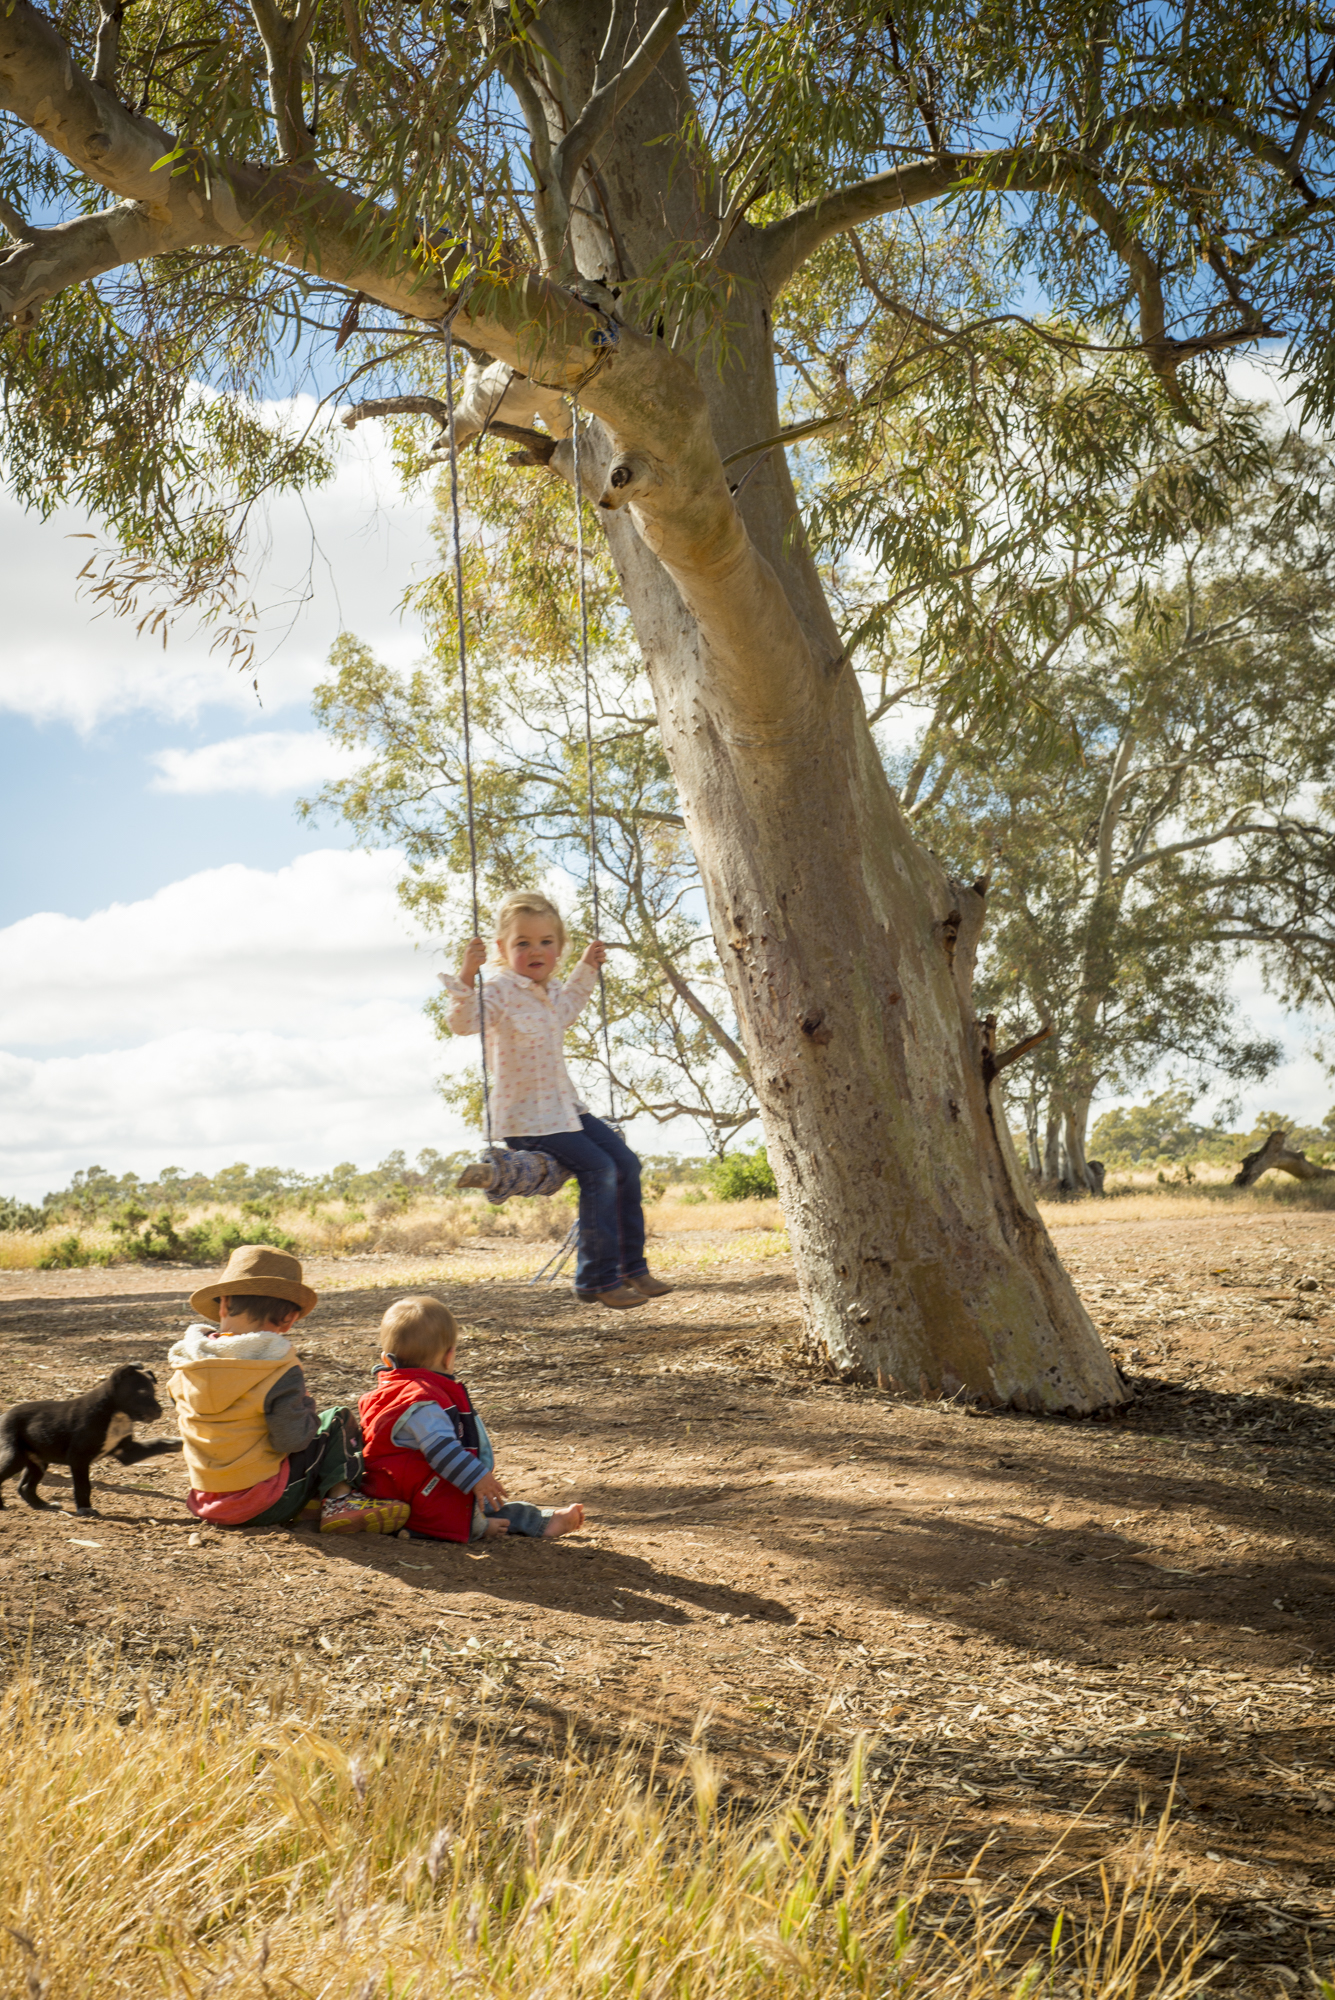
Family stays at an outback station. Kids having fun in the natural space. Nice weather, casual, safe, fun. That's what families would want to see if looking to go outback for some quality time together.
Clients need “Hero Shots” of their destinations (or any business for that matter). It's their defining image - what sets them apart from the rest.
So, what exactly is a Hero Shot – and what does it take to capture them?
A Hero Shot is a 'wow' photograph that makes the viewer think (or say) 'I want to be there now!' It either grabs your attention quickly in a saturation of images. A library of promotional images complements the hero shots. These images are less memorable (or impactful), but just as necessary to tell the story.
These hero images define and differentiate a destination from its competition. A series of Hero Shots can be created to broaden a destination’s appeal and convey your key marketing messages to the specific audience you are looking to attract.
Images like these require considerable forethought and planning. Unless of course, I just get lucky (which does happen). But I, or you, don't want to rely on just luck. Prep is needed.
Your destinations appeal and uniqueness
+
great idea/concept
+
awesome team
=
Hero image
Uniqueness/appeal could be a landmark, a feeling or an experience.
The great idea revolves around a story. What do you want to say? Find your answer and then go about resourcing how to get it. Time of year for the shoot, time of day, appropriate talent (if any), props, team and style all need to be considered. Think about what your ideal audience is wanting to see, put them in the photo. Best weather, atmosphere, activity, talent similar to themselves... Let your audience imagine it could be them there, enjoying your destination.
Then find the production team you need, and trust, to be able to get it.
Awesome team - people you trust and can deliver on what you want. Look at their portfolio, get to know them, find recommendations. You have to be comfortable and confident.
TIPS:
Make sure your talent doesn't look posed. It needs to look believable. Think about every aspect, not just the posing.
Have plans but allow for spontaneity.
Have fun - emotions and smiles connect.
Lighting and weather make the photo - anticipate. Check the direction of light, weather forecast and allow for extra time just in case.
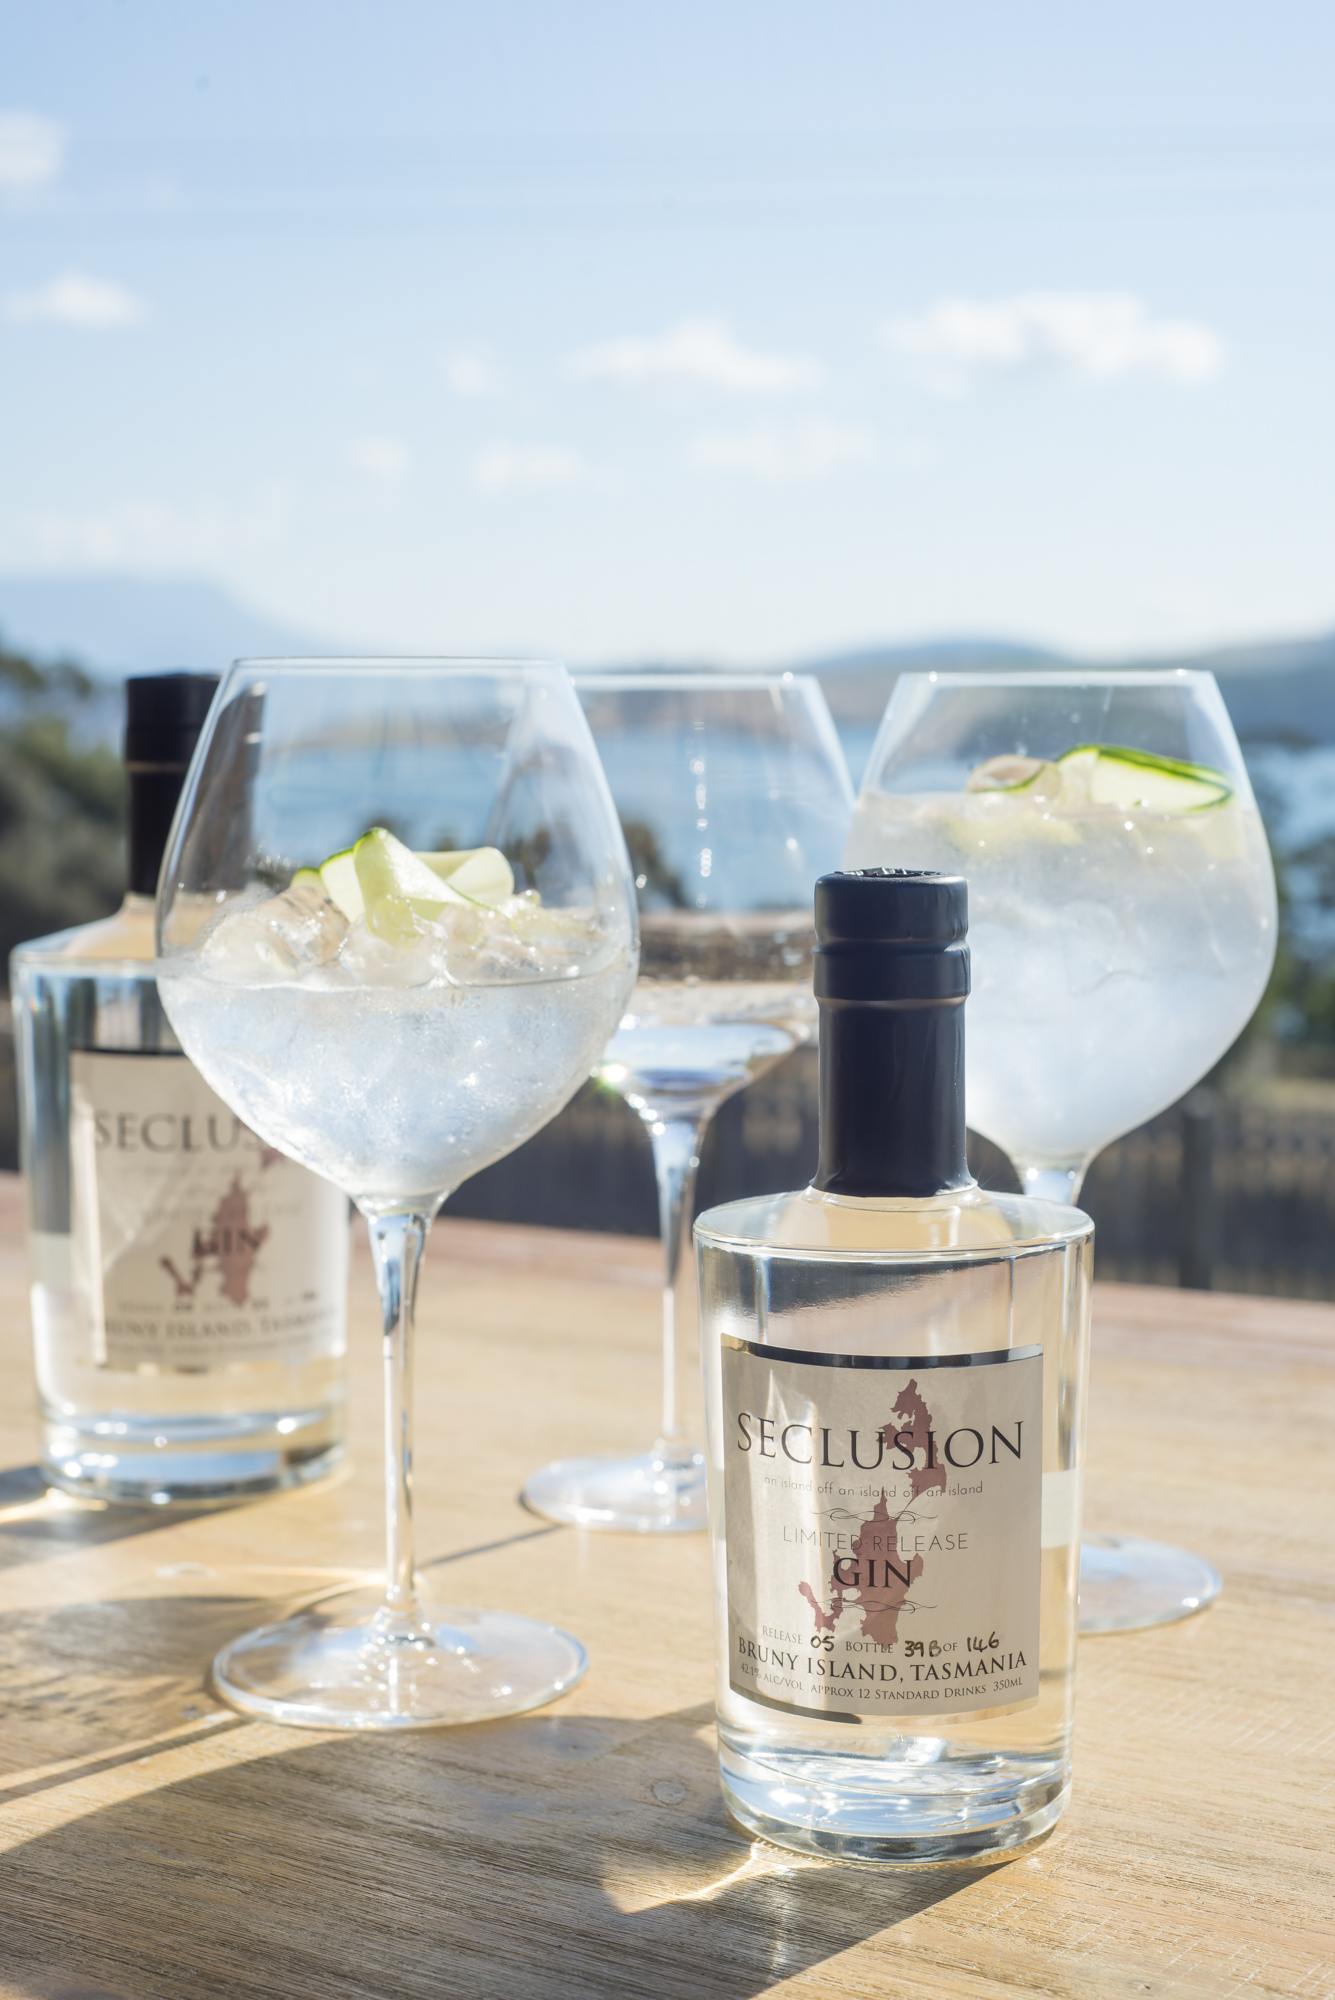
How I got the shot... Bruny Island House of Whiskey
Want to know to get a decent bottle photograph? One simple tip.
Ok, so this shot is not perfect. But hey, for a shot 'on the run', I think it's pretty. It's unretouched and raw.
Bottles, glass and reflections make photography difficult. It's one thing people ask quite often. "How do I get a nice shot of a bottle?"
One easy trick is to diffuse the light that is falling on your subject. In this shot, I did that with a reflector scrim. That is it. A scrim is a translucent material that still allows light to go through, but softens it.
I had someone hold it between the sun and the bottles. It really minimised the reflections and made the image creamier looking.
Check out the other pic that shows the bottles without the scrim in place. You can see the difference on the labels.
What do you think?
The difference in retouching...
What sort of retouching is needed after a photo shoot? Do you have to have any?
So, what does a basic retouch mean?
What about an editorial retouch?
And what do I mean when I say 'extensive' retouch?
I've had many Clients ask this, and I the answer is always hard. So, I have decided to show it visually. That's the best way with photography anyway. So I think.
Above is a food photo, let me explain the differences you can see.
No retouch
This image is straight out of the camera.
I shoot in RAW. This allows for maximum information caught, and kept, in the capture. You will find most professionals photograph in this setting.
Why throw away information without even considering it? The more information I have, the better the image can be.
It does also mean that there is always going to be a need for some amount of retouch. This can range from a click of 'auto' in software which has varied, and sometimes unexpected, results or manipulated by the photographer individually. I typically start with an Auto Correct then adjust each file individually from there.
RAW = better quality
After all, that is why you are paying a photographer. To get the best images possible.
Editorial Retouch
This image has had a basic Auto Correct, then individually retouched via Lightroom.
I will lighten shadows, adjust contrast/colour/tone/crop, remove any large blemishes/distractions and adjust local areas within the image. I also sharpen/noise reduce and perhaps add some saturation/clarity/vibrancy.
Generally, an editorial image is not taken into Photoshop for more intensive retouching.
Extensive Retouch
This image is looked at in detail. It gets the Editorial Retouch then it's taken into Photoshop for individual and precise alterations.
I have fixed perspective, removed some of the reflections from the glasses, removed blemishes on the surface, lightened darker areas of the food and cropped slightly.
So, what retouch do you choose?
What retouch you choose depends on the final use of your image. We can chat about it when you book your next shoot. Or, if you have any questions, leave them here for me to answer.
Shimmer Festival photo fun
Shimmer Festival fun. If you are into photography, can get to the Fleurieu - then do it!
Check out the fun we are getting up to for Shimmer Festival! Head on over to have a look at everything. You can book workshops through the link also.
There is so much cool stuff to see and do - but don't forget to check mine out... here is some more info. :)
Getting awesome 'on the go' photos
Simple light tricks that a pro photographer uses. And you can too.
Window light.
I've been photographing a lot of editorial style photo shoots lately - where I go in with minimal equipment and photograph what is happening. I love these sorts of jobs - where I can concentrate on capturing the moment, rather than creating the big extravaganza set.
One light, side on, draws attention to our man.
When indoors, unless I have awesome window light, I set one speed light up on a stand and use that as a side or back light. I have a long-standing dislike of full frontal lighting. Not saying it's wrong - I just prefer more dimension and shadow shape. If I have a white ceiling or wall, I'll bounce it backward with the built-in diffuser up.
Two lights making an 'oomph'. If the subject allows, you can even let one of the lights creep into frame, adding flare.
If the light is really dark, flat and 'yuck', I add a second light. One for the front 3/4 of the face, and one as a hair light. Adds a bit of pop. The hair light emulates sunlight coming through a window or similar.
A completely black room except for the screens. Two lights sandwiching the guy make it more interesting.
The light can come from anywhere to make an interesting photo. Don't always place people (or products) front on to the light.
If window light exists, I'll position my subject near the window, normally side on. I'll play with distance away from the window and subject angle to the window.
Stage lighting is dramatic. I would not use flash for stage shots - work with the shadows.
Always look for moments and get them quick. Dad had leant over to whisper something and the pair were only like this for seconds.
Outdoors, at an event, I set the camera on shutter priority (for the majority of the time). This way, I can concentrate on what I am seeing.
I'm always looking. Looking for interesting people, interactions, things I can 'set up'. When I find something, I run around looking at different angles. I'm not afraid to step in front of someone, sneak in front of the stage, run around the back, lean over someone. Just smile and be polite - most times it works out.
With the strong backlight of sun creeping in behind their heads, the camera would have tried to keep the sun exposed, rendering their faces quite dark. Taking a look at your screen, 'chimping', would tell you if you need to shoot in Manual or not.
I said 'most times' I put my camera on shutter priority. Shutter priority works when you have the sun side on or front on to the subject. If the sun is behind, then we have problems. If you have something overly dark or light behind, this also causes issues. If I am having trouble with the built-in light meter, I'll revert to Manual. Keep an eye on the sun popping in and out from behind clouds as this can drastically change your settings. I'll have a 'chimp' after every photo sequence just to check it's all looking okay.
So there you have it. There is no single 'right' way to take a photo. A lot of photographers will bang on about Manual being the only way - but it's not.
If you want to know more about how to get better pics - without the tech jargon - check out my eCourse Better Pics for Business. It'll get you taking better pics with any camera. A new group course is starting in October.
How to use photography in social media
What are the top five do's and don'ts of social media? Let's ask a pro.
One of our lessons in Better Pics for Business was Social Media and the use of photography within it. I asked Tania from bizeez communications for her advice. I think her top five 'Do's and Don'ts are worth sharing with you.
Tania has 30 year’s operational and consultancy experience in Australia and the UK ranging in hotel management, employment, and wine. Through her Barossa based creative agency, bizeez communications, Tania can assist tourism, hospitality and wine business’ grow by way of powerful PR, marketing, web and social media solutions.
Tania is a respected blogger and commentator on modern marketing trends for the wine and tourism sectors and has gained a reputation as an entertaining and knowledgeable digital marketing specialist and trainer. She provides current information, evokes discussion, makes technical terms easy to understand and delivers practical actionable outcomes.
Tania launched bizeez communications in 2010 and has since worked with numerous business owners and marketers needing assistance with modern marketing and communications strategies including wineries, food brands, chefs, restaurants, accommodation providers as well as industry specific organisations throughout Australia and New Zealand.
Top 5 Do’s (or Don’ts) for using pics on social media.
1. Number one rule is Use them! If you’re posting across any of the major social media networks such as Facebook, Instagram, Pinterest, LinkedIn and yes even Twitter – use great photos to promote your brand. Visual assets are an essential tool for communicating your brand’s story, and it’s reported that you have a 4 x greater chance of interaction with imagery than a text only post. So imagery in your marketing strategy is extremely important.
2. Don’t steal others’ photos. User Generated Content is fabulous and really should be part of your content marketing strategy, but there are some important rules to remember and one is, don’t steal! Ask if you can use imagery on your social networks. Never think that because a photo is on the internet, that it can be used for your own purposes even if it’s your business.
Also, according to a study comScore undertook in 2015, brand engagement rises by 28% when consumers are exposed to both user-generated imagery and brand created imagery. So definitely do consider UGC in your content marketing strategy - just do it ethically and legally.
3. Mix it up – you don’t have to use just a photo. Use a photo with text overlayed for inspirational quotes, blogs, etc.
4. If you’ve gone to all this trouble and taken fabulous photos, then created great visual assets, feel free to brand them. If they go viral (i.e. get shared across the internet), then people will be able to seek out your business because they know where the original imagery was created.
5. Avoid cheesy stock photos in your marketing. People want to see your business – not some notion of what it could be. There is a place for generic stock photos for sure, but if you’re promoting your own business, don’t use stock photos of another establishment.
To see more of what Tania does head over to www.bizeez.com
Photographers and travel. What do they take?
The time when I go 'oops'. What is the most wanted thing for a photographer to pack when travelling?
Q. What do you think would be the first thing a photographer packs when travelling?
A. Their camera.
Yes, that is correct. And you would expect they would never forget it. As an extension of their body - it goes everywhere.
Well, guess what I did recently?
I love using the Tilt Shift feature in Instagram for adding more interest to an otherwise 'flat' image.
I forgot my camera. On a trip to Queensland. To the Sunshine Coast.
I stressed for about two hours or so, trying to figure out what to do. Hubby suggested getting it expressed up (bless him). I briefly thought of hiring. Then I settled on using my iPhone. That's what most people do - isn't it?
And for the most part, it worked fine. Yes, I haven't looked at the photos enlarged yet - so disappointment hasn't settled - but I feel comfortable. I look at it as great practical training for my Better Pics for Business eCourse research.
Everyone photoraphs the giraffes. I wanted to try something different. These reeds looked all fluffy and cute.
I tried playing with Apps but ended up using the standard camera most of the time. I used the swipe function on the screen for force increasing/decreasing exposure and selecting focus area. I also did a few panoramics. When uploading to Instagram, I used some filters.
I loved not being burdened by the weight of my DSLR. I loved looking like a normal tourist with a phone camera rather than someone taking a 'proper photo'.
Street shots were the hardest subject to photograph with my iPhone. I don't like using the zoom and sometimes standing in the middle of the road to get the photo wasn't the best idea.
I didn't like that I couldn't do everything I was used to. Some exposures didn't work out. I couldn't work as quick. I don't like the fact that if I have a 'wow' photo, I can't use it for much else than online. I know I'm not going to enjoy looking at the sensor latitude. There will be highlight blowouts or dark and deep shadows.
My final thoughts - I would like to try a mirrorless. A Fujifilm or similar. Something small but high quality. Something I can add to a carry-on bag with clothing instead of carrying an extra bag. Any personal recommendations?
Want to get more action in your social media feed?
Sick of ugly and boring photos? Do something about it. Better Pics for Business starts March 1st.
Better Pics for Business is opening its doors on Tuesday, March 1st. Only a few more days to register. Have you jumped onboard?
Do you want a better social media feed?
Do you want a better e-shopfront?
Do you want more clients?
Sick of taking photos that aren't how you thought they would turn out?
Tried to be smart - but ended up with blurry pics?
Not quite sure how to get your subject of focus looking its best?
You know the best bet is to hire a professional photographer, but sometimes you don't have time or the money. Yes, you will hire a pro for major stuff, but what about your social media? You try to do it yourself. But it just doesn't work out the same - nowhere near. Well, how about learning some easy tips and tricks easily that will turn your photos from blah to wow?
In 8 weeks, Better Pics for Business will get your photo feed looking more inviting, attractive, interesting and... just a bit more wow.
What is it?
Online course/mentoring run by me, Heidi, of heidi who photos. I have over ten years experience in location photography.
What does this experience mean for your learning? You won't need all the bells and whistles to get great looking photos. You don't need to spend a fortune on a camera and all the bits. I know cheat tips, how to work quickly, natural light, making people comfortable in front of the camera - everything you will need to get good looking pics yourself.
It's part course, part mentoring. No point learning it, then doing nothing with it. Each week you will have homework to practice what you are learning. There's also a community to learn and share with. Help each other, and learn from each other.
We will be focusing on the story and helpful tips rather than the geeky numbers and stats. Yes, there is a bit of geek, but it's more about how to use any camera to get a "Like' worthy photo or two.
Photography goes a long way in gaining interest from potential clients. Don't turn them away with a dodgy looking online presence. Don't let yourself down.
And, as a subscriber of heidi who travels, you get it at the awesome price of $149 instead of $295 using this (ugly) link...
https://www.sentrylogin.com/sentry/member_signup.asp?Site_ID=17777&Ppl_ID=21862&tk=
If you need to know a bit more, you can find out all about the course at www.heidiwho.com/betterpicsforbusiness .
If you can't do the course now, it will be run again later in the year, or you can join anytime and do it at your own pace. However the discount won't last. It's only until March 1st.
2016 - want to learn?
Who wants to learn how to get better photos? MENTORING ECOURSE STARTS ON MARCH 1ST - COME JOIN US!
And welcome to 2016! I hope this year is a year full of fun, excitement, adventure and love for you. In all areas of your life - personal, career and family.
I read something from a good friend of mine today, about setting your intentions on progress rather than goals. I love it. So often we are disappointed when we don't reach our lofty goals. Setting the bar high can be good, so long as you don't beat yourself up if you don't achieve exactly what you set out to do. What is that saying about reaching the stars? I forget. I guess that is also why many business plans are set out with many smaller tasks and activities scheduled to achieve the one big goal. Like a ladder - step by step.
This year, that is what I am doing. Taking things one step at a time. To have my intentions but not dwell on achieving them. I'm going to look more at my little steps. From small things big things grow. For me, it's new beginnings. I'm continuing with my location photography but also introducing a stock photography library, developing my blog and an app, and something else rather special...
So, with that. I'd like to announce the first round of my eCourse 'Better Pics for Business' (check out promo link at end of this). It's all about learning how to get better photos for your social media, newsletters and general business stuff. Of course, there is always going to be a place for a pro photographer (can I suggest myself :) ) but sometimes you just need to get some pics. We all know how important visuals are, especially with so much competing for attention in the online world. We need to stand out and be personal and unique - and grab attention to get more attention.
Instead of talking all tech and geeking out on you, we are going to go through the storytelling aspect of the photo, talk about things to think about when aiming up your camera. AND, it's not just for fancy DSLR users, you can learn with any camera or device that takes a photo. It will be fun.
Members will get homework and feedback - to make sure you learn what is taught rather than finishing up with fuzzies still going around in your head. I guess it's a bit like a mentoring group.
I realise that you can do any number of online courses, in-person worksops or learn for free via YouTube - but the thing that is missing is the feedback on your photos, unique learnings and techniques that you need. With the Better Pics for Business course, you have the opportunity to tailor what you need and get the answers.
Check it out at www.heidiwho.com/betterpicsforbusiness. Starts Tuesday 1st March. AND... as a reader of heidiwhotravels you will receive the course at nearly 50% off! To get your discounted rate make sure you use the link below - this is the only place you will find the discounted rate.DON'T FOLLOW THE LINKS IN THE SHOP PAGE - UNLESS YOU WANT TO PAY FULL PRICE. :)
Feel free to email or phone me if you have any q's - I'd love to chat.


