Location photographer. Getting behind the scenes. Showing off the secret, and not so secret, treasures of the world.
3 important photo tips...
3 easy tips to get better photos - no matter your photo device.
Lots of people say 'oh wow, that is a great camera, it must take really good pictures!' Well, you know what... Really expensive pots and pans don't make me an excellent Chef. Far from it. Sometimes the better the equipment, the more operator flaws are obvious.
Here are a few tips to consider, to make your photographs better, no matter the equipment.
1. Light
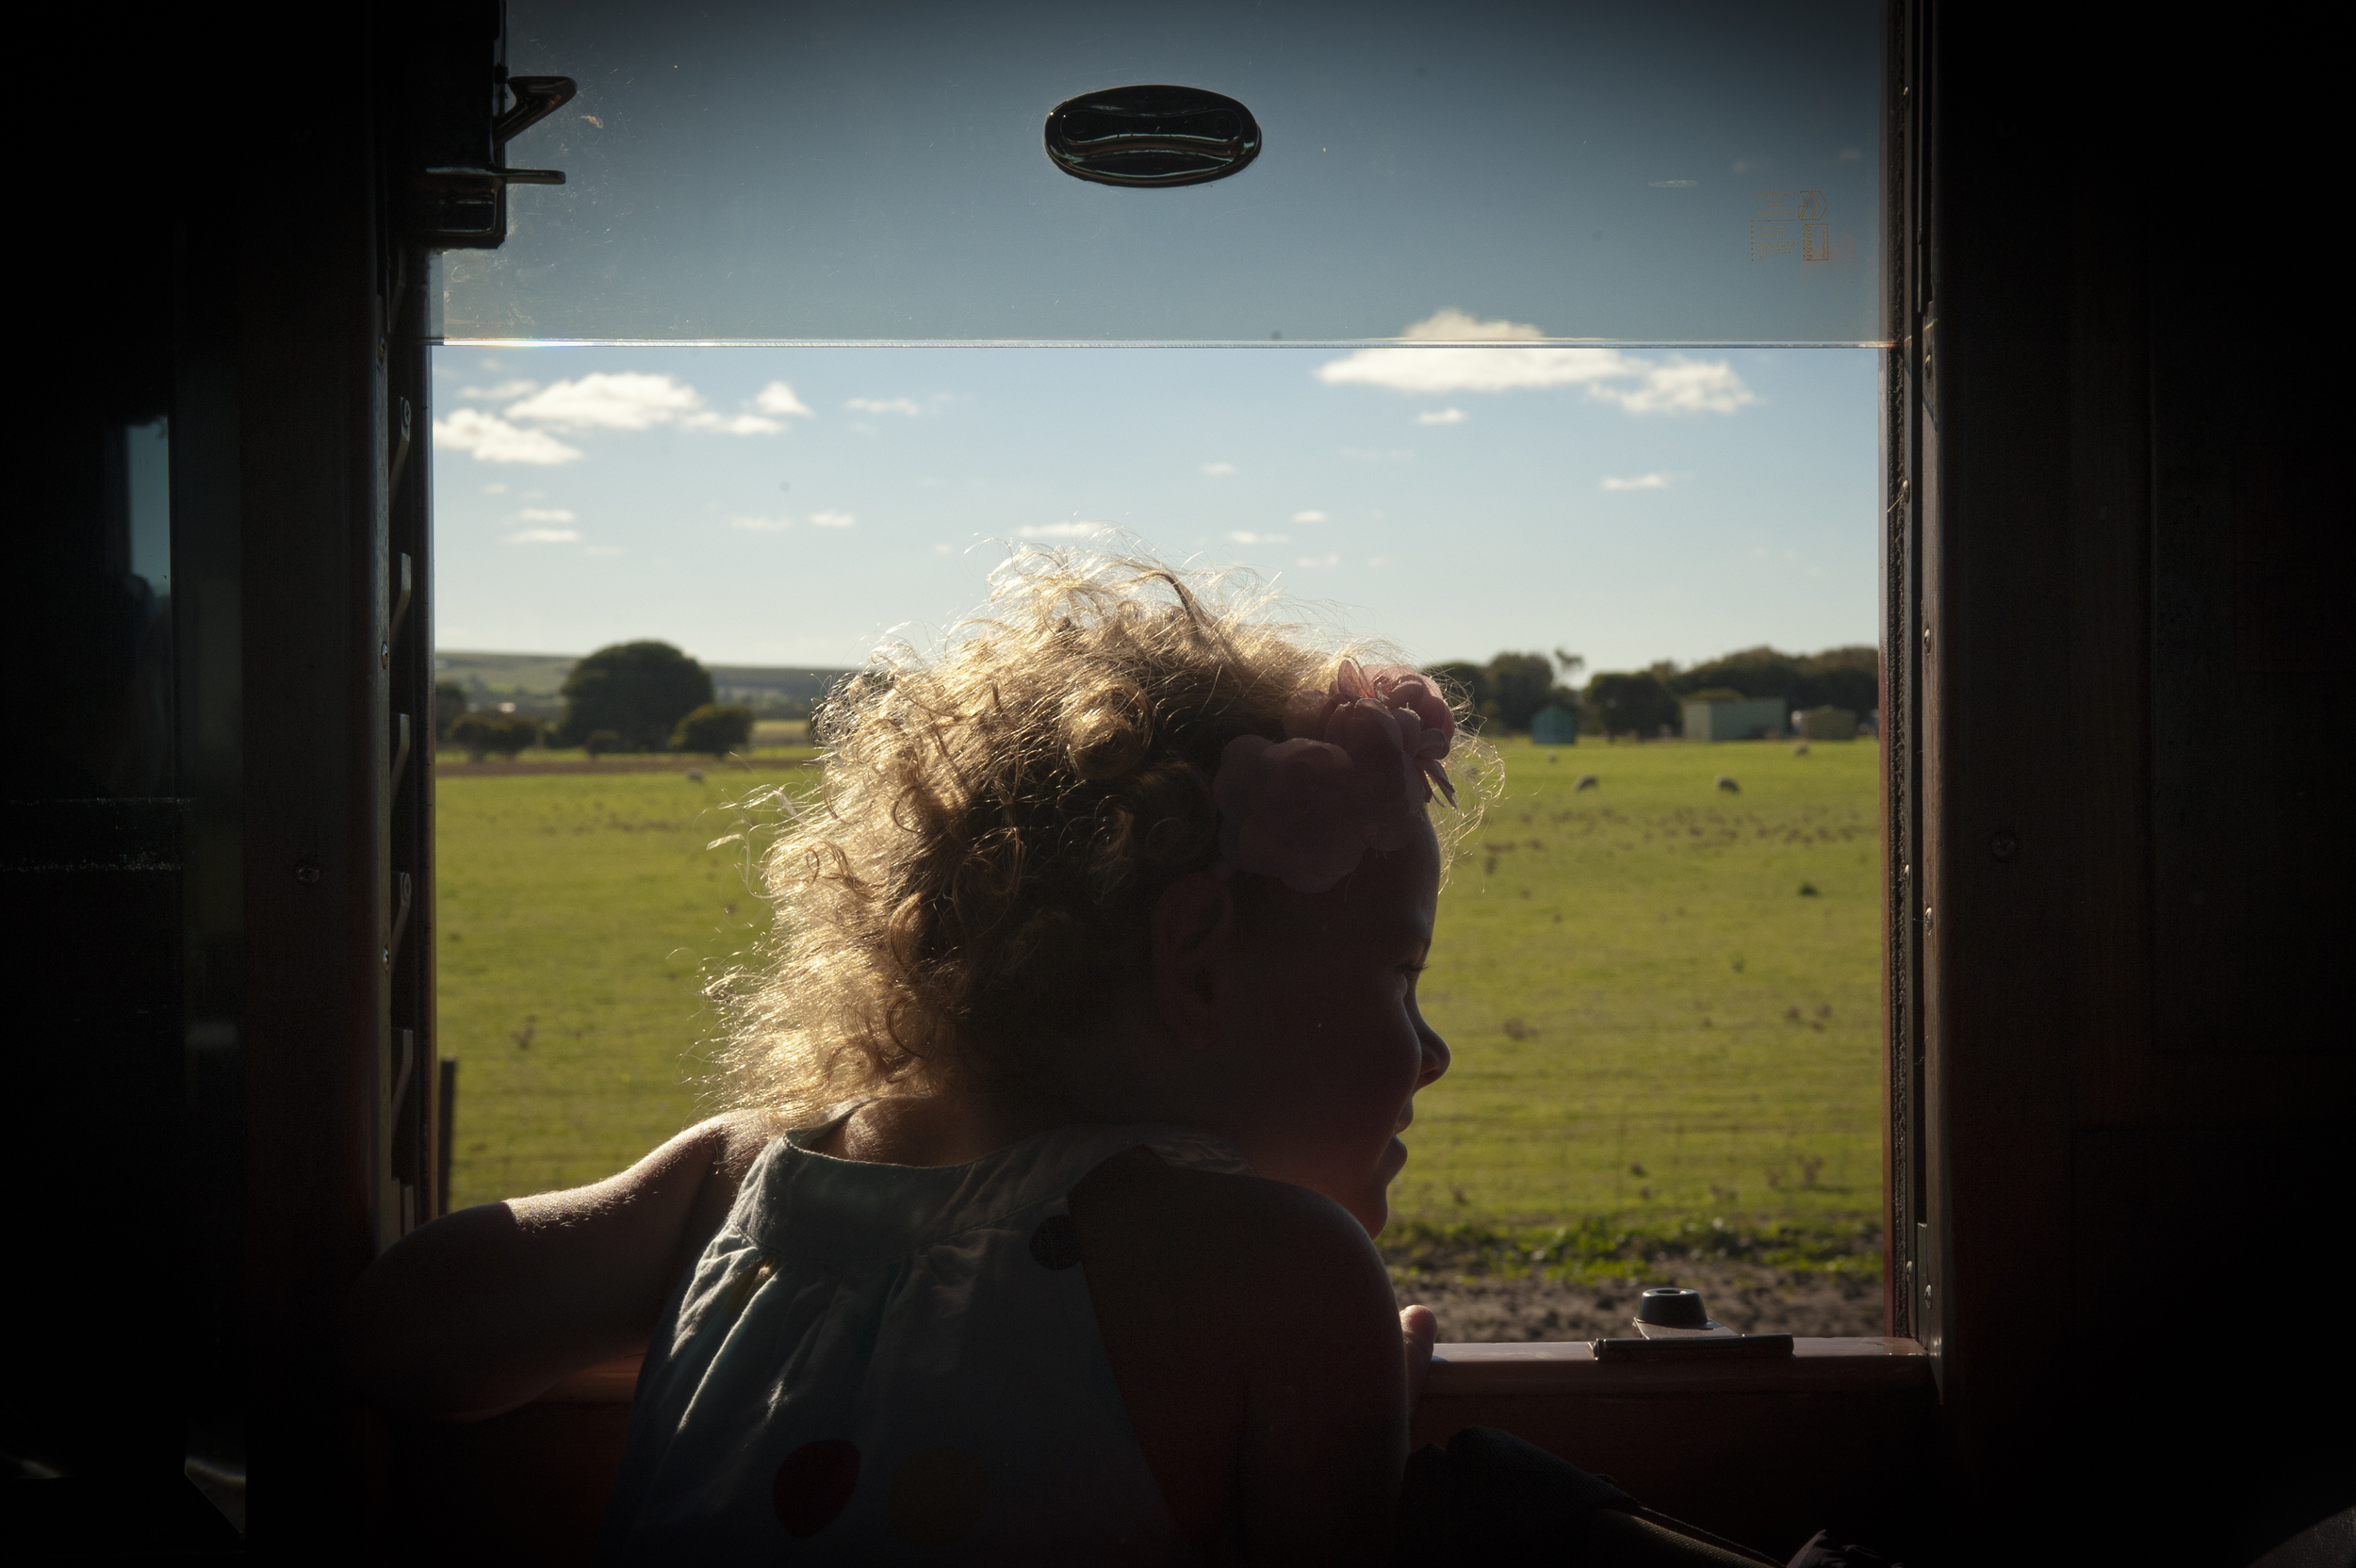
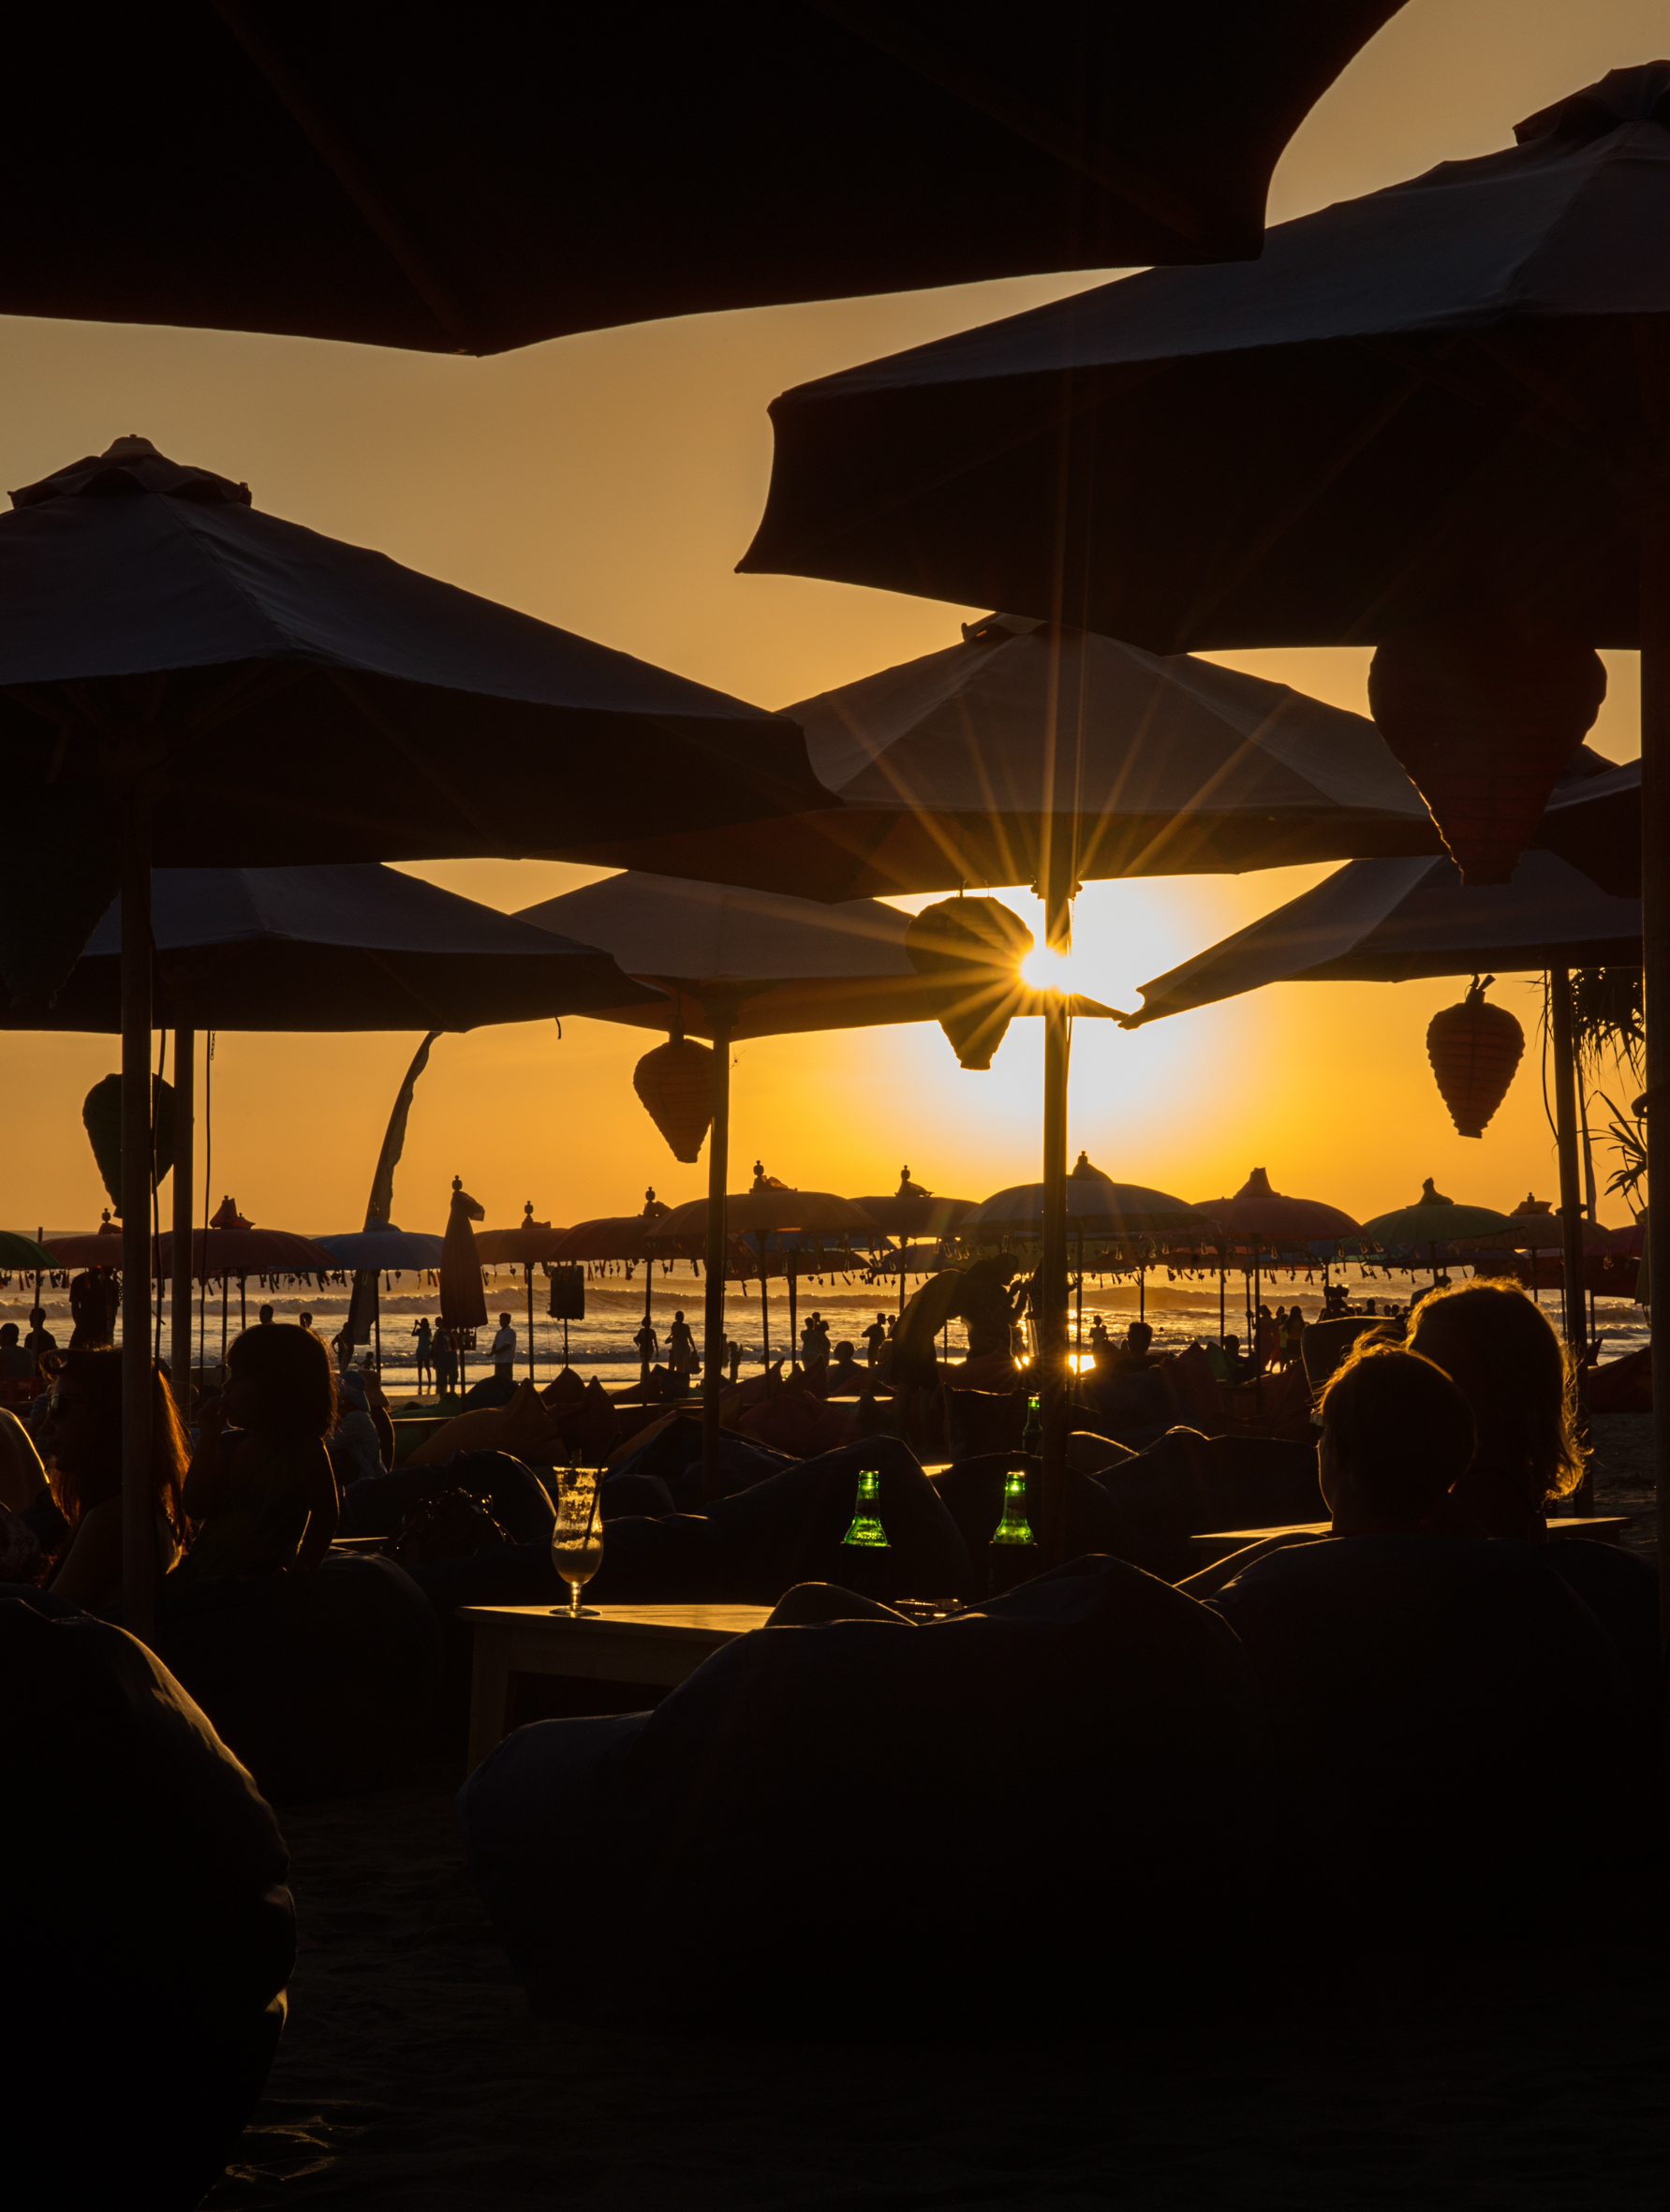
Considering the word photography means 'drawing with light' in Greek it's probably quite important in practice, yeah? Yes, it is. Light can make or break an image. One 'scene' photographed in one type of light can tell a very different story to the same 'scene' being photographed with a different kind of light. Dark and moody is reflected (or not so much practically speaking) through light, or lack of, just as bright and fun are achieved through photographing with lots of light and minimal shadows.
When looking at your 'scene' look at the light and what the light is doing.
Is there shadow across the face?
Is something too bright?
Is there too much shadow/darkness?
Evaluate and then take action.
If there is a horrible shadow behind the person you are photographing (and they are up against the wall) move them away. If there is dappled light on their face, move them to somewhere where it's not dappled. If there is too much shadow on the front of your object, turn it towards the light - whether its window, sun, flash, torch or lamp/light.
2. Story
I guess before you even get your camera/phone out you have to know your why. Why do you want to take this photo? What are you saying through this photo? Remember, one photo tells one thousand words.
What do you need to include in the photo to make the story? Will the person be enough or do you need to include where they are? A close up of a wine glass or a wine glass being held, with bottle and cheese platter, by a couple sitting watching a sunset. Or friends having a dinner party.
What is the most important part of the photo? Make sure there is a focus on that. If someone is doing a fantastic trick, but they only fill 1/10 of the frame, it's easy for them to get lost. And it's easy for the viewer not to know where to look.
3. Composition
There are a few rules to photography, but they can also be broken. So don't hold them as gospel. However, if you do remember them, and apply them, it can make a more appealing photo (most of the time).
The main one is the use of the rule of thirds. Cut your image into three horizontally then cut it into three vertically. Where the lines intersect is where you can place your point of focus. For example, put your waterfall on one of these points instead of the middle. A portrait of a person with a beautiful landscape behind (that you want to show) can be out on one of these points too. It works for anything. Except when it doesn't. Haha. Sometimes if you only have the one subject in the frame and nothing else to compete with it, it is better in the middle. Examples being a person looking directly into the camera, a product by itself, a group portrait...
So remember, it's not all about the equipment. In fact, I believe it has little to do with the equipment. Think about what you want the photo to achieve - your why. Then look at the light - does it suit what you are saying. Are there bad shadows or too much light? Then make sure what is inside your frame is right. Can you move in, should you get more in, are there distracting things in the frame?
The difference in retouching...
What sort of retouching is needed after a photo shoot? Do you have to have any?
So, what does a basic retouch mean?
What about an editorial retouch?
And what do I mean when I say 'extensive' retouch?
I've had many Clients ask this, and I the answer is always hard. So, I have decided to show it visually. That's the best way with photography anyway. So I think.
Above is a food photo, let me explain the differences you can see.
No retouch
This image is straight out of the camera.
I shoot in RAW. This allows for maximum information caught, and kept, in the capture. You will find most professionals photograph in this setting.
Why throw away information without even considering it? The more information I have, the better the image can be.
It does also mean that there is always going to be a need for some amount of retouch. This can range from a click of 'auto' in software which has varied, and sometimes unexpected, results or manipulated by the photographer individually. I typically start with an Auto Correct then adjust each file individually from there.
RAW = better quality
After all, that is why you are paying a photographer. To get the best images possible.
Editorial Retouch
This image has had a basic Auto Correct, then individually retouched via Lightroom.
I will lighten shadows, adjust contrast/colour/tone/crop, remove any large blemishes/distractions and adjust local areas within the image. I also sharpen/noise reduce and perhaps add some saturation/clarity/vibrancy.
Generally, an editorial image is not taken into Photoshop for more intensive retouching.
Extensive Retouch
This image is looked at in detail. It gets the Editorial Retouch then it's taken into Photoshop for individual and precise alterations.
I have fixed perspective, removed some of the reflections from the glasses, removed blemishes on the surface, lightened darker areas of the food and cropped slightly.
So, what retouch do you choose?
What retouch you choose depends on the final use of your image. We can chat about it when you book your next shoot. Or, if you have any questions, leave them here for me to answer.
Bali Travel with Kids - 10 tips
BK… before kids.
We travelled a lot. We lived in various parts of the world. We penny-saved our way around Europe. We had adventures. We did an around the world trip in 6 weeks. We hiked. We home stayed.
And then kids came.
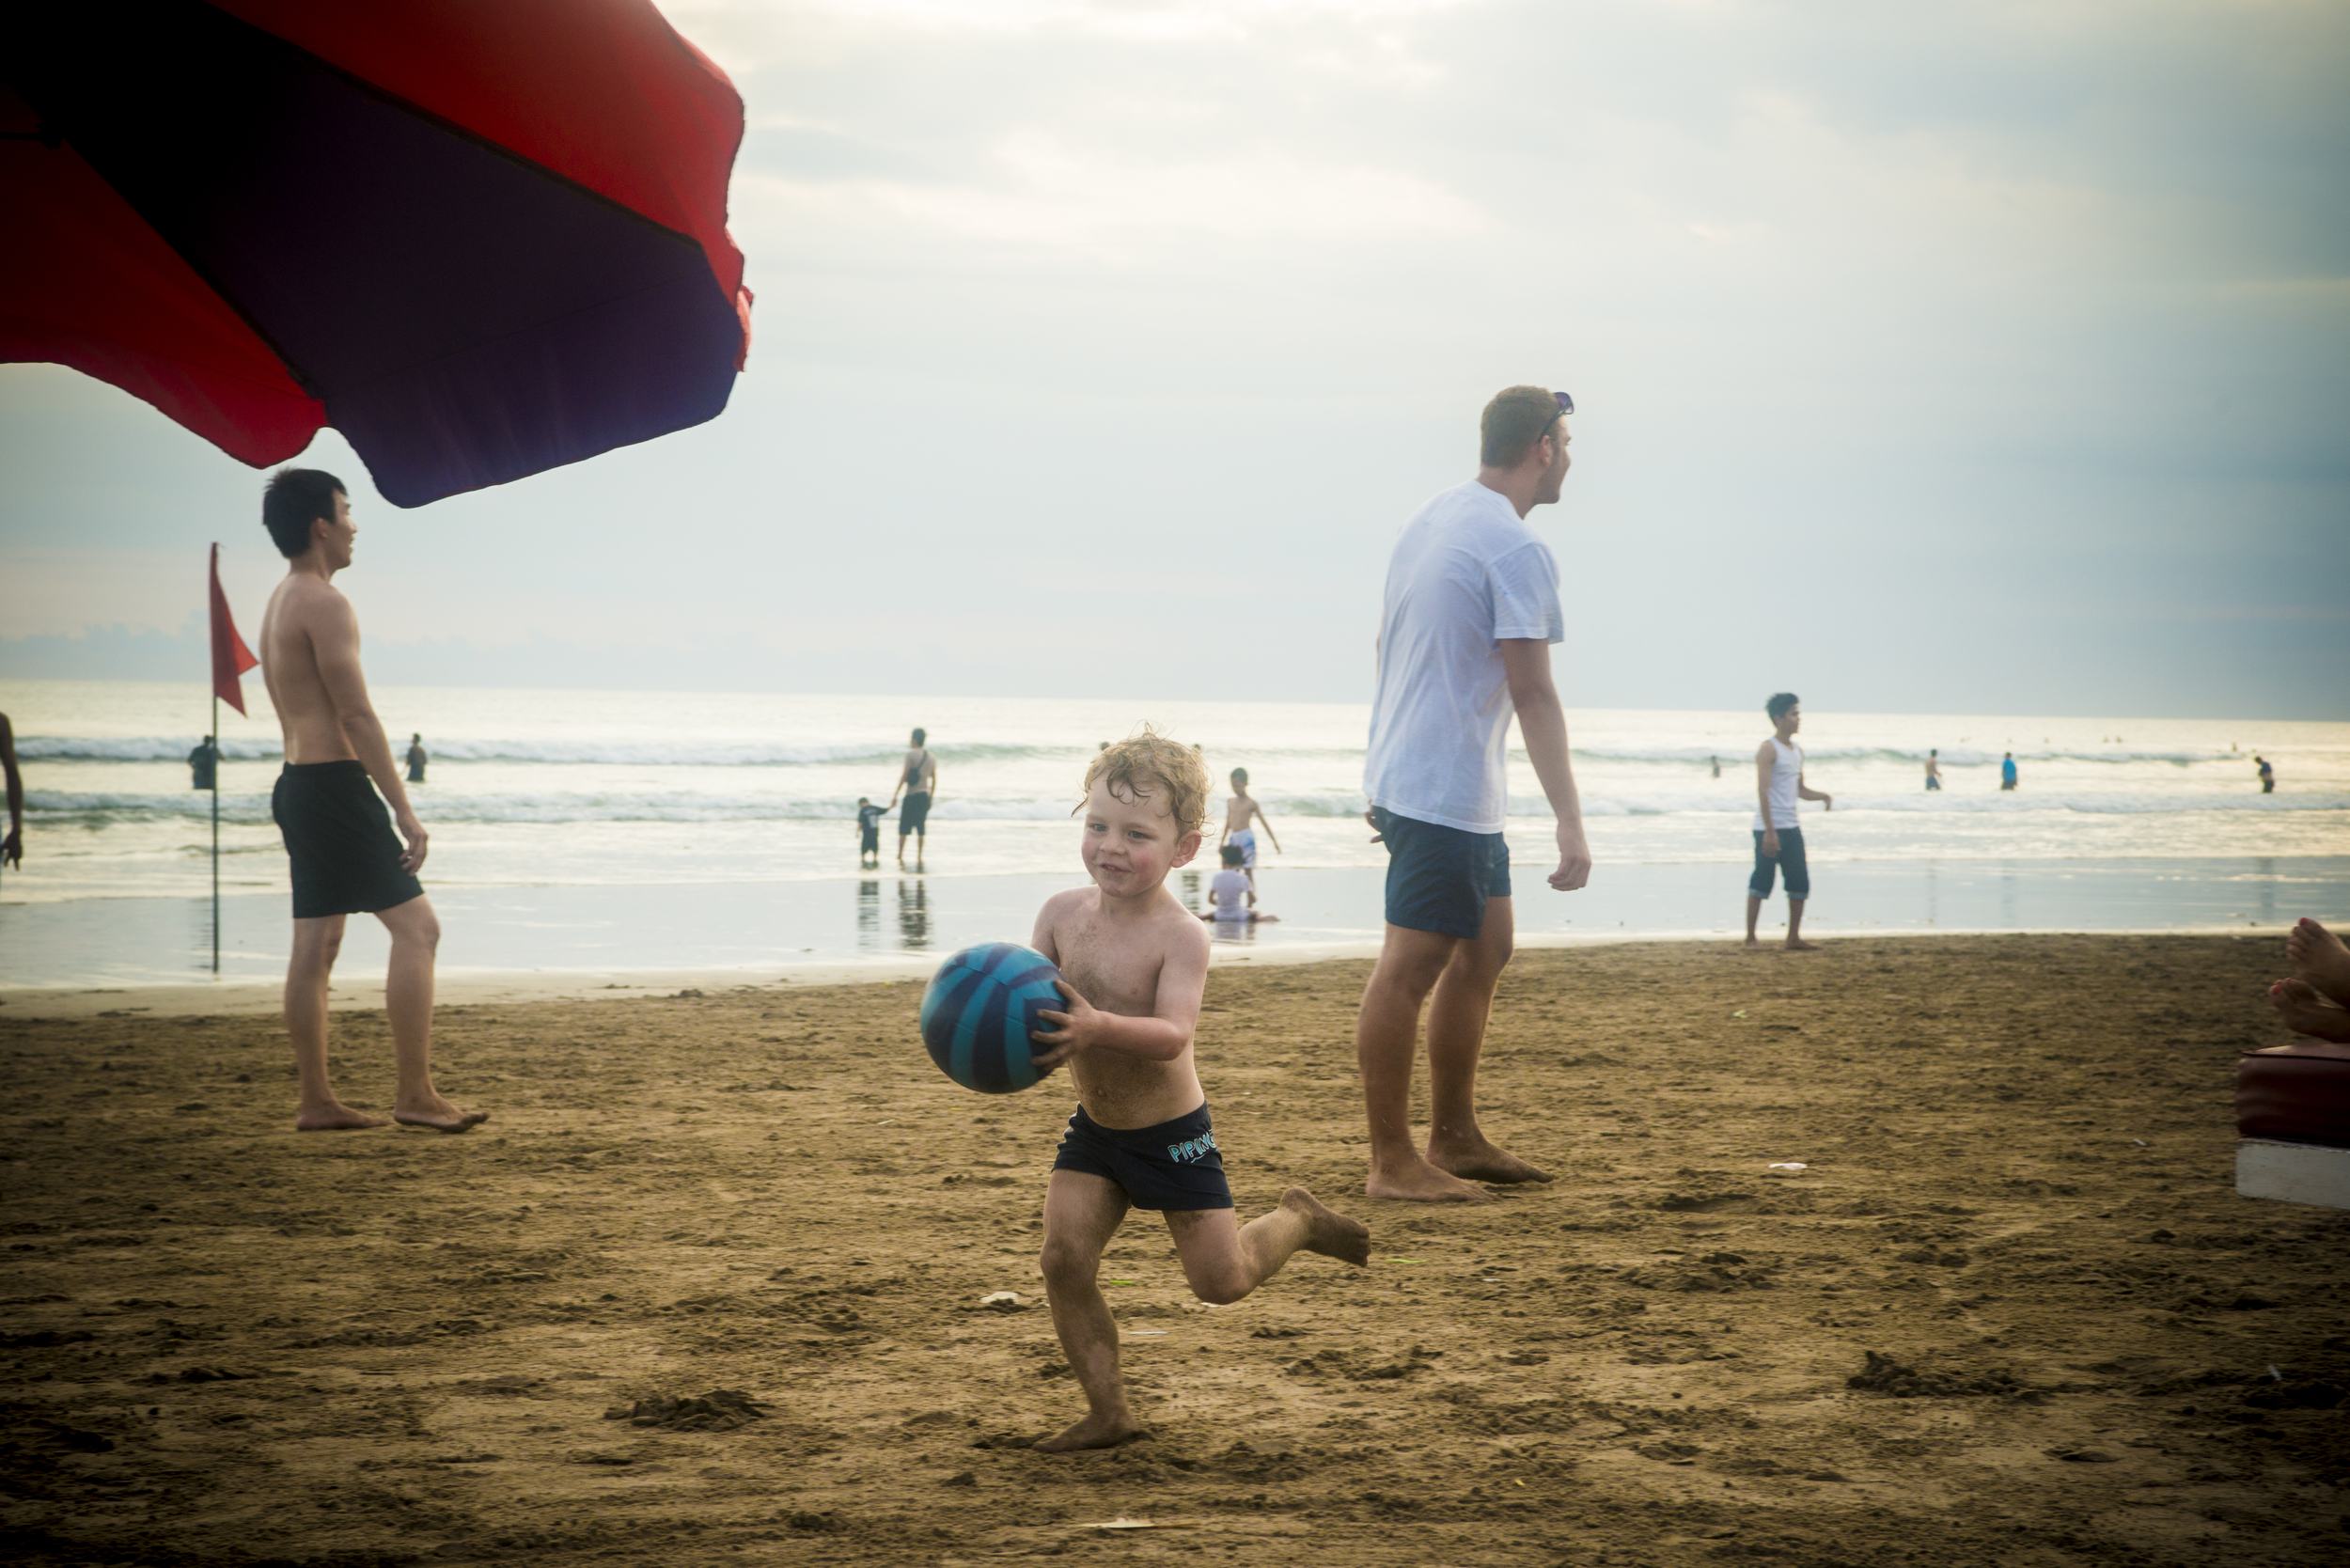
Having kids halts many, but it didn't stop us. Before our daughter turned one, she had been to Bali. Before our son turned one, we took them both to Phuket. And now, at three and five, they have returned to Bali. We've also had plenty of camper trailer holidays, interstate trips and holiday home getaways. Yes, the travel has tamed down, and surely nowhere near as adventurous as our travels before, but we are doing it.
Here are some tips to get you to Asia...
1. Don't call it a holiday. It's travel. With kids. These are two very different types of 'getting away', do not get confused.
2. Resorts. Pay for the luxury. The pools, the other adults, the restaurants and room service. It all comes in handy when you need to hang around for sleeps and early nights (before restaurant opening time in Asia).
3. Don't expect to tour much. Can you imagine going on an organised day tour with two little ones? Crying, toilet stops, noise, long day... Instead, hire a car and driver, and go at your own pace. You can see what you want, stop for nappy changes, not worry so much about screaming kids and go home when you have had enough.
4. Meet the locals. The locals love to get to know kids, and it is so much fun for everyone. Sit and play with local kids then laugh as restaurant staff fight over who looks after baby while you eat. You are spoken to more, and not just to sell.
5. Take nappy wipes and antibacterial spray. You will need it. Use everywhere, all the time.
6. Strollers are handy in the heat, even if they have outgrown them at home. Whiney kids are kept quiet when they don't have to walk. And soon enough, you will be used to sharing the road with the cars, tuk-tuks and motorbikes. I believe they know what they are doing, so trust in them, and just walk straight.
7. Take snacks and known food from home. Packet fruit, crackers etc are handy when you have fussy eaters.
8. Make sure your room has dark curtains for sleeping during the day - and doors that completely close to keep mosquitos and bugs out.
9. Get a nanny. We got Holiday Nanny Berta, and LOVE her. The kids took to her within minutes, whisking her away to show off our resort.
10. Take a trip without the kids.
It is worth it - no matter how hard.
10 tips for baby travel
1. Don't call it a holiday - it's travel 2. Baby wipes
3. iPad or dvd player
4. Bubble blower
5. Baby food squeezie sacks
6. Nibbles and bribes
7. Sling, backpack carrier or lightweight stroller
8. No expectations of sightseeing - you will do what you can do
9. Stickers and craft packs
10. Pipecleaners - amazing what you can do with these furry things