Location photographer. Getting behind the scenes. Showing off the secret, and not so secret, treasures of the world.
Workshop: Marden Senior College
Showing students how I photograph... as I start out by saying 'it may not be the 'correct' way but it's the way I do it'. Is there a correct way?
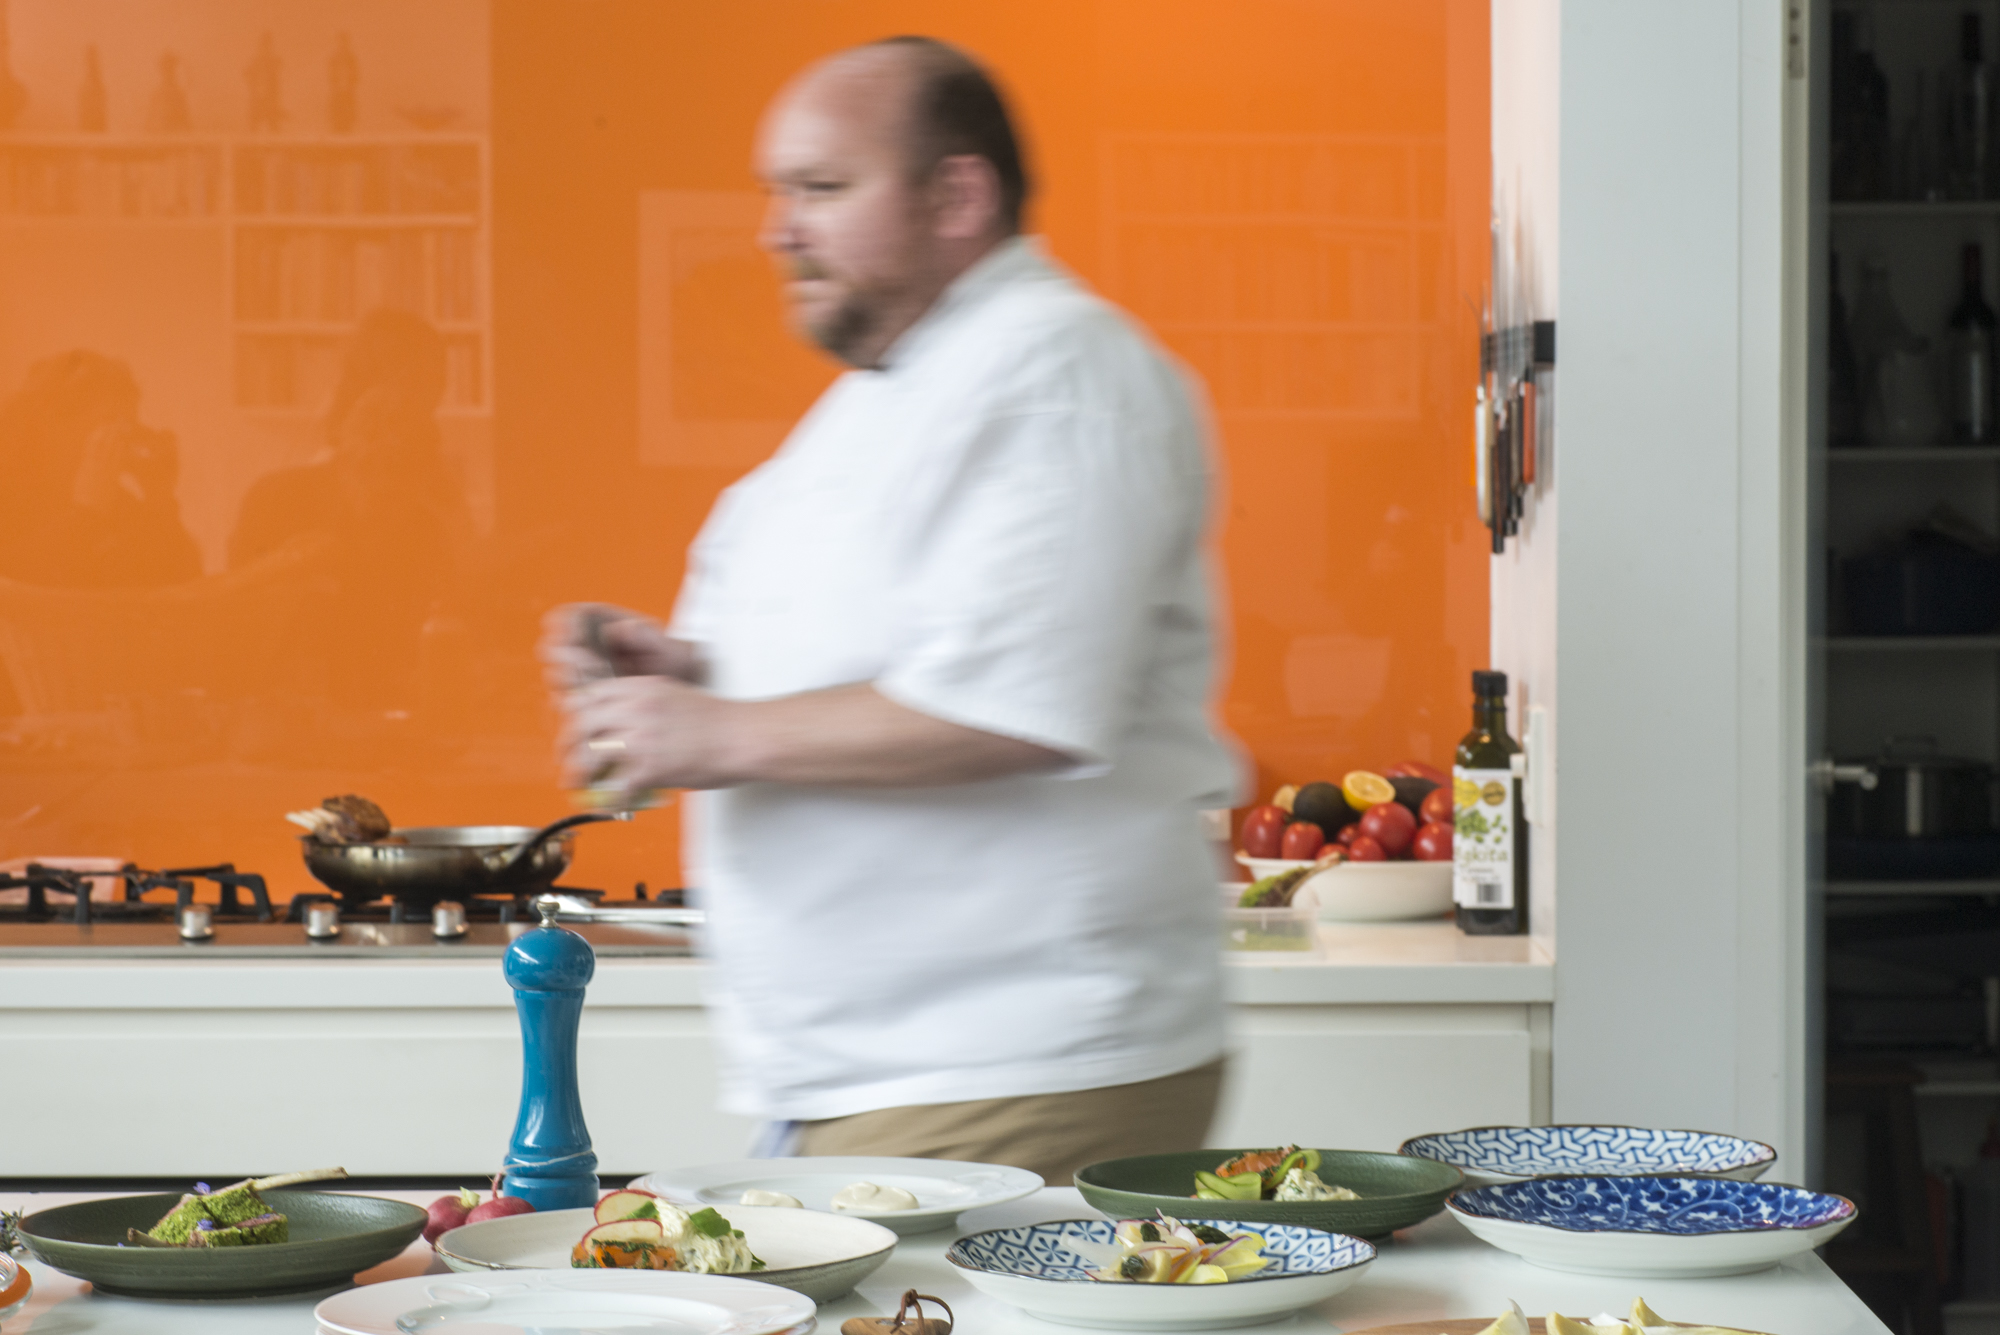
I had so much fun showing the students at Marden how I photograph in a workshop I run. I did studio shots - my way of course. This scared me; I don't like the studio. Then we headed to where I feel comfortable. The kitchen, a makeshift outdoor studio and then locations around the college for portraits.
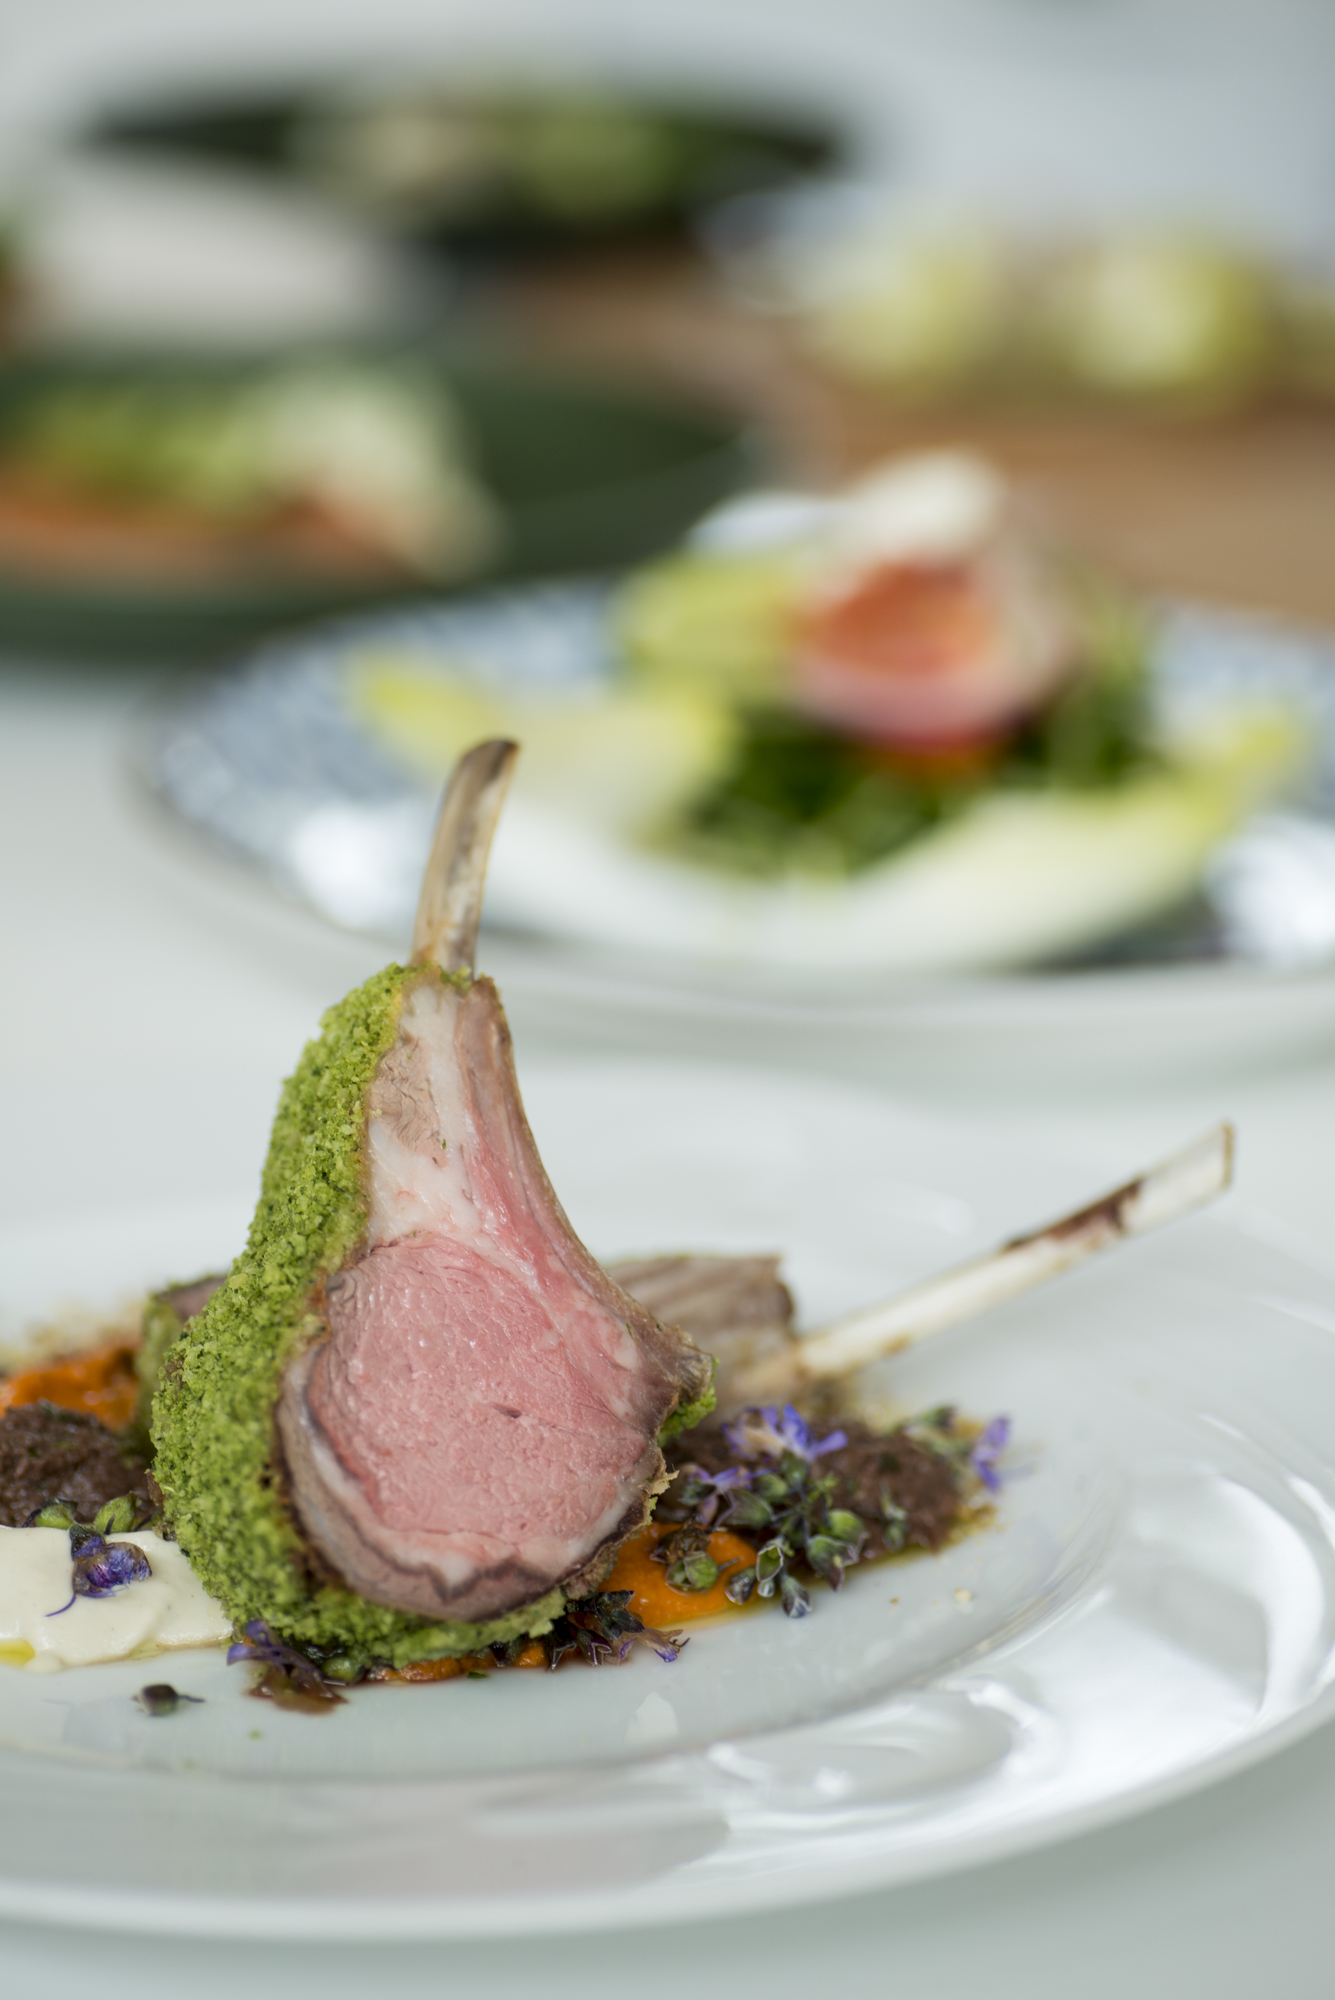
I also showed how I photograph in a kitchen, with working chefs and kitchen staff. How I photograph and style food on location without a stylist. How I photograph people on location with minimum equipment.
I wanted to inspire the students that it's not about the equipment you use, it's about your thought and vision. Think about what you want out of the photo.
What is the story? What emotions? What feel?
And then, what do you need to tell that story? Props or food alone? Perfectly presented food or half-eaten lifestyle look?
What about the background? Does it lend itself to clean and minimalist or textured and homely?
And look at the light. Where is it coming from, do you need to add more or reflect some back into the shadows?
This is what I focus on in Better Pics for Business and my workshops. How to get better photos with minimum equipment. The thought process and working natural light rather than styling a set.
Check out Better Pics for Business to see how you can get better pics with your camera or smartphone!
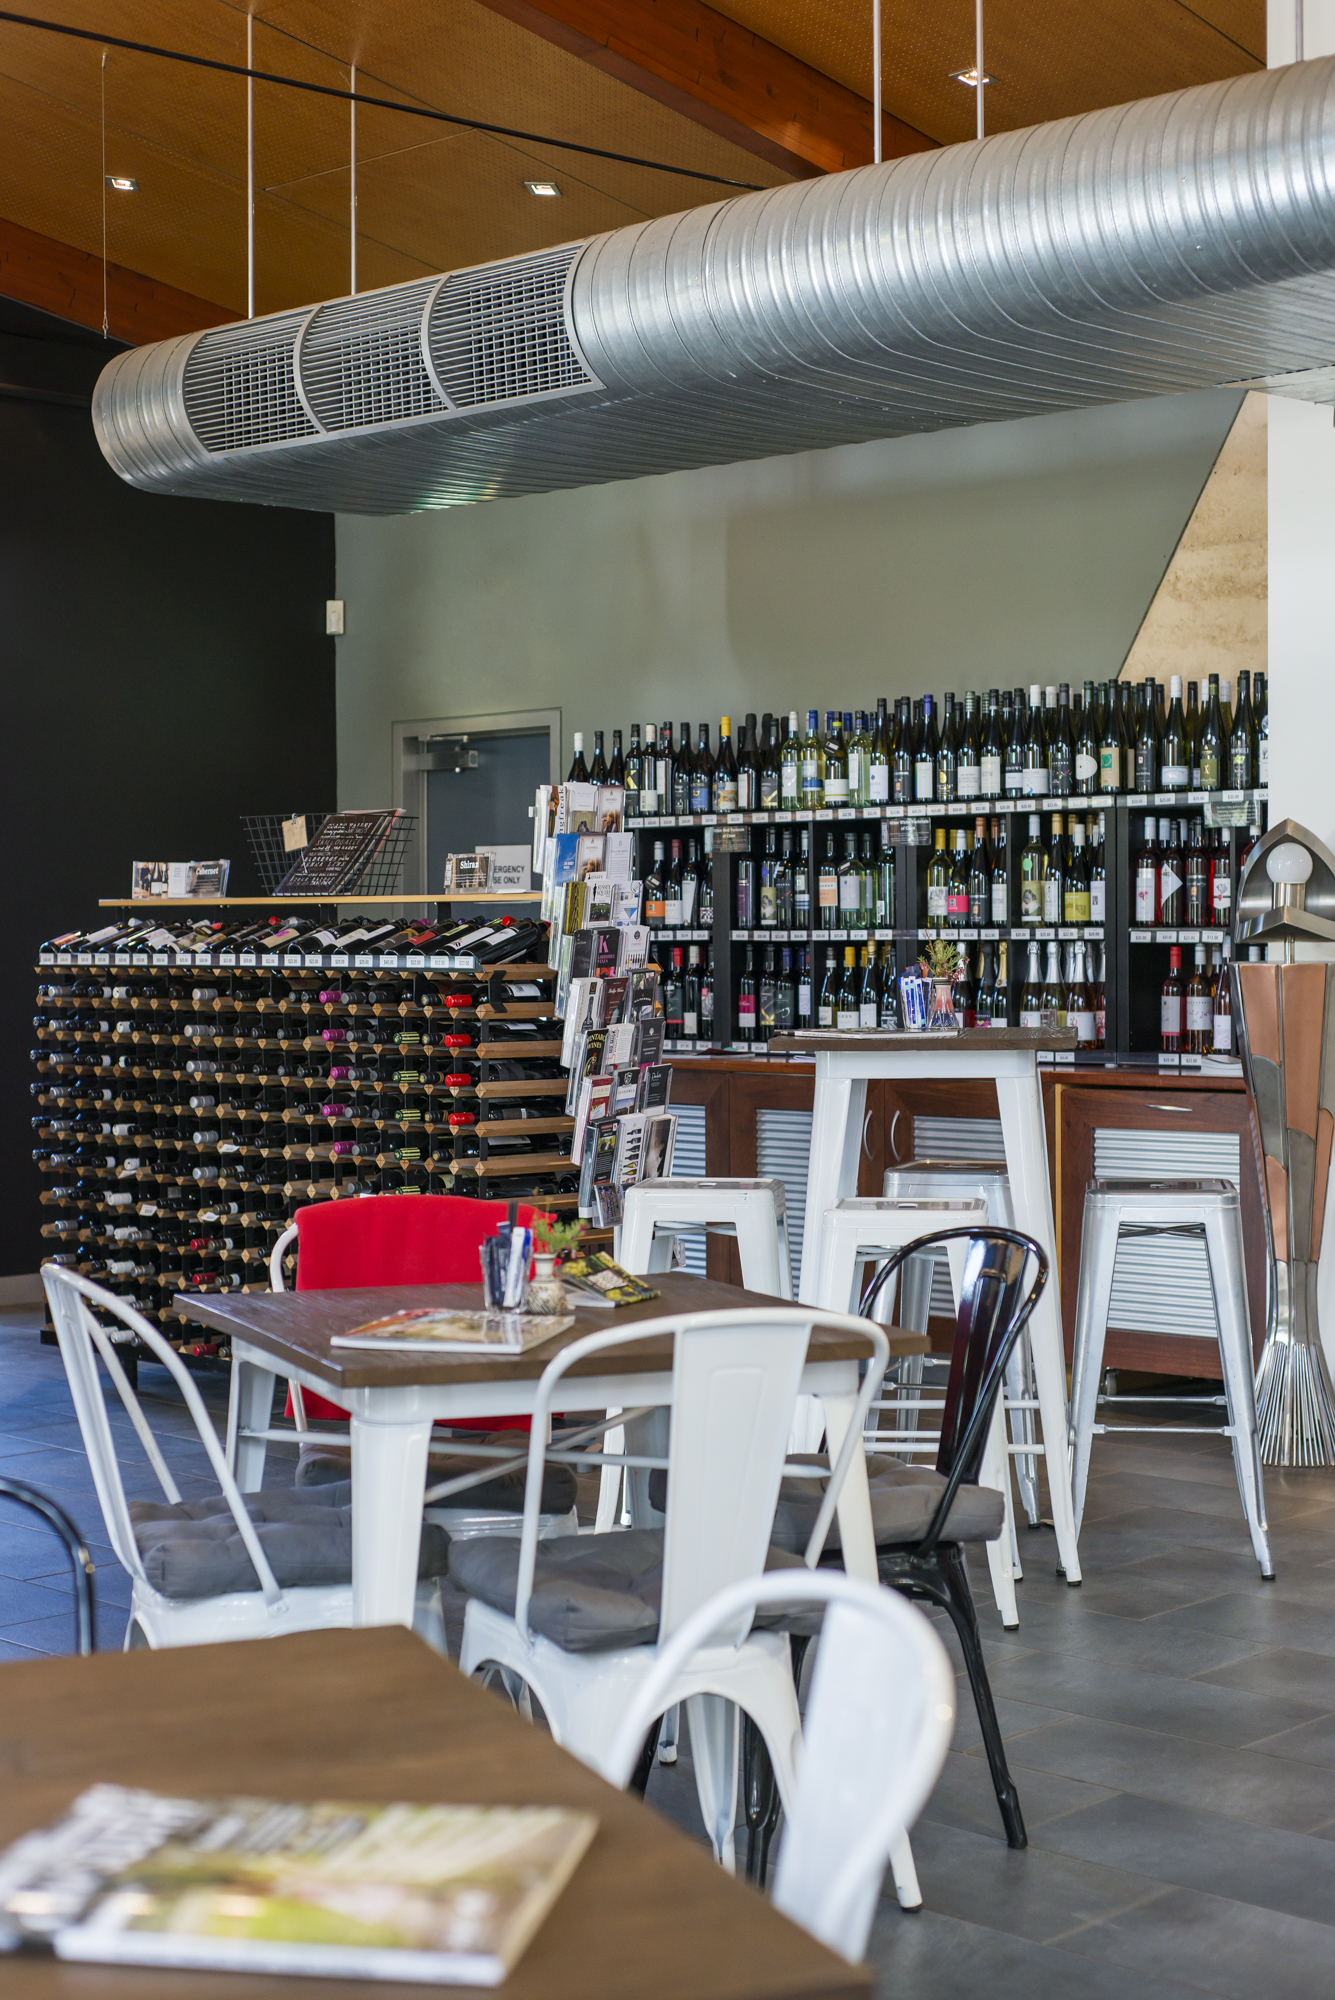
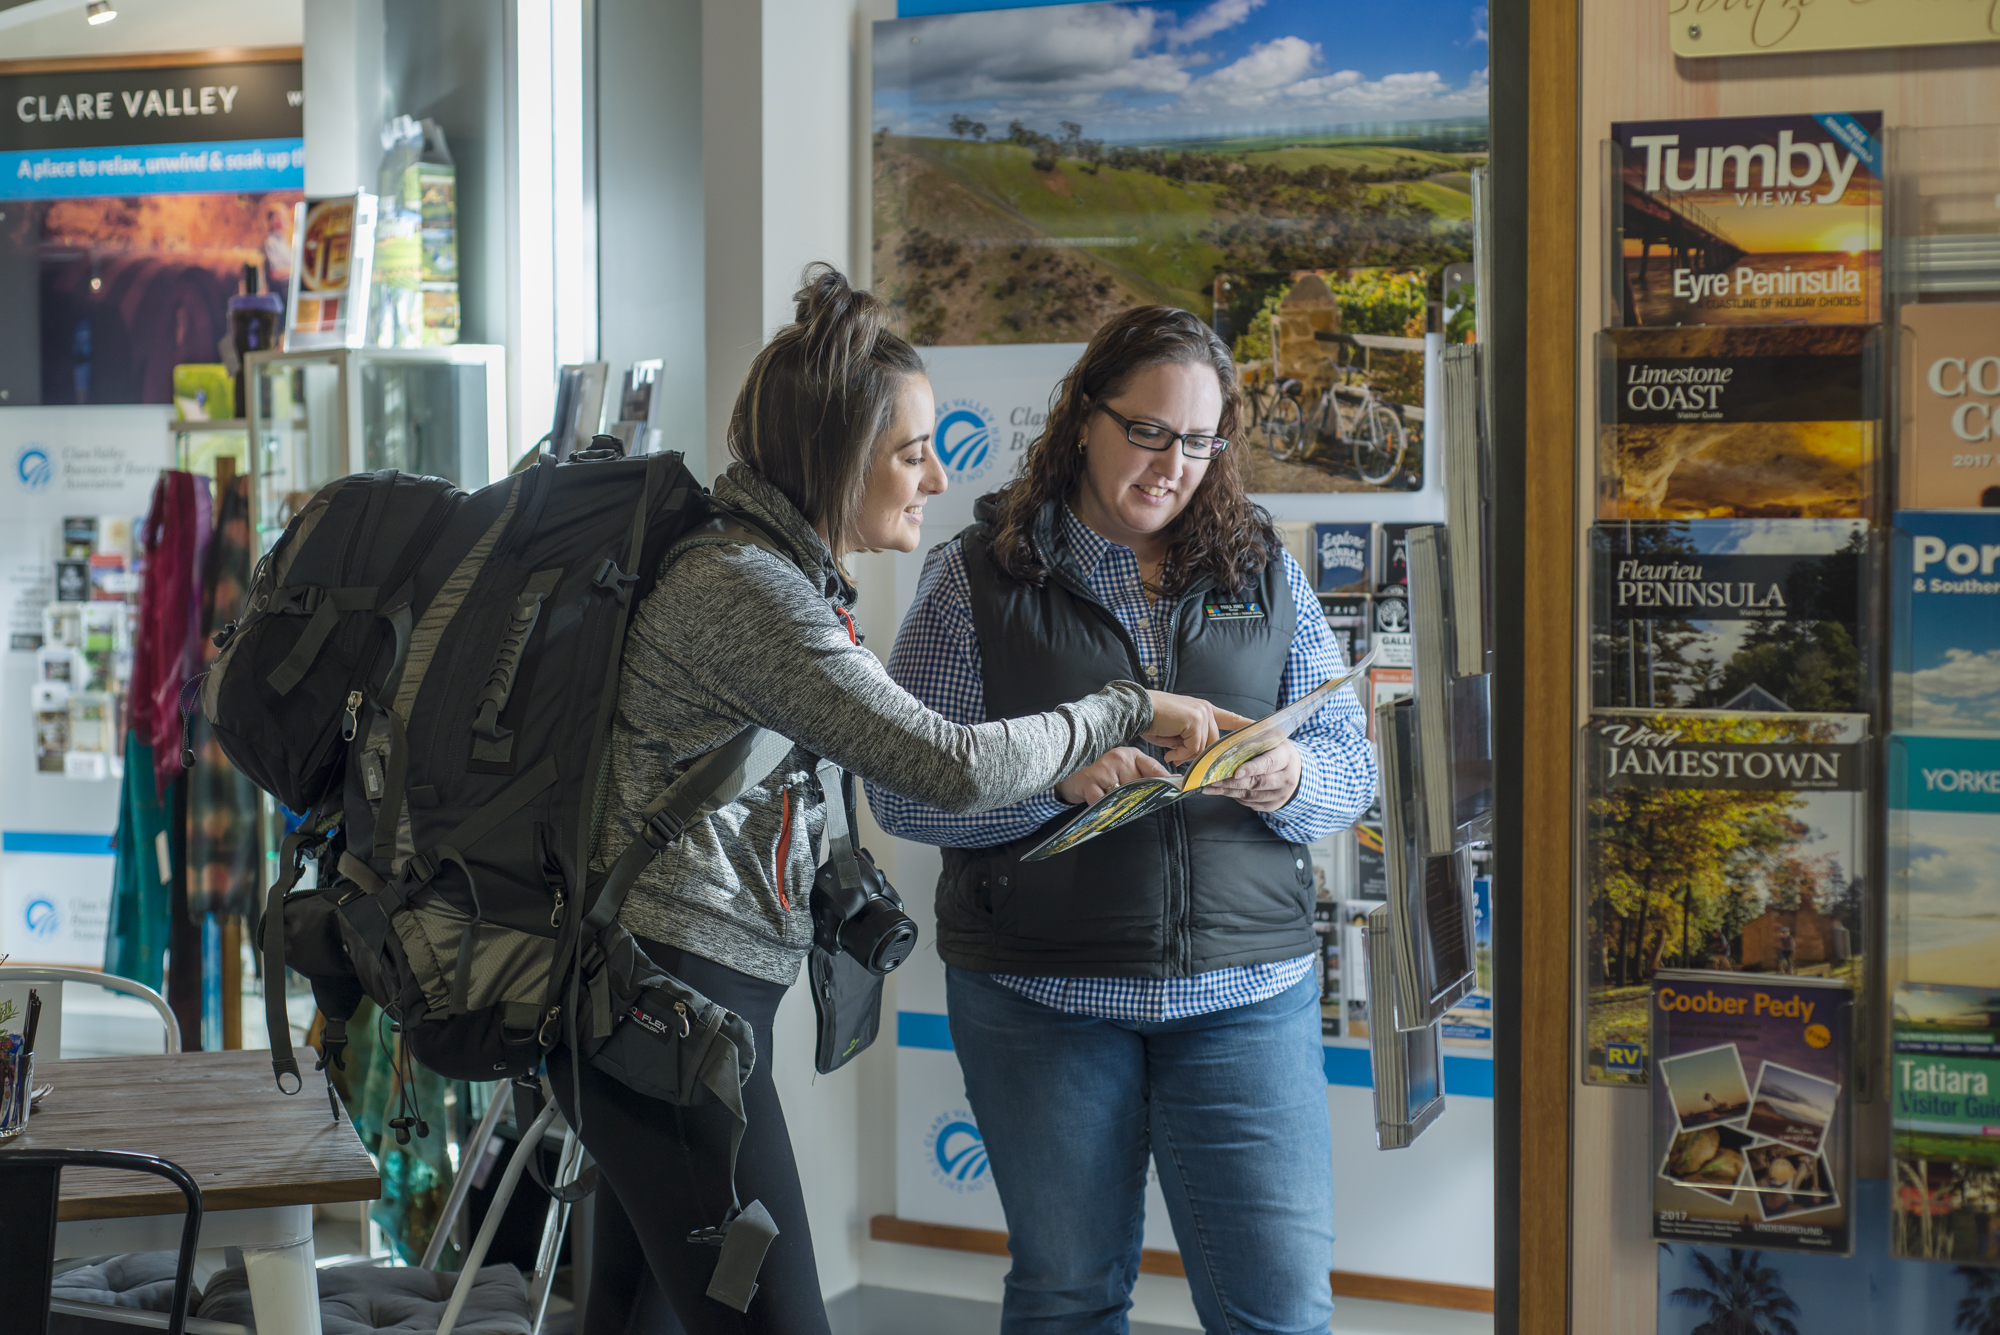
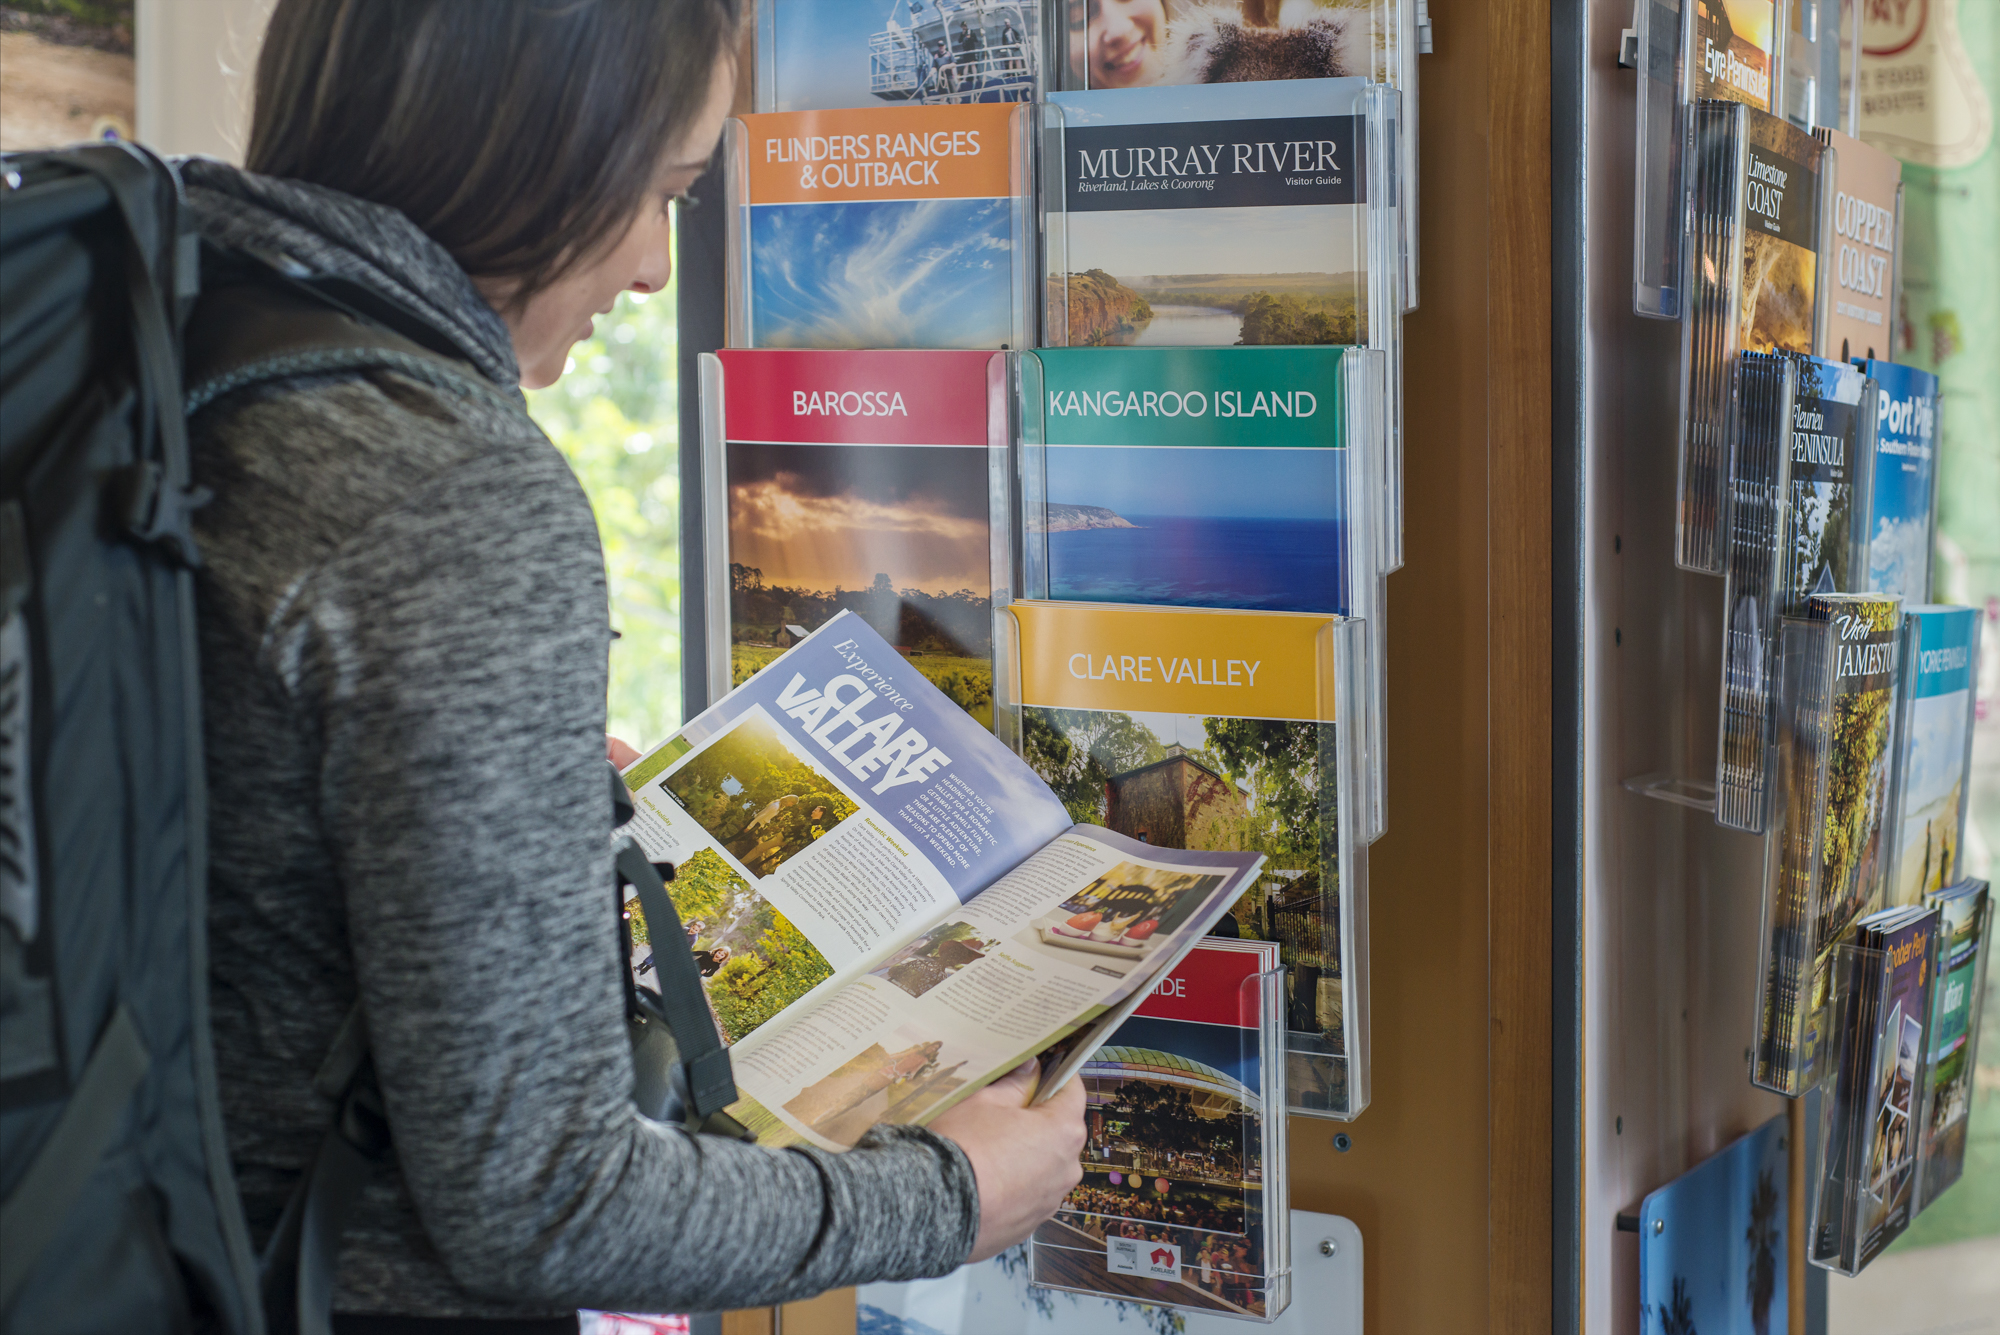
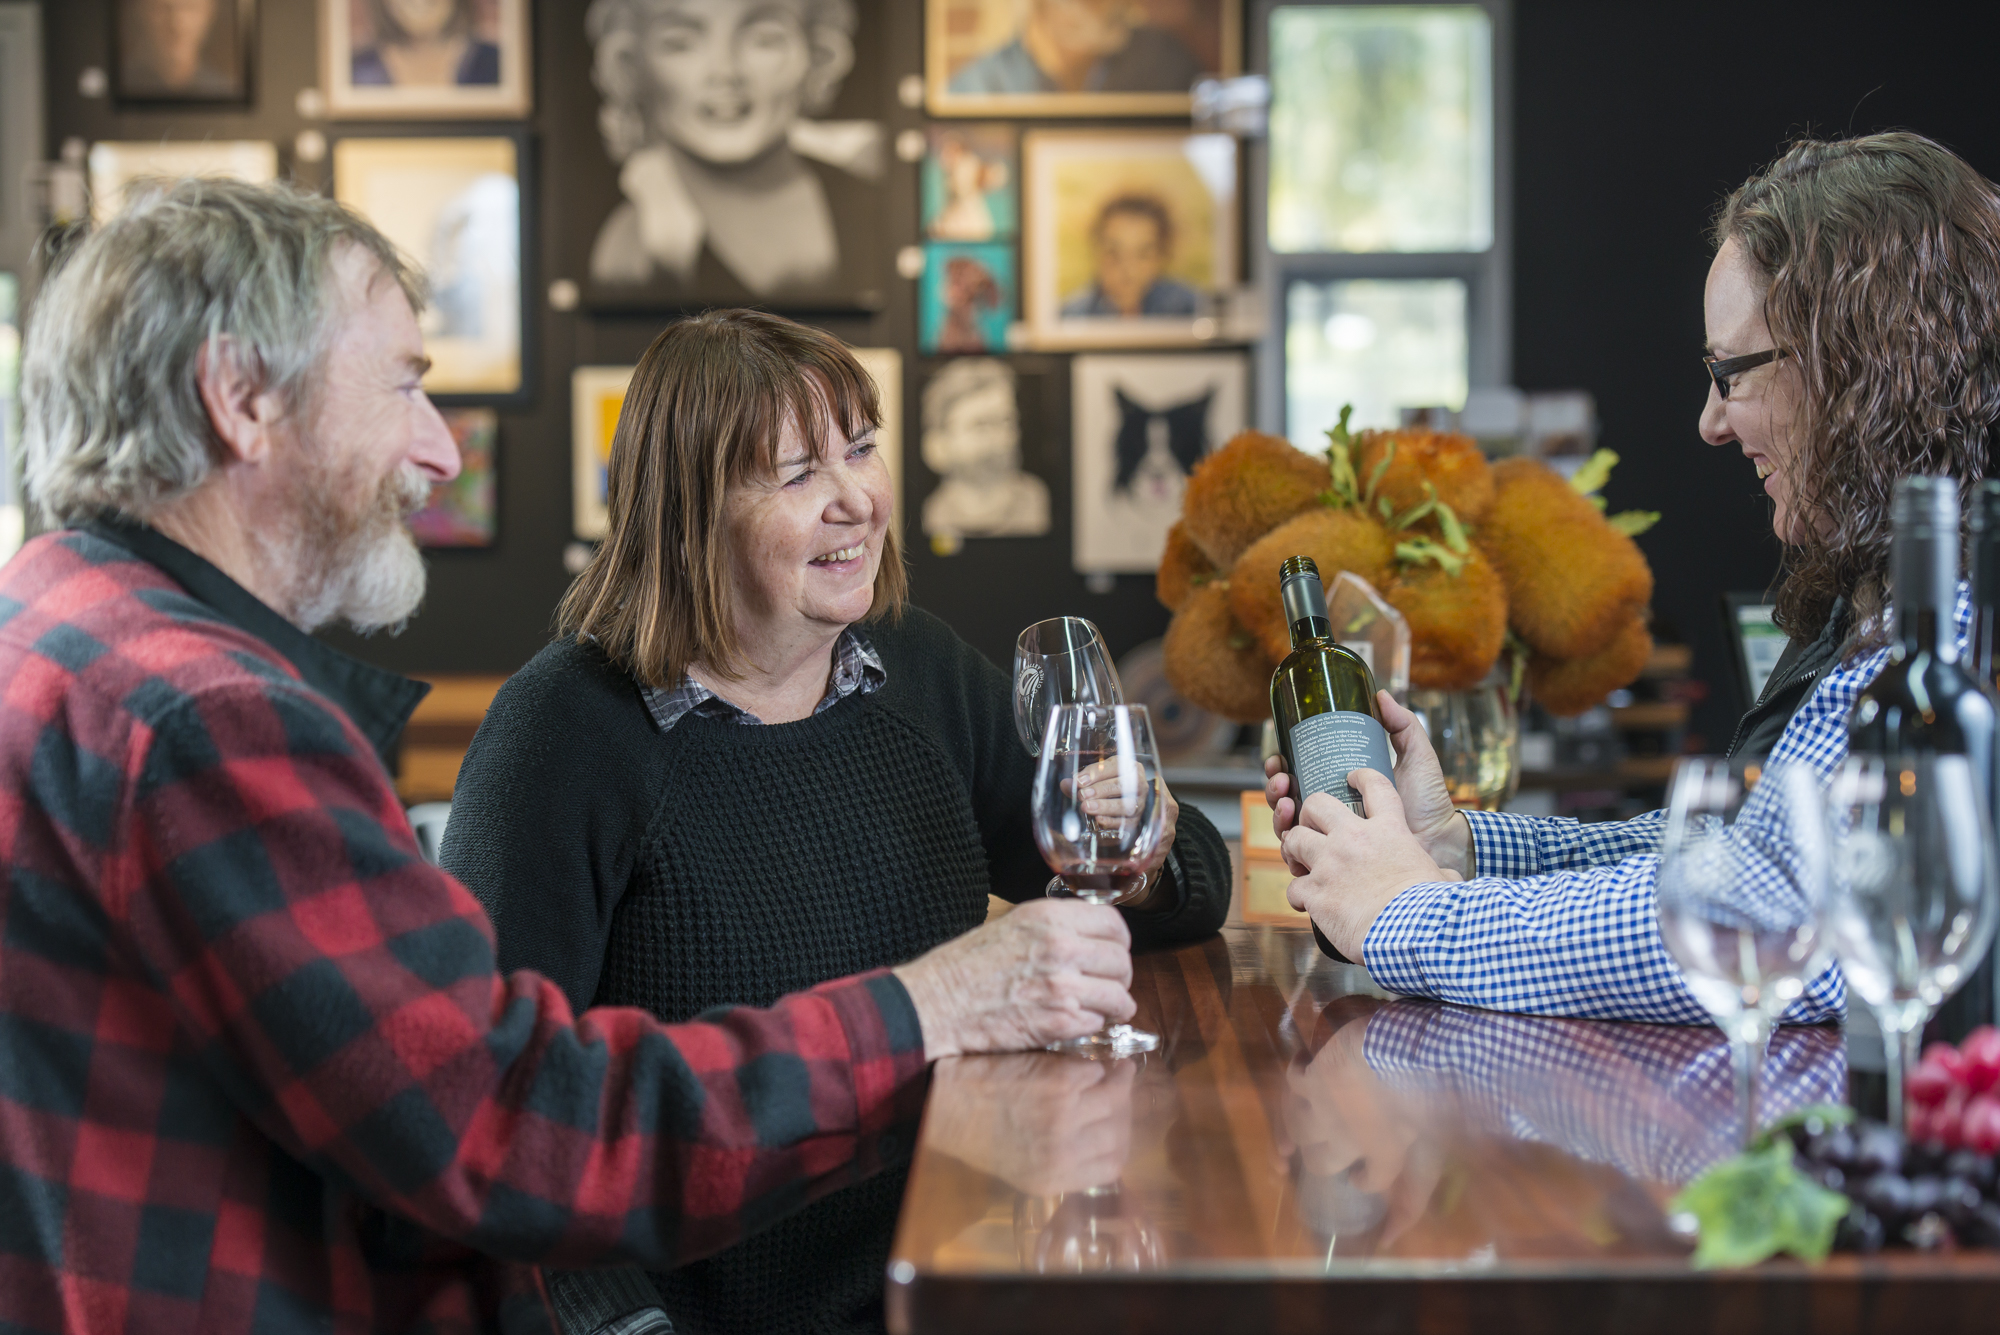
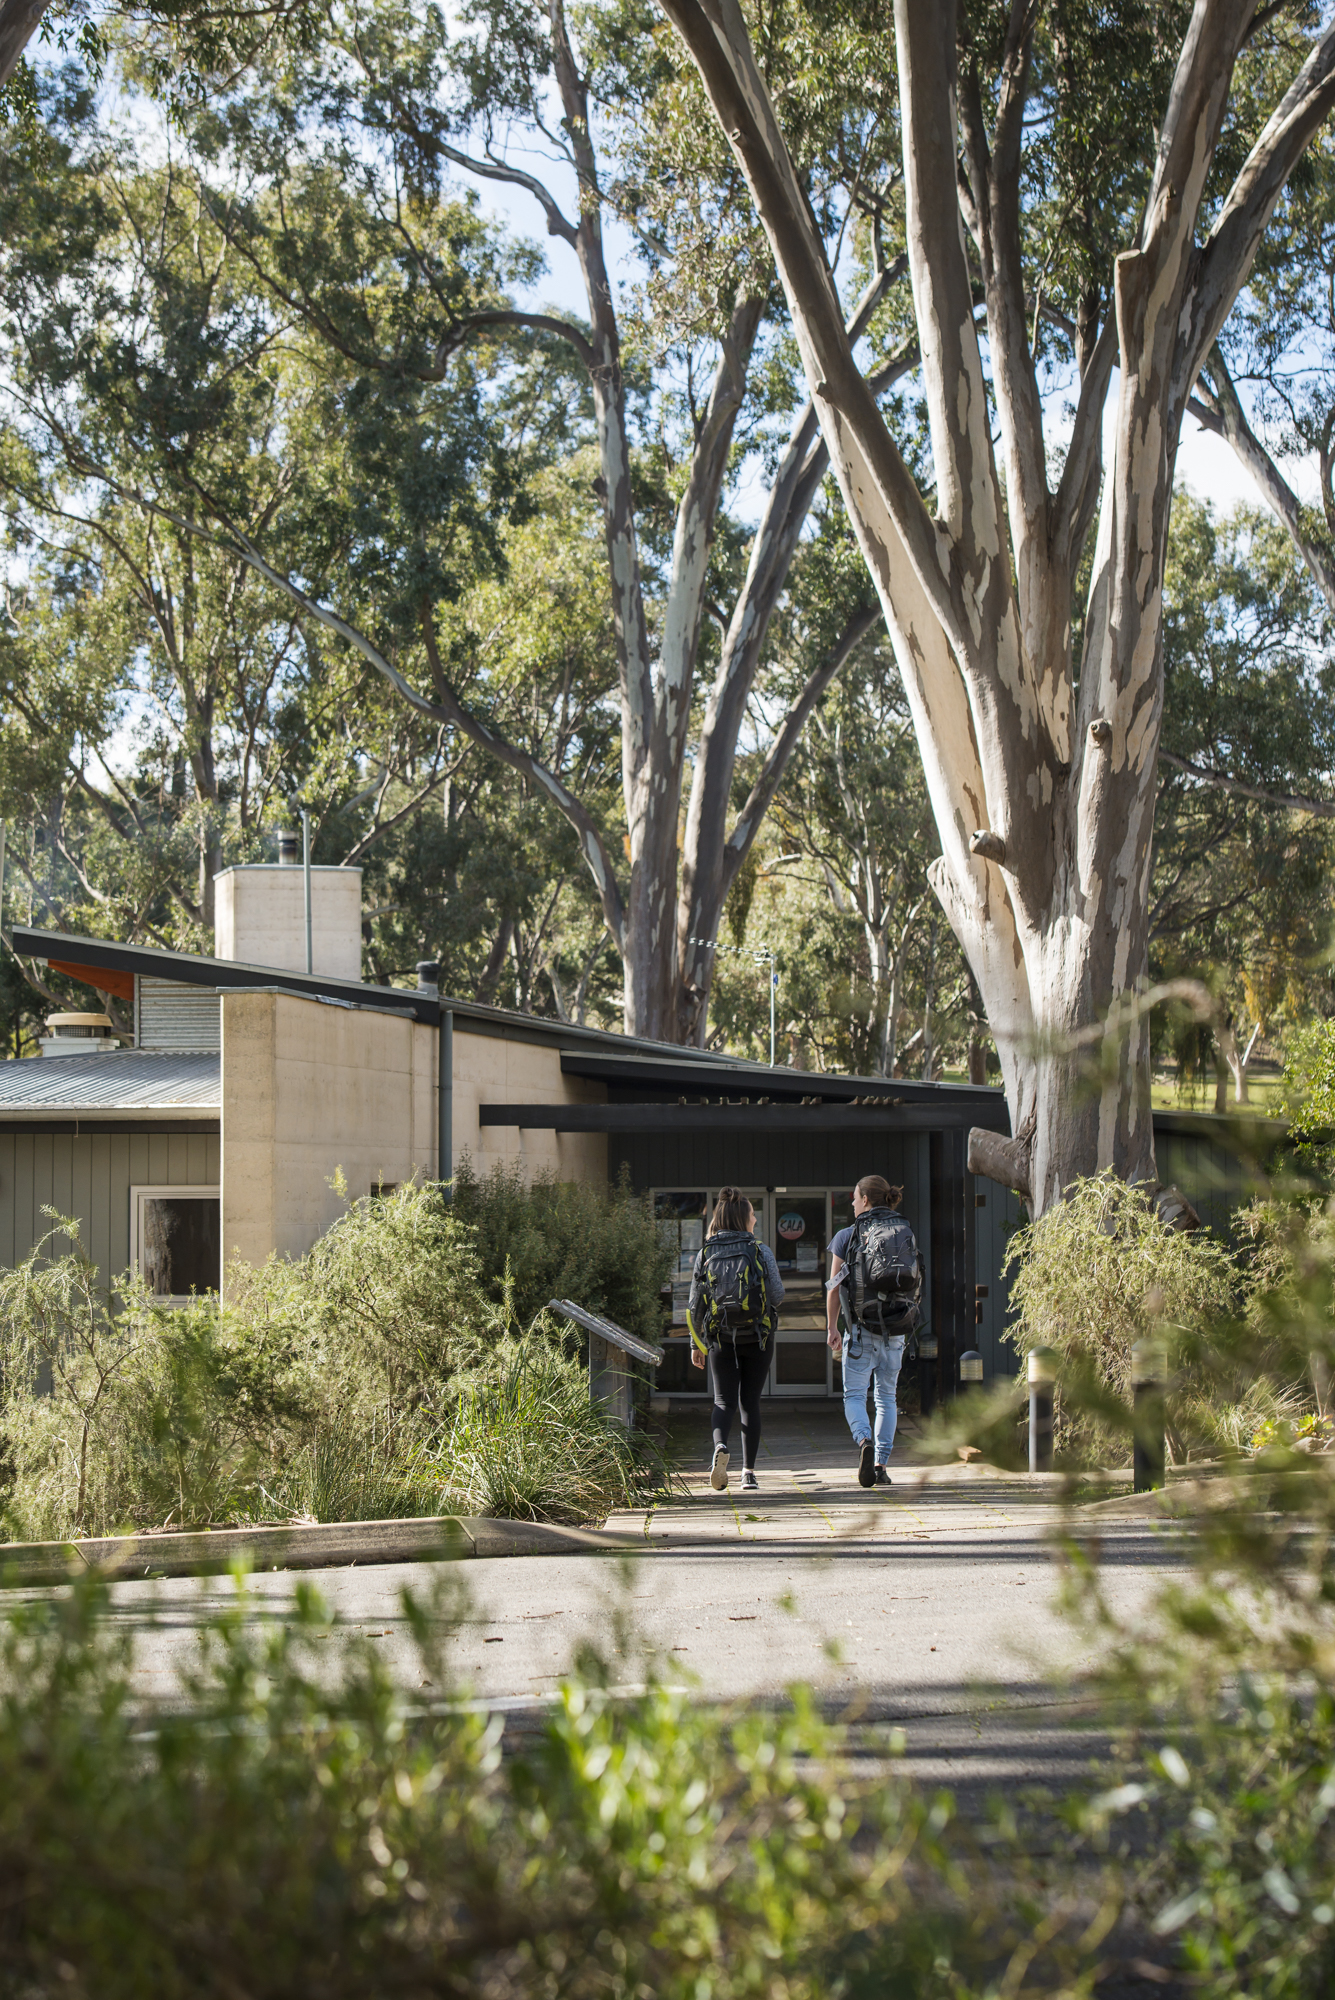
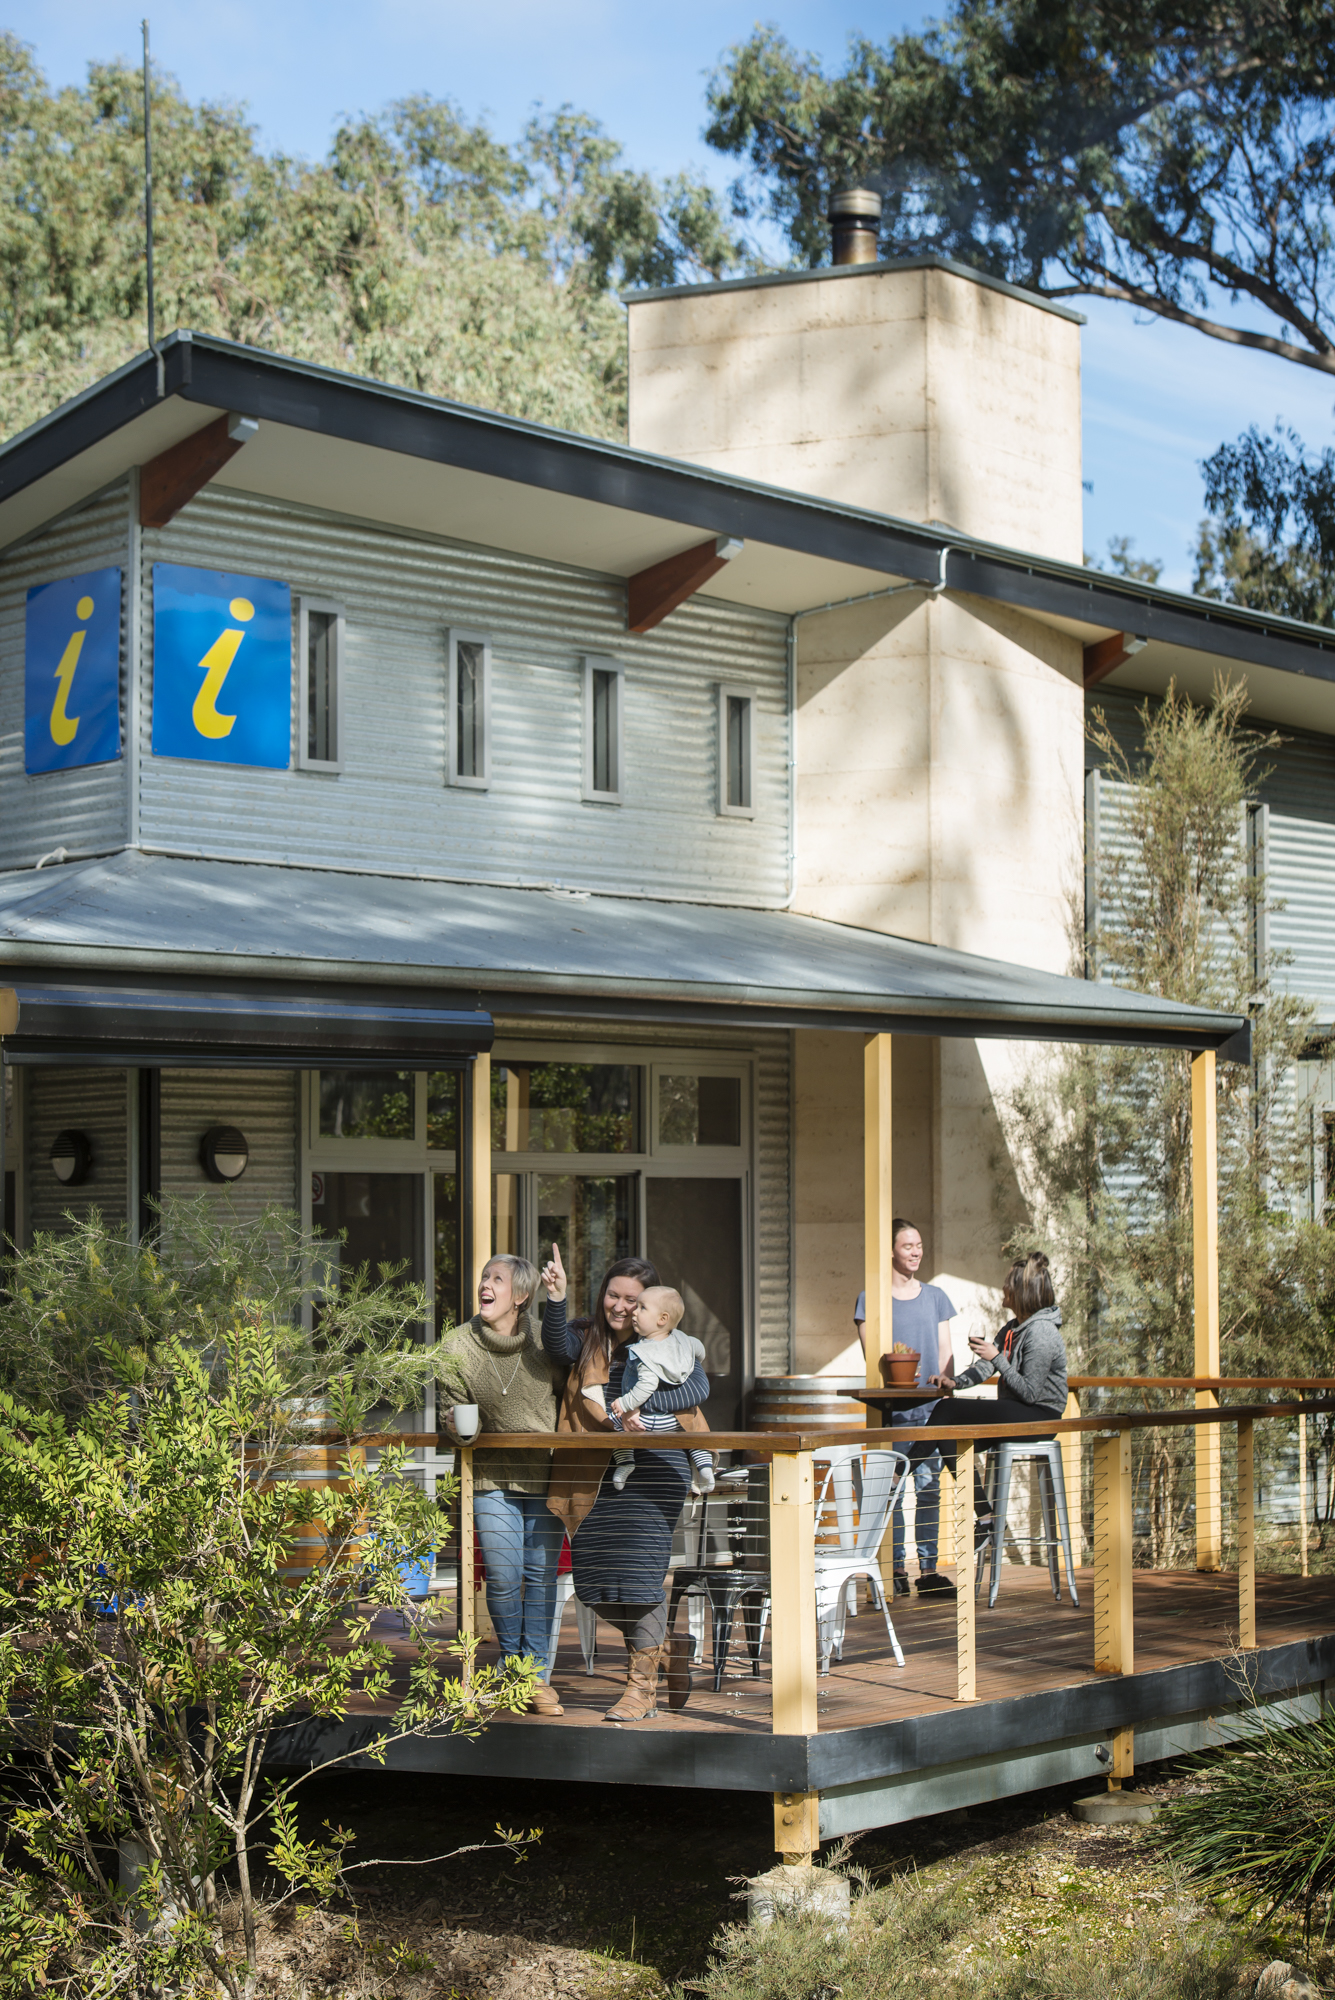
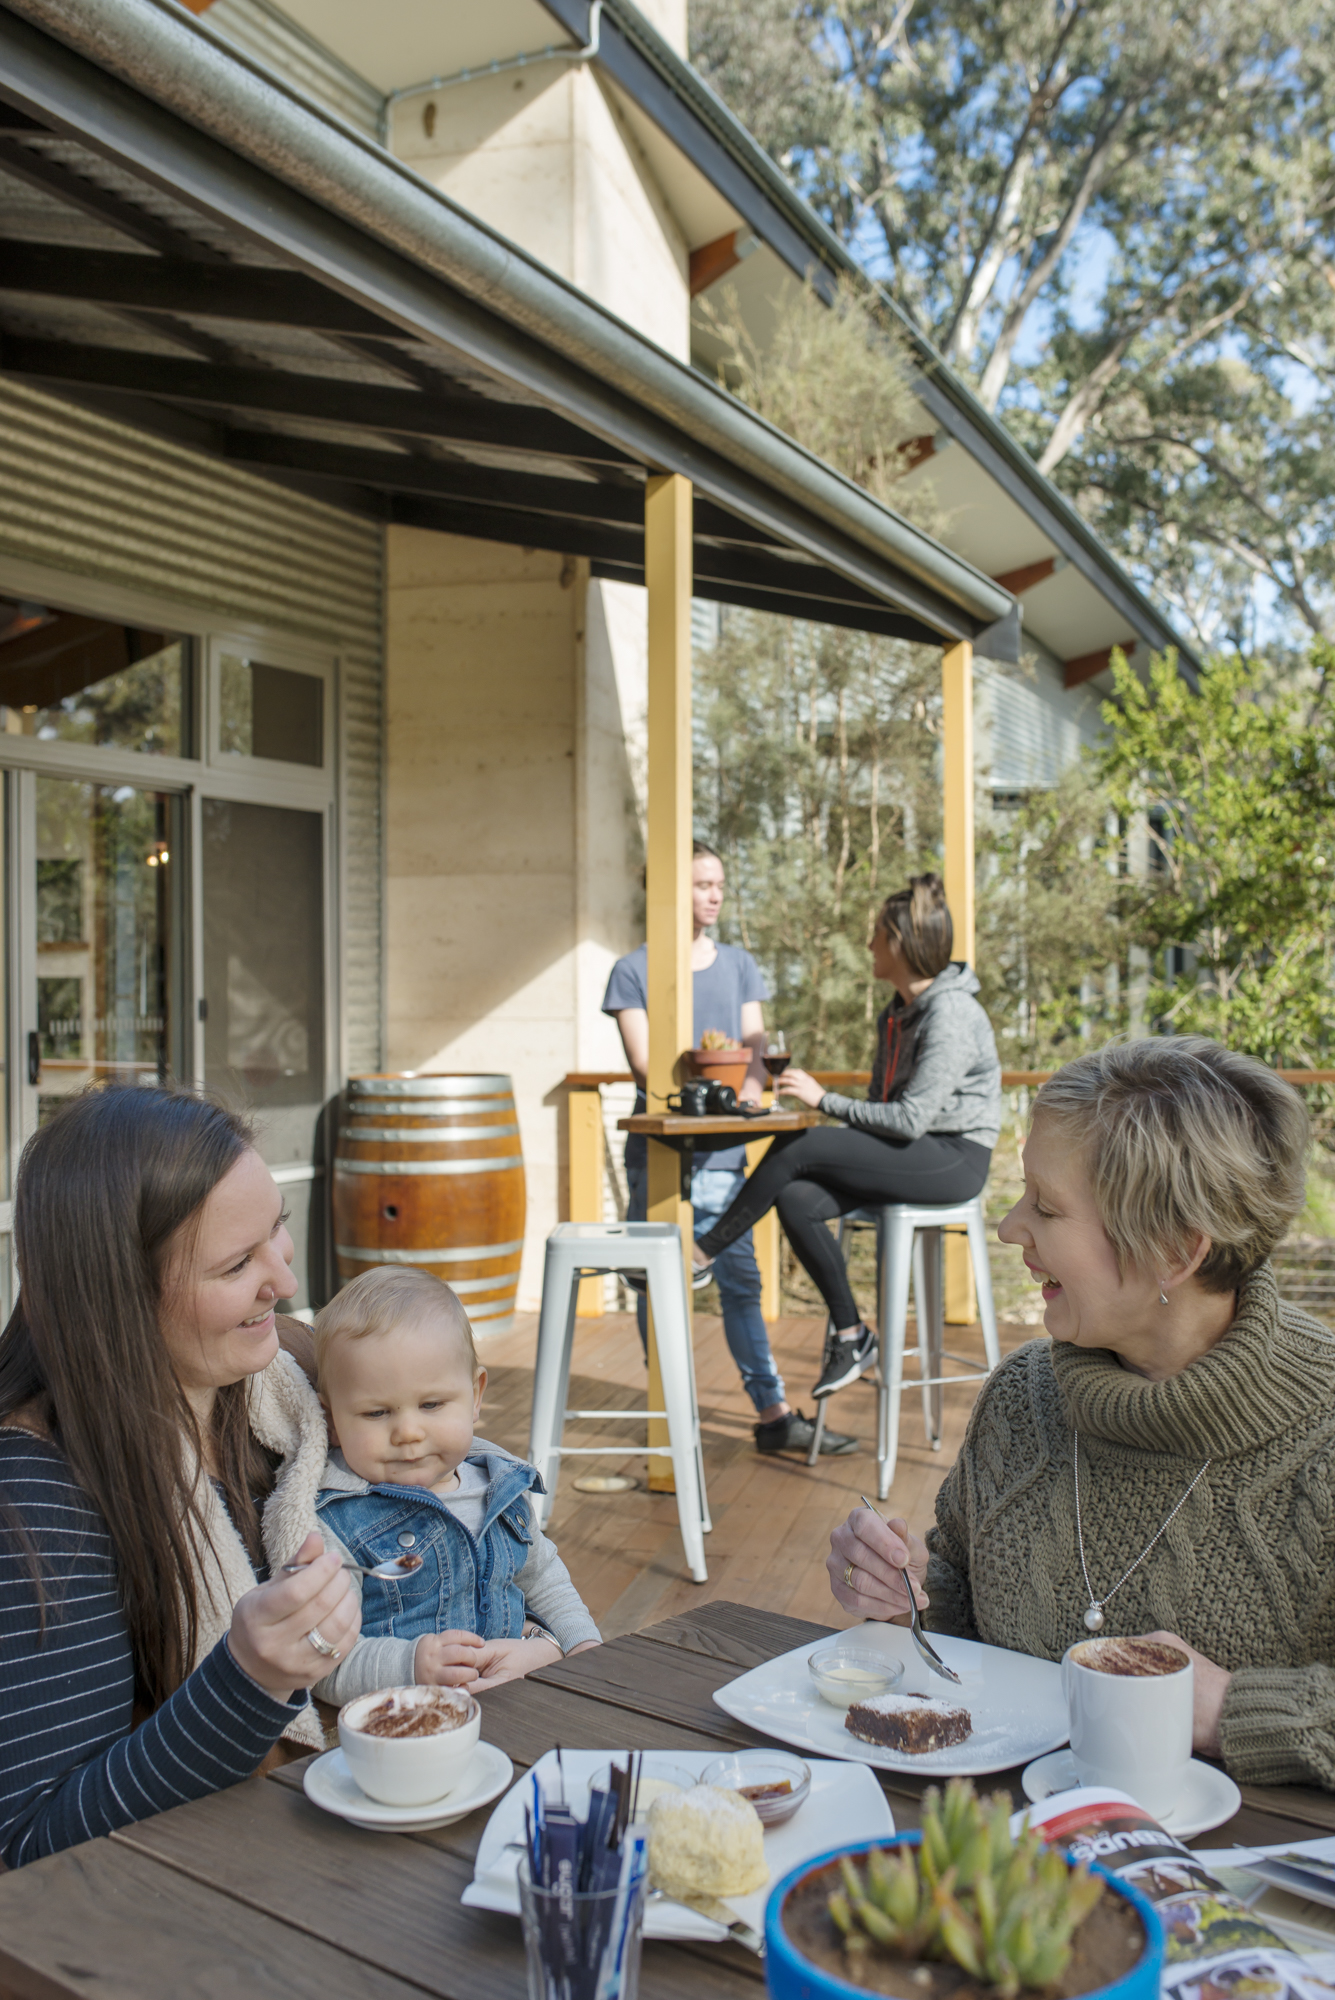
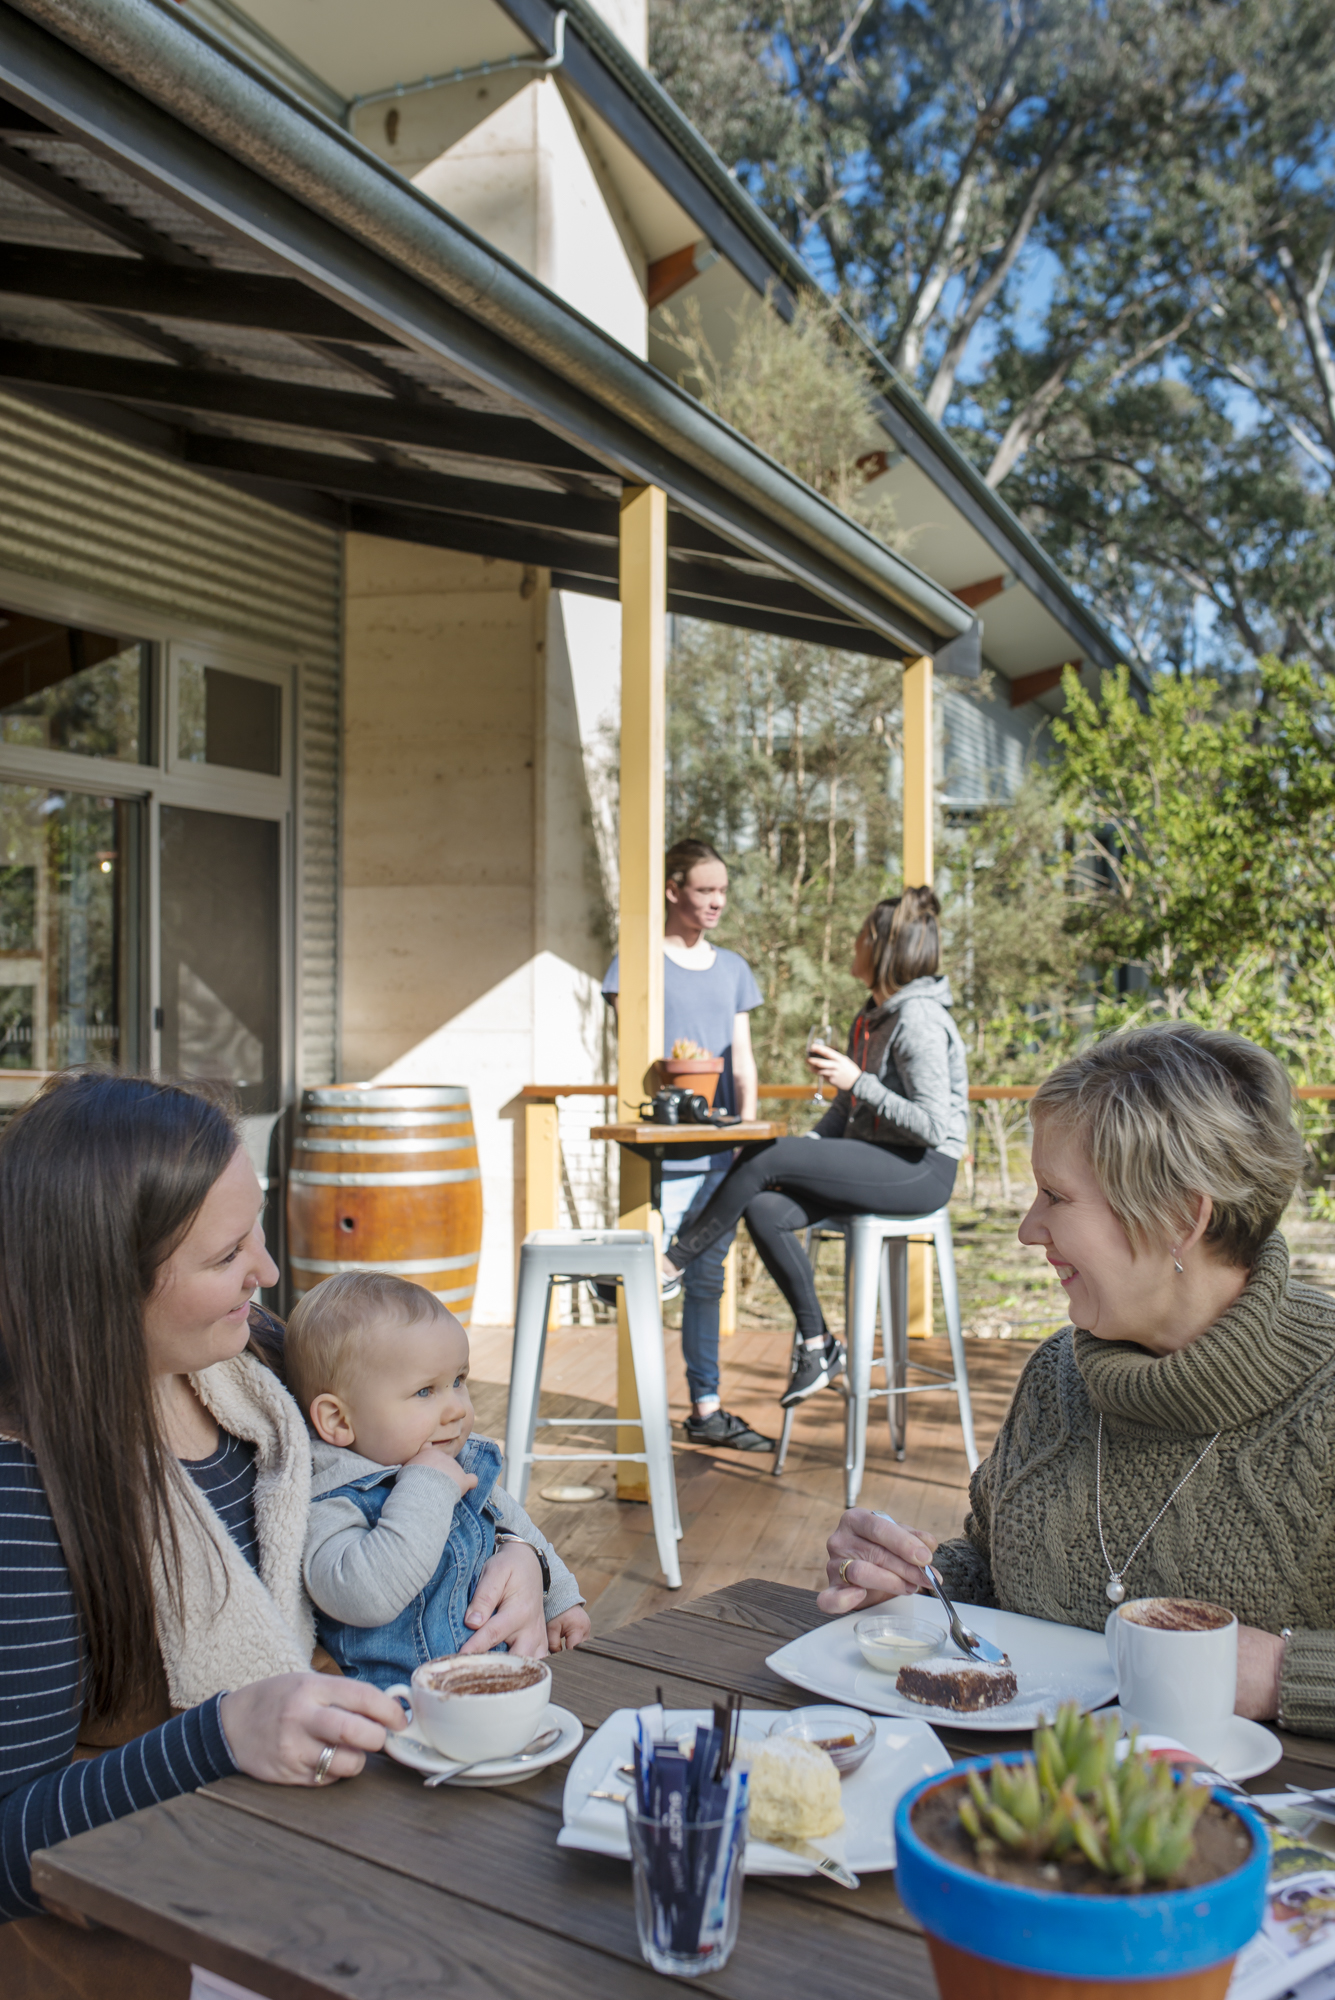
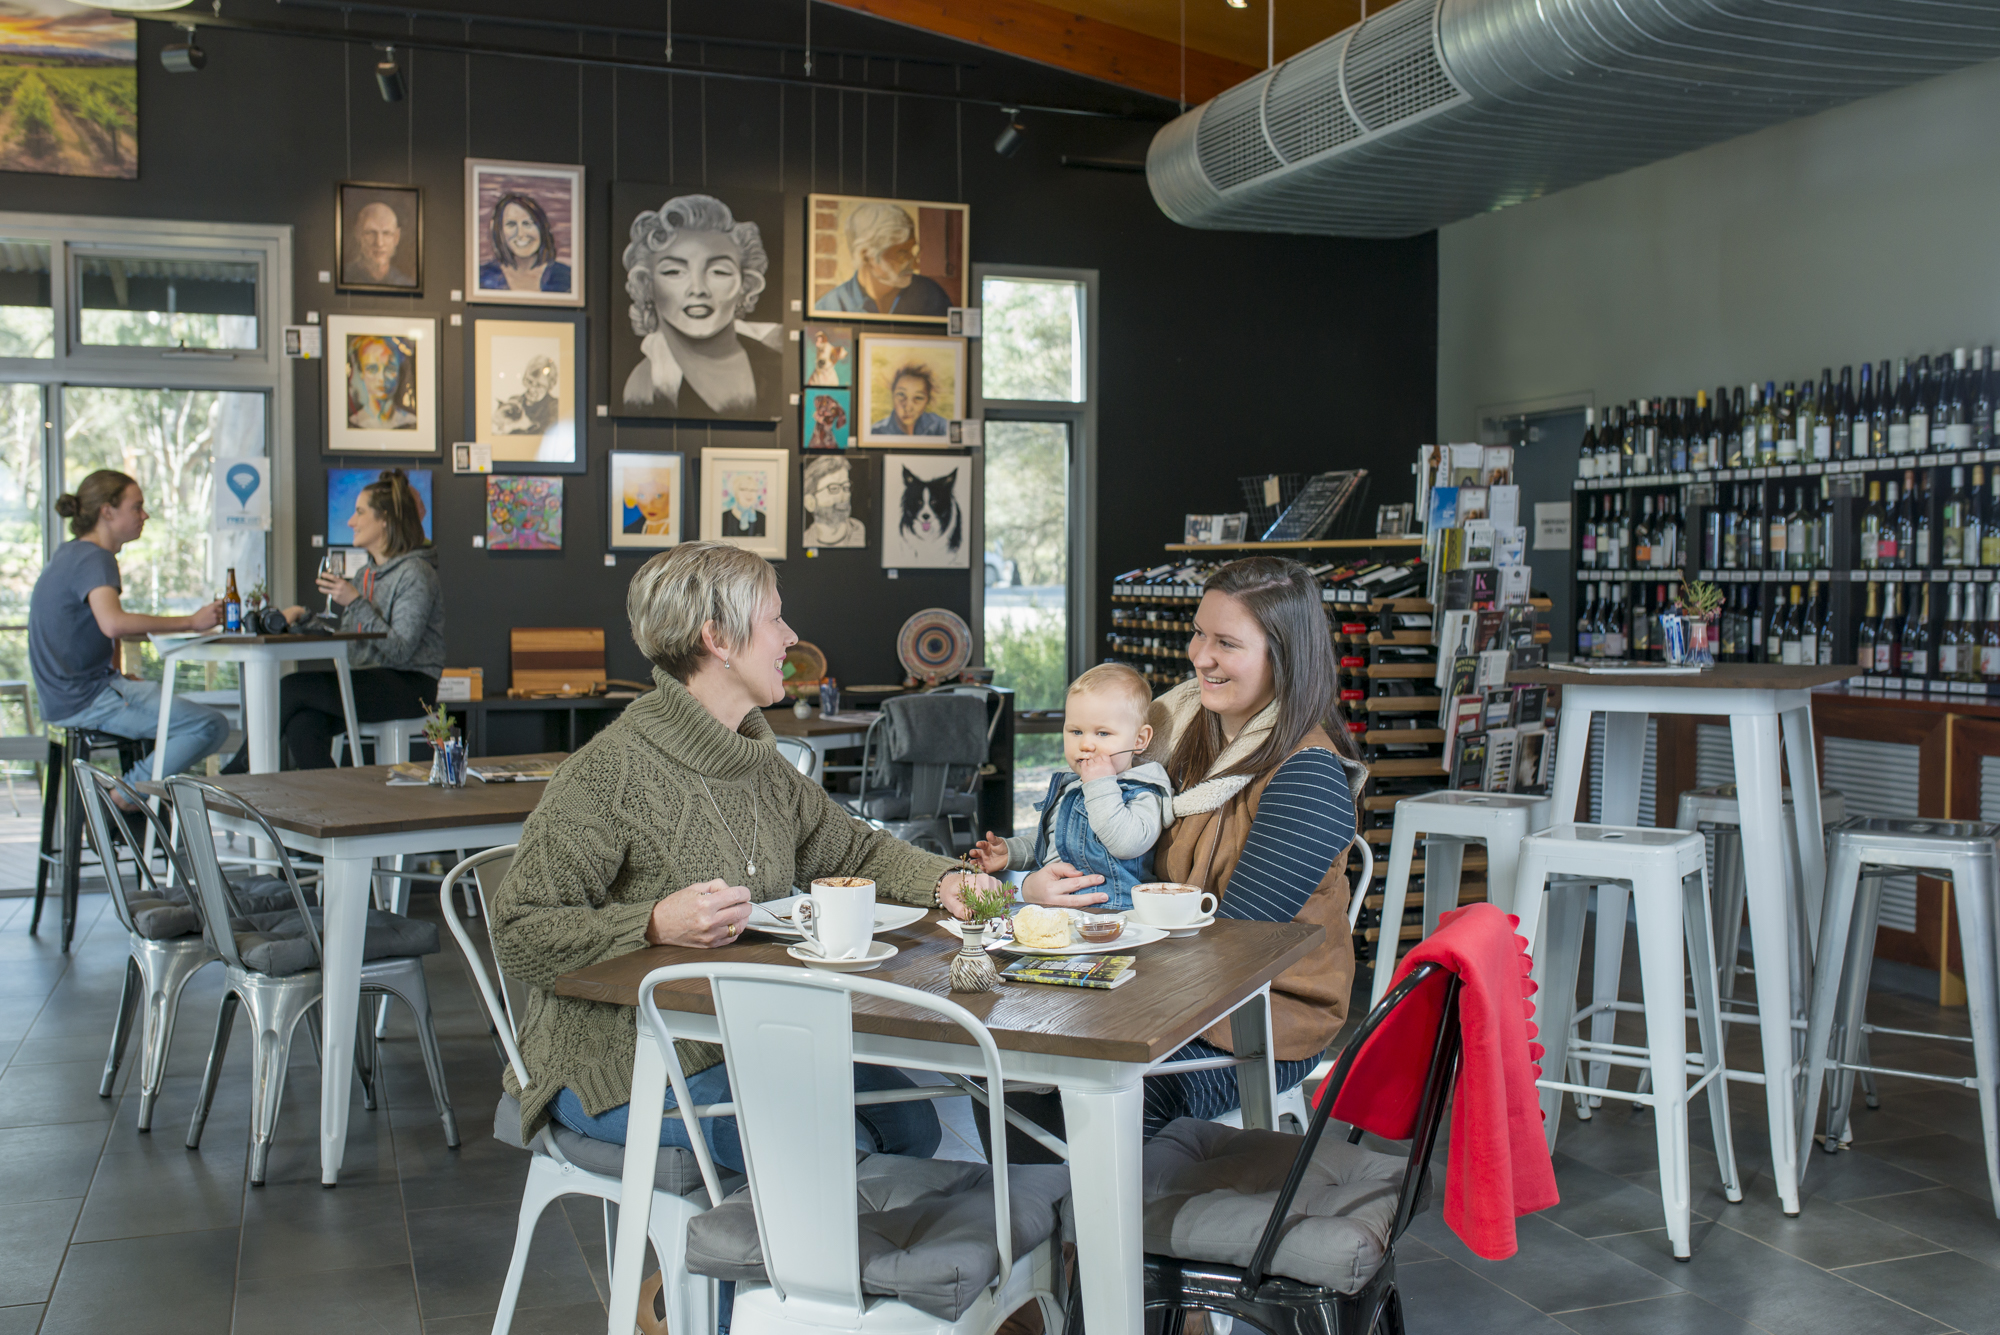
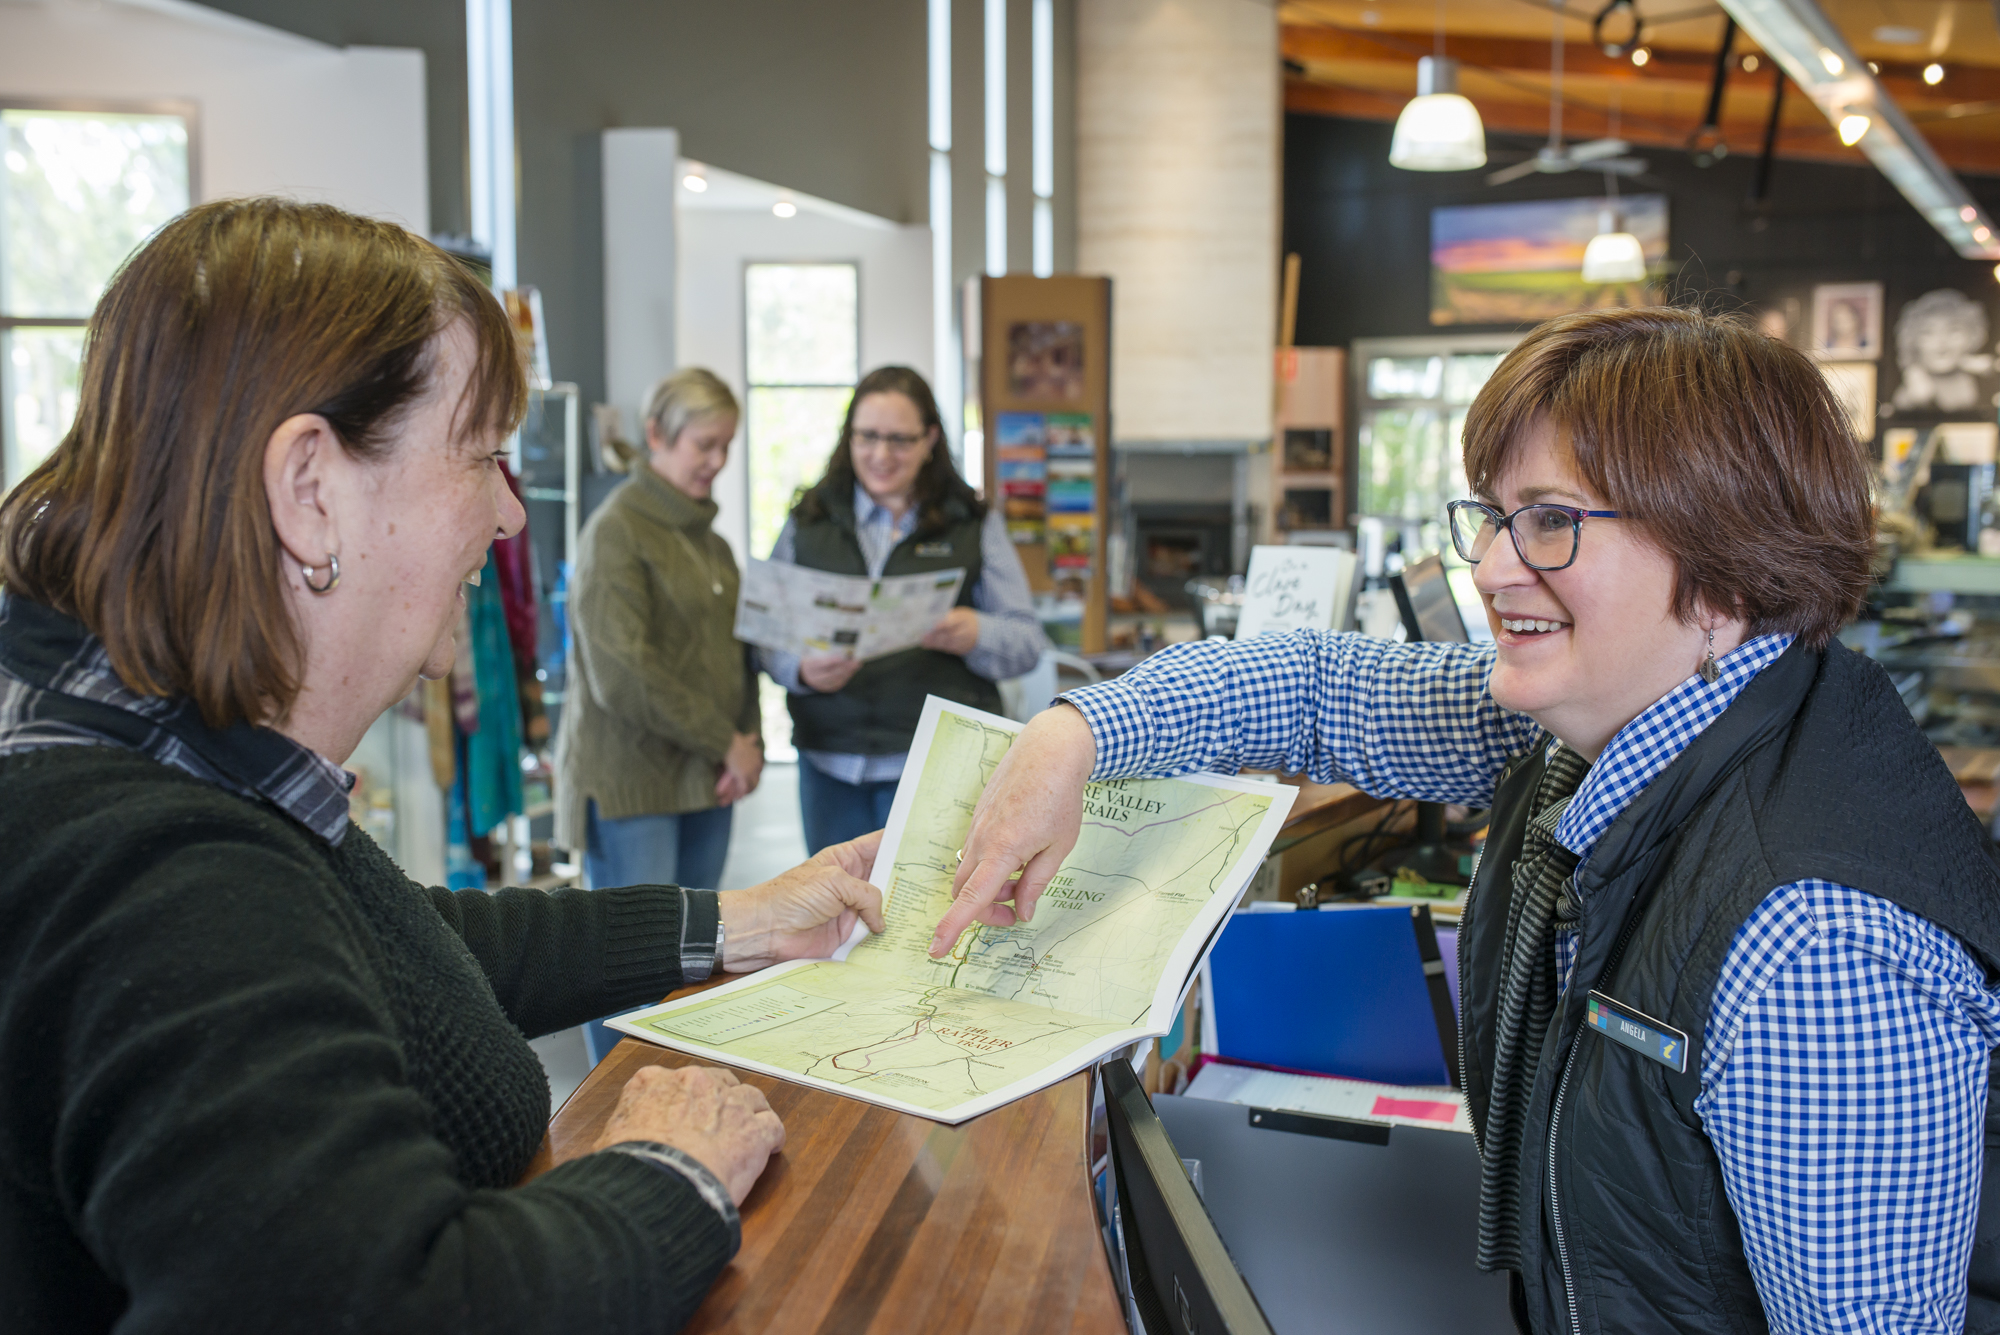
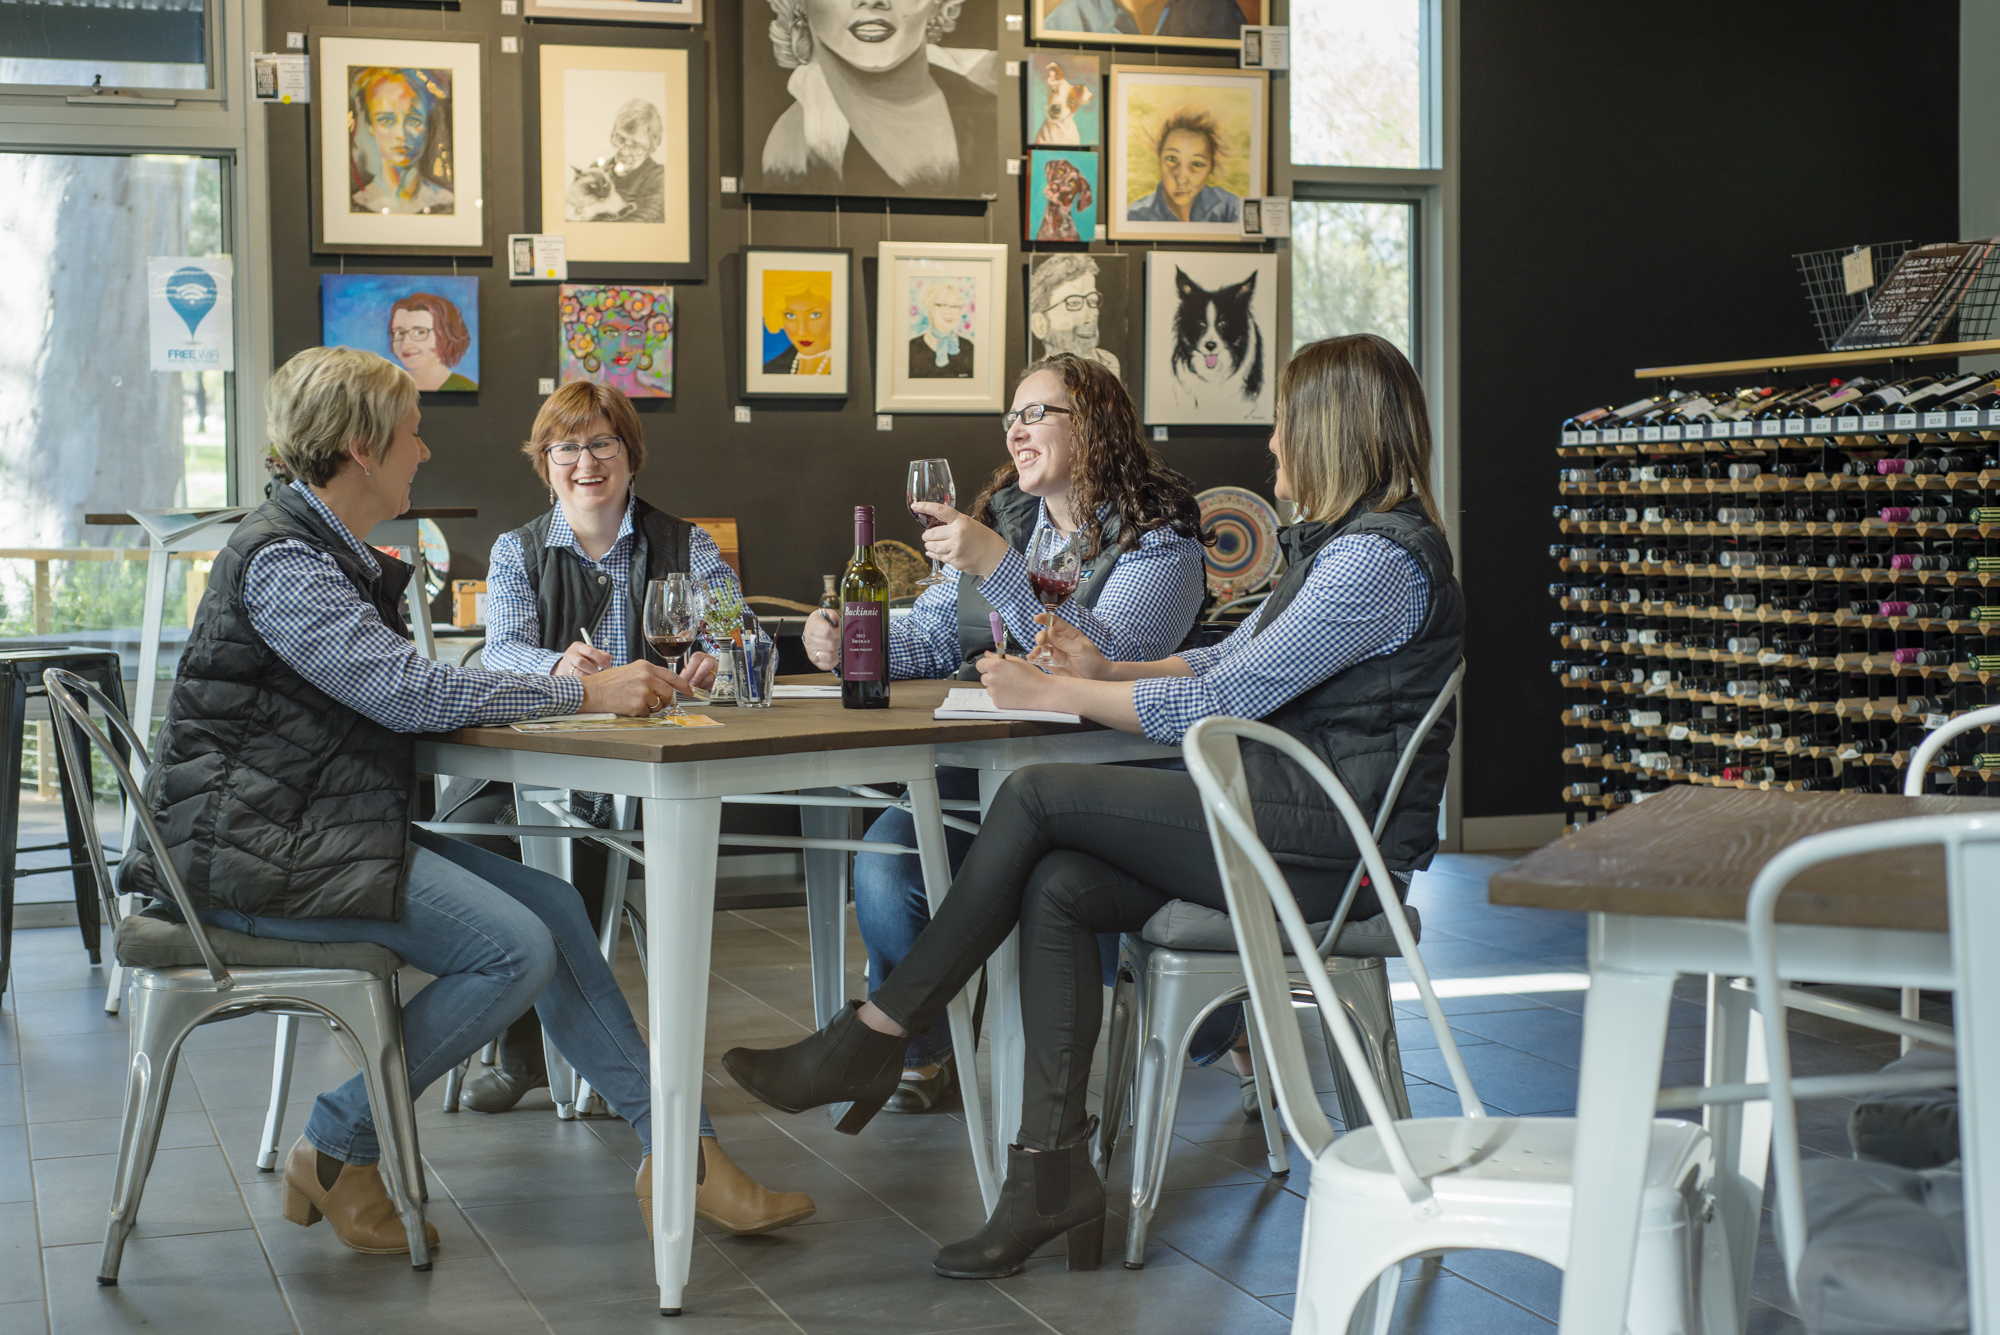
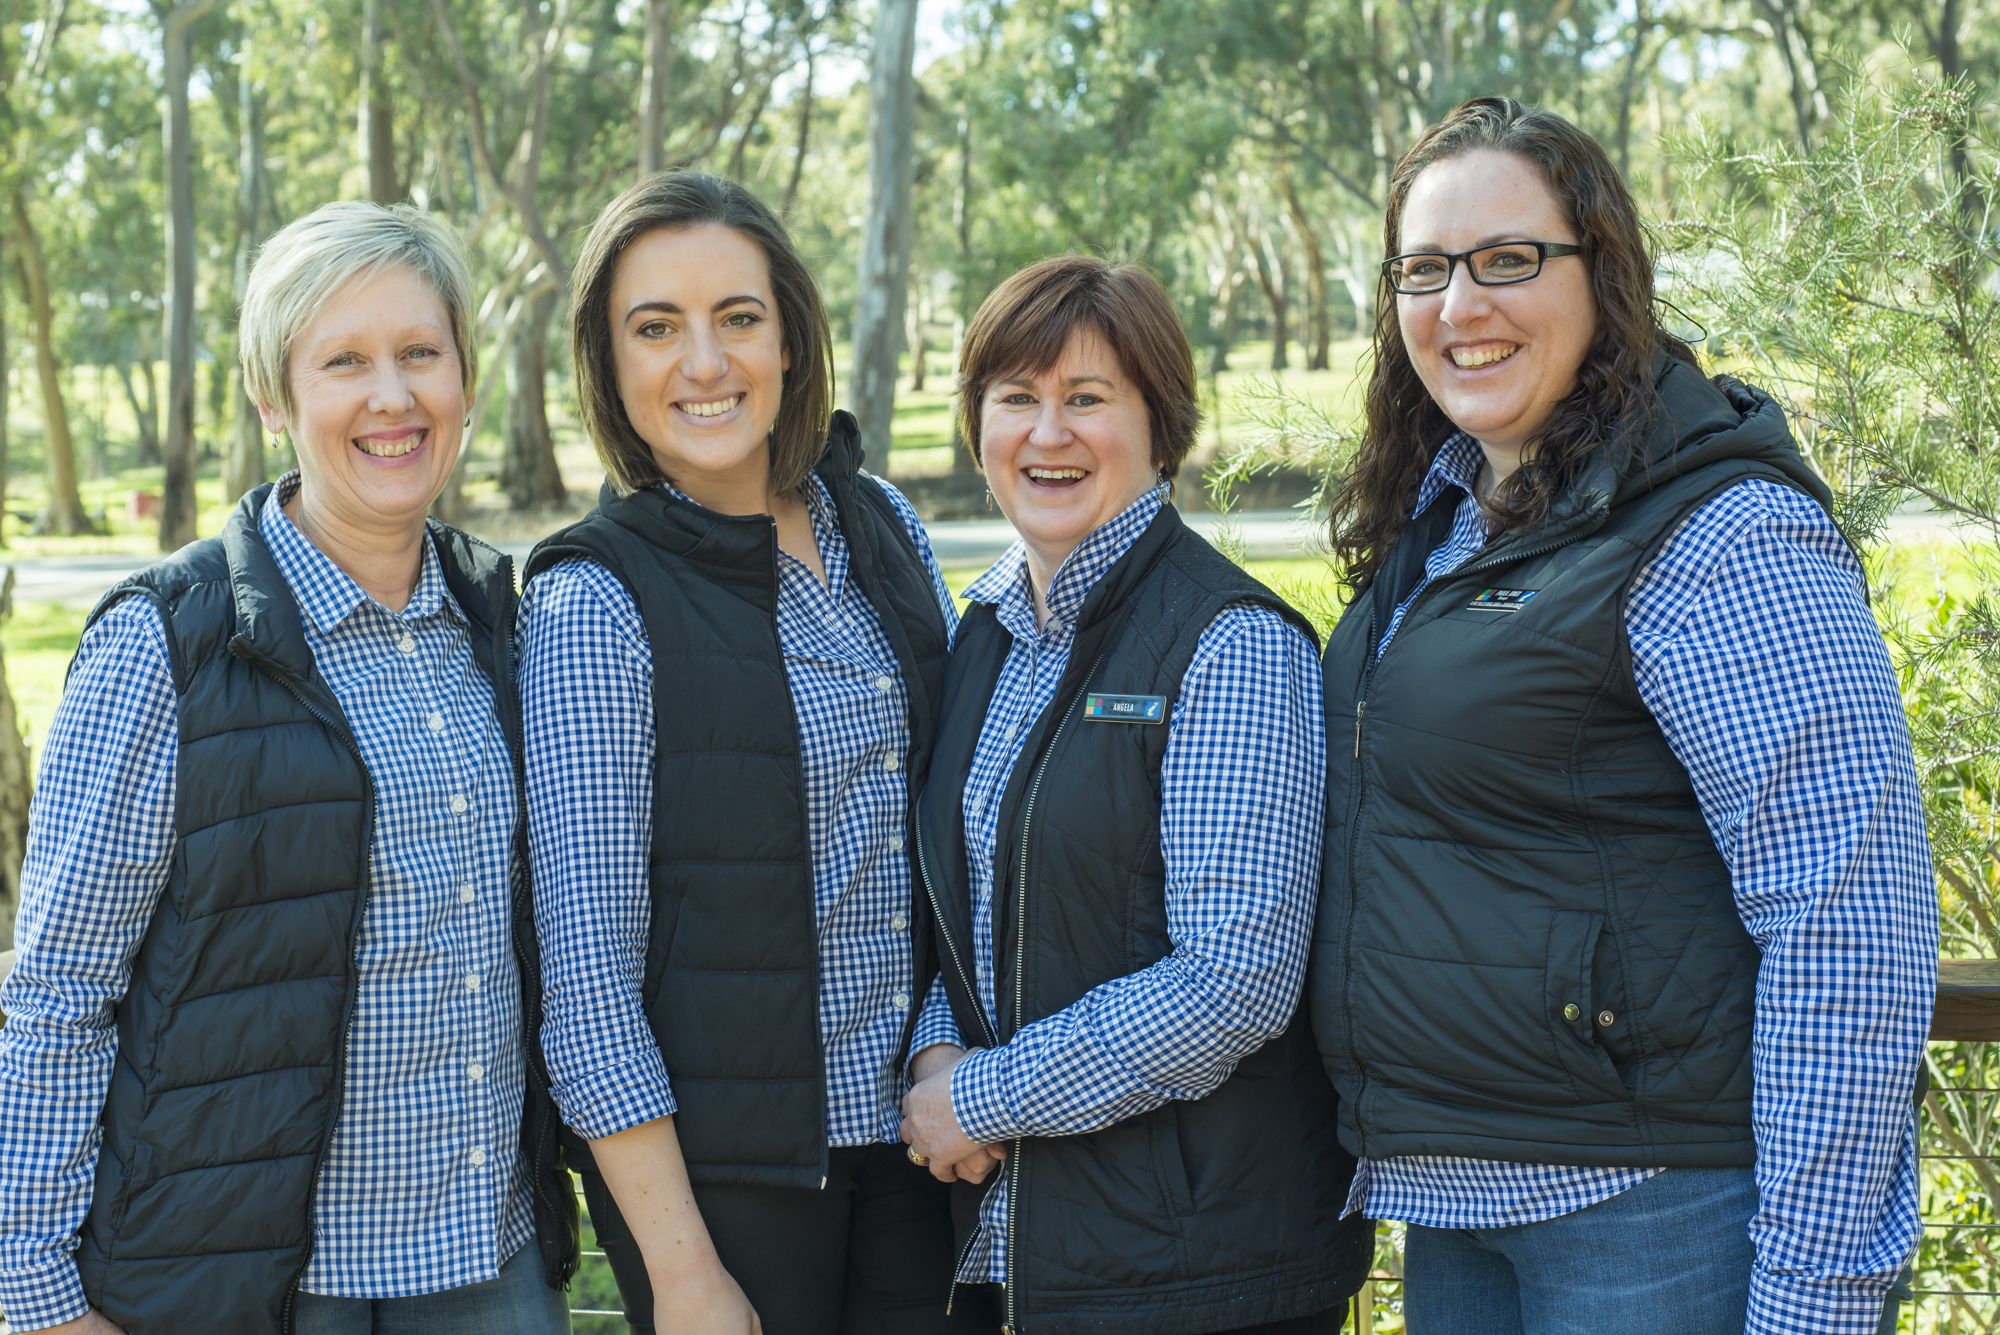
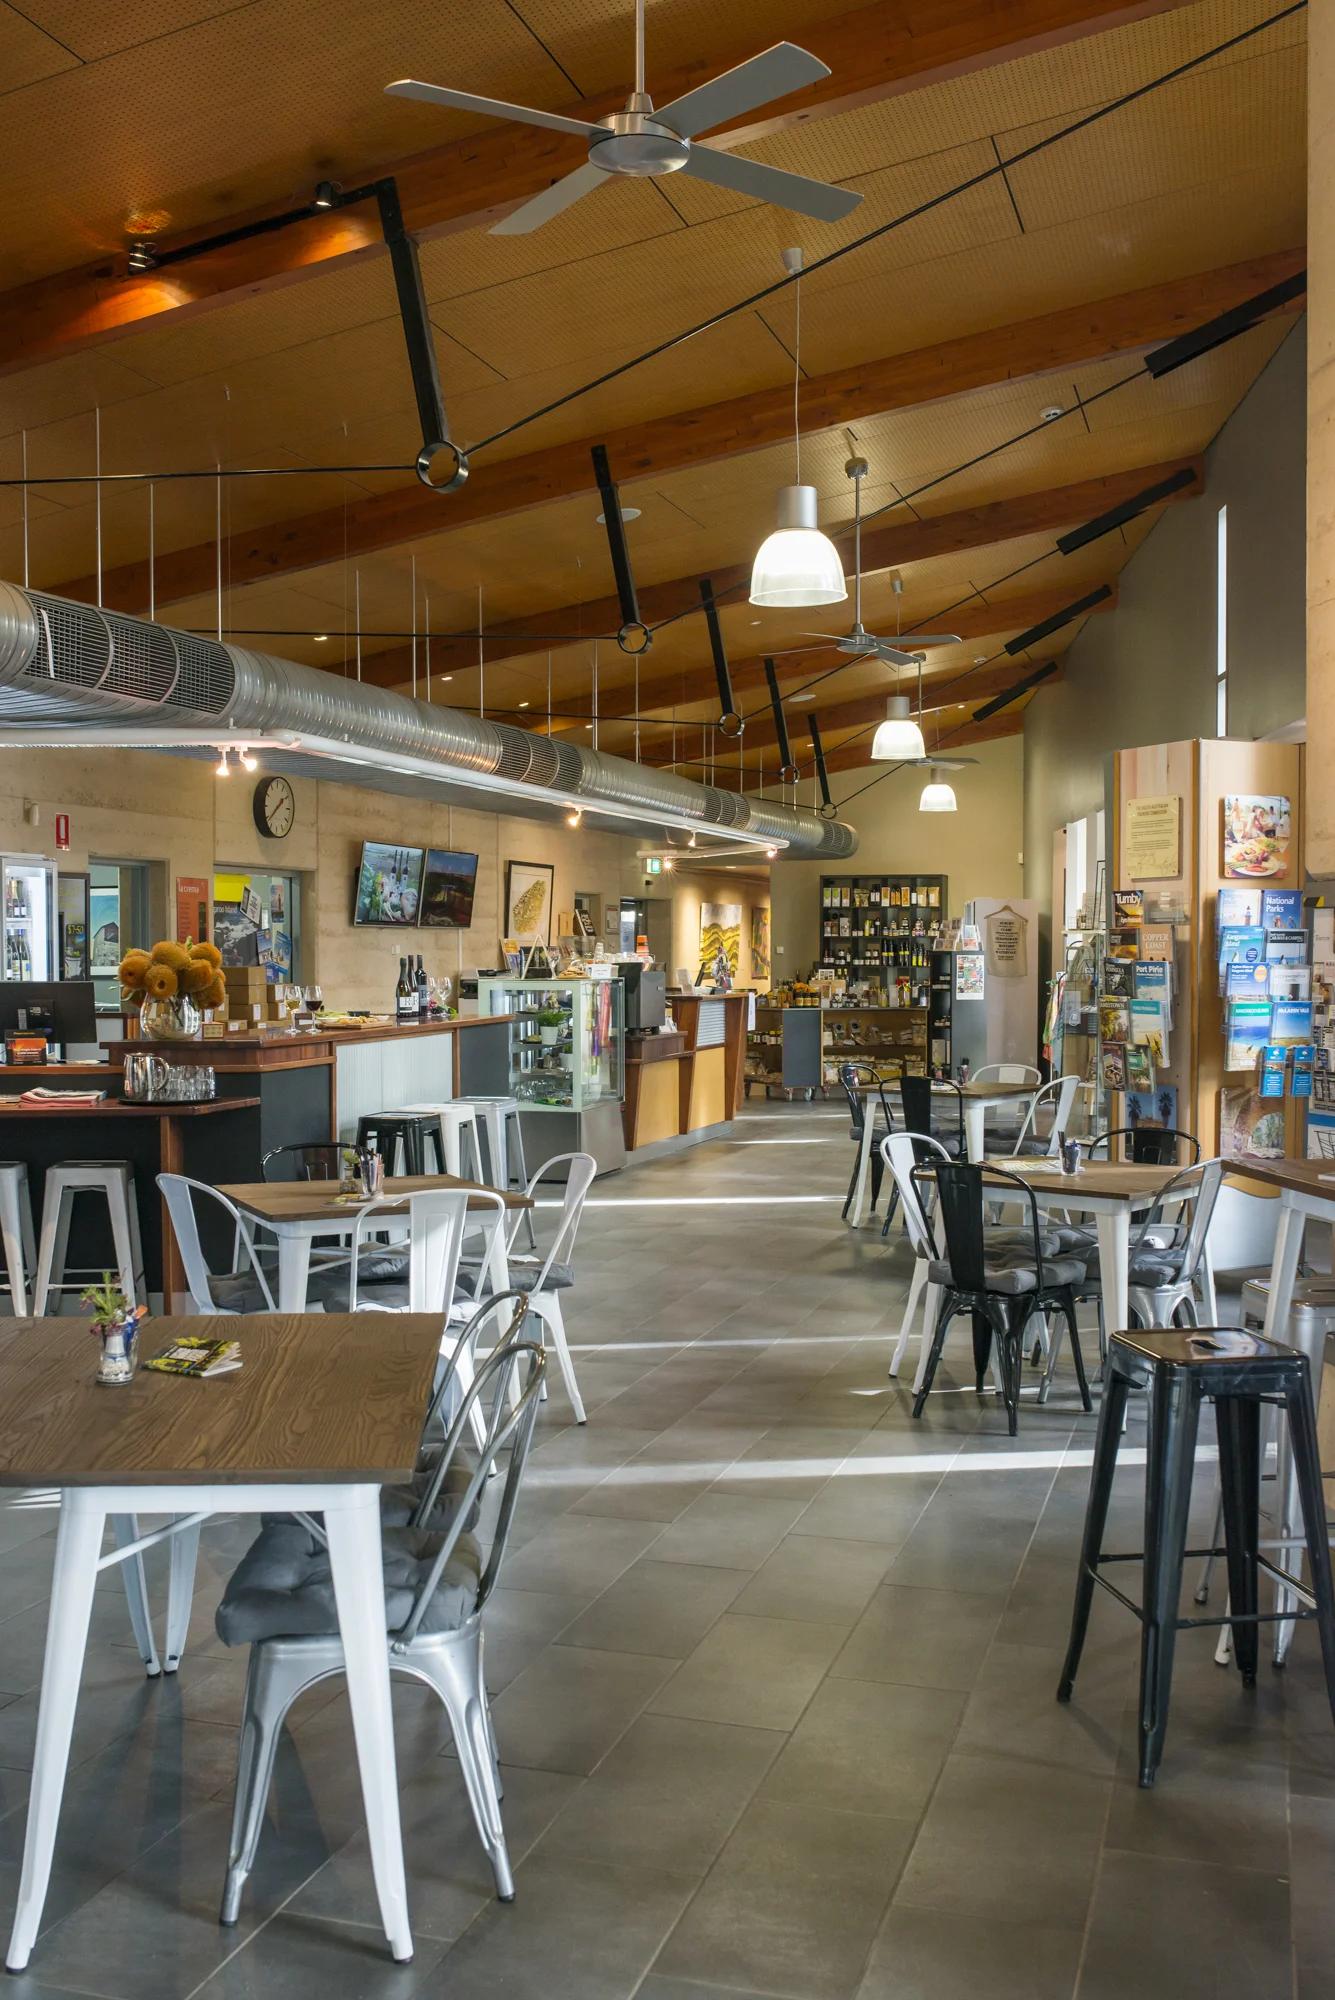
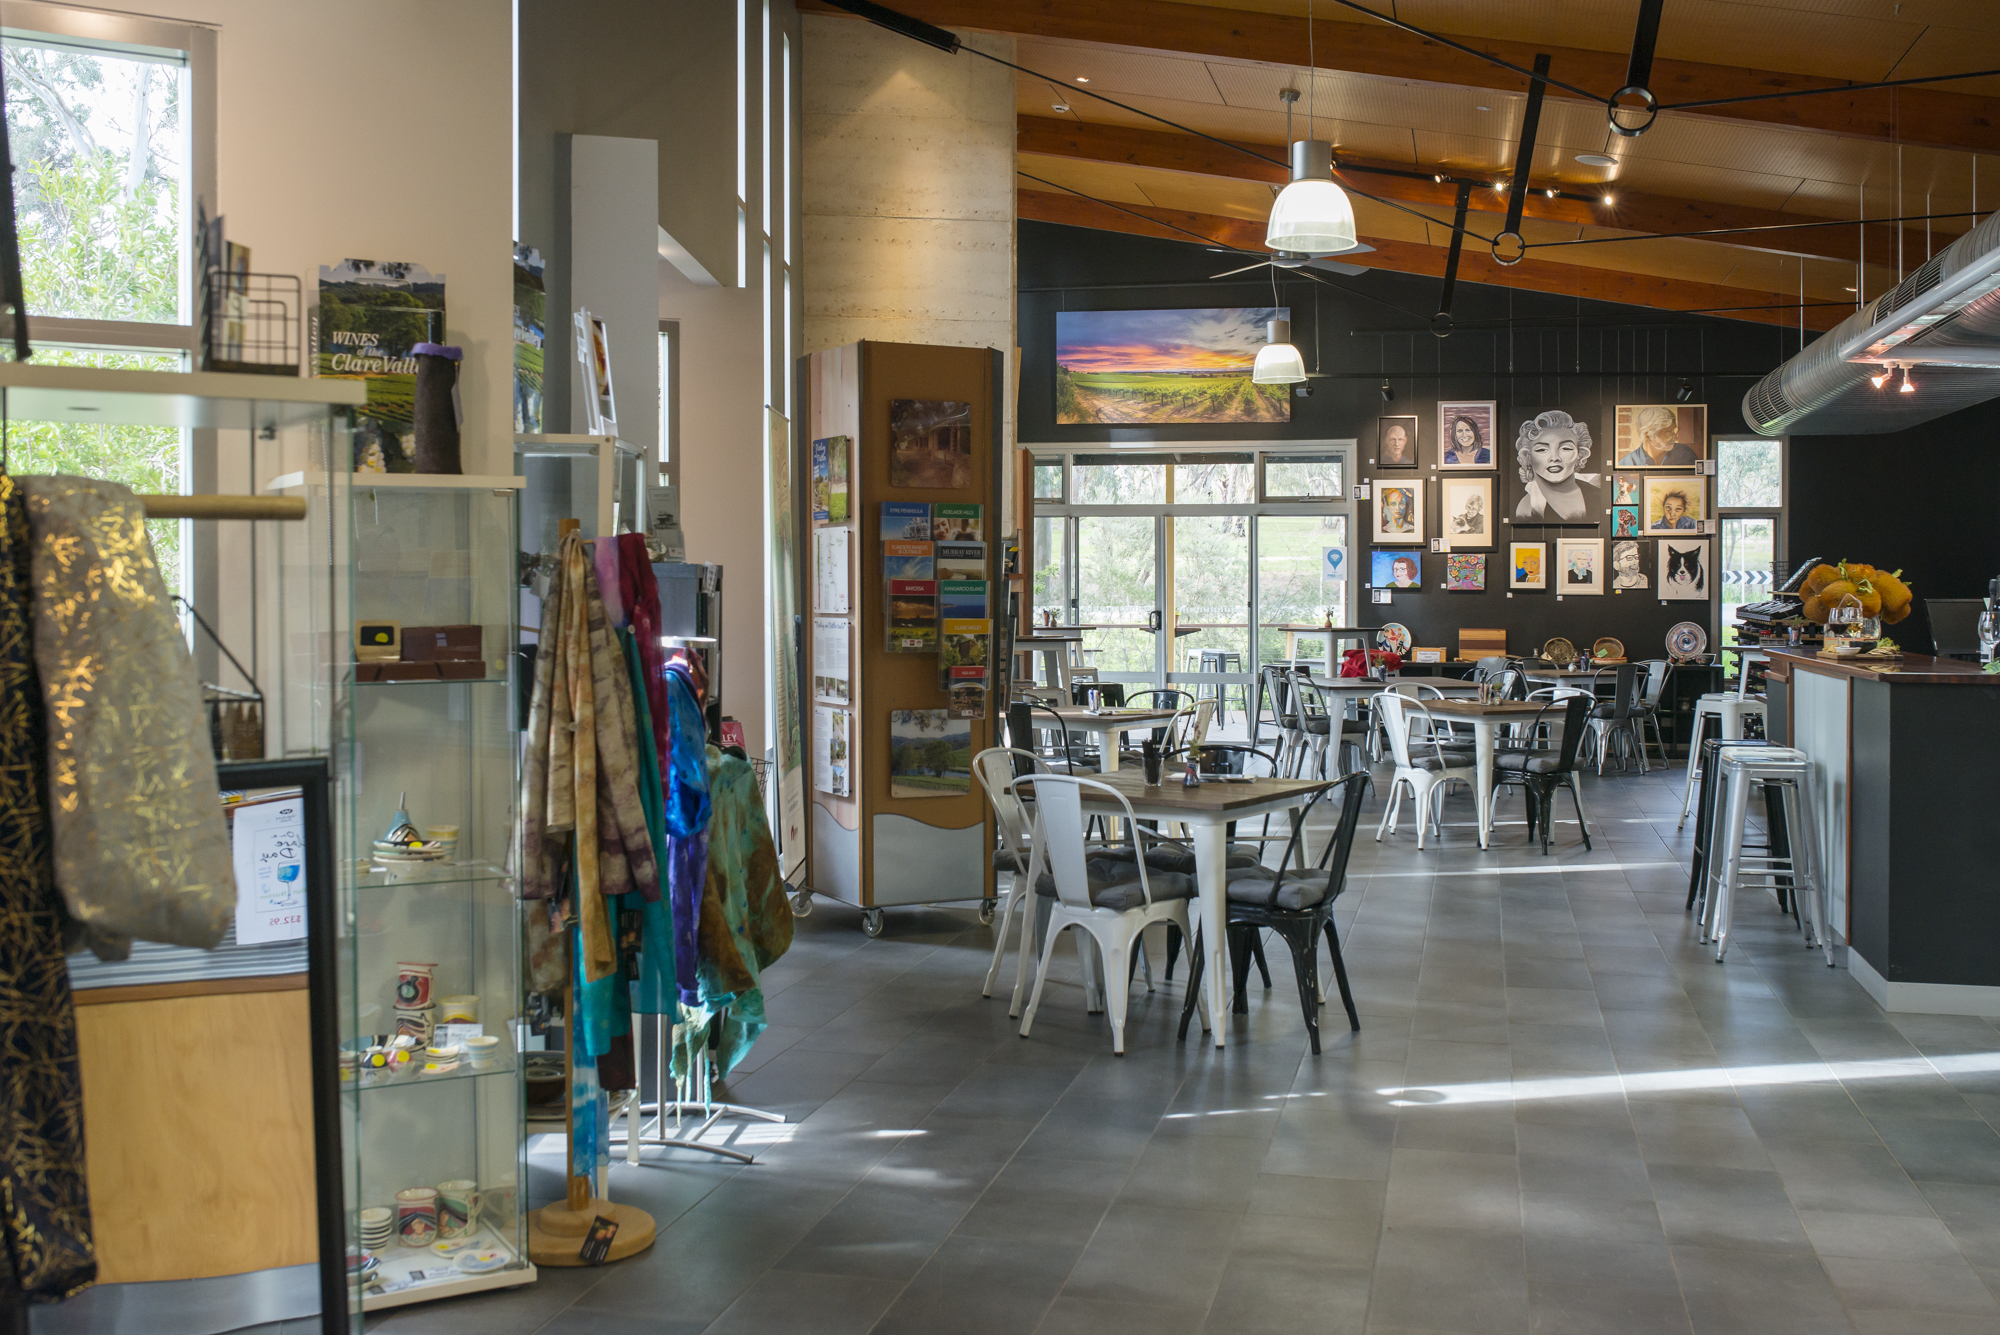
CLIENT SHOWCASE: Clare Valley Wine Food and Tourism Centre
What do you get in a half day shoot? Here is one sample...
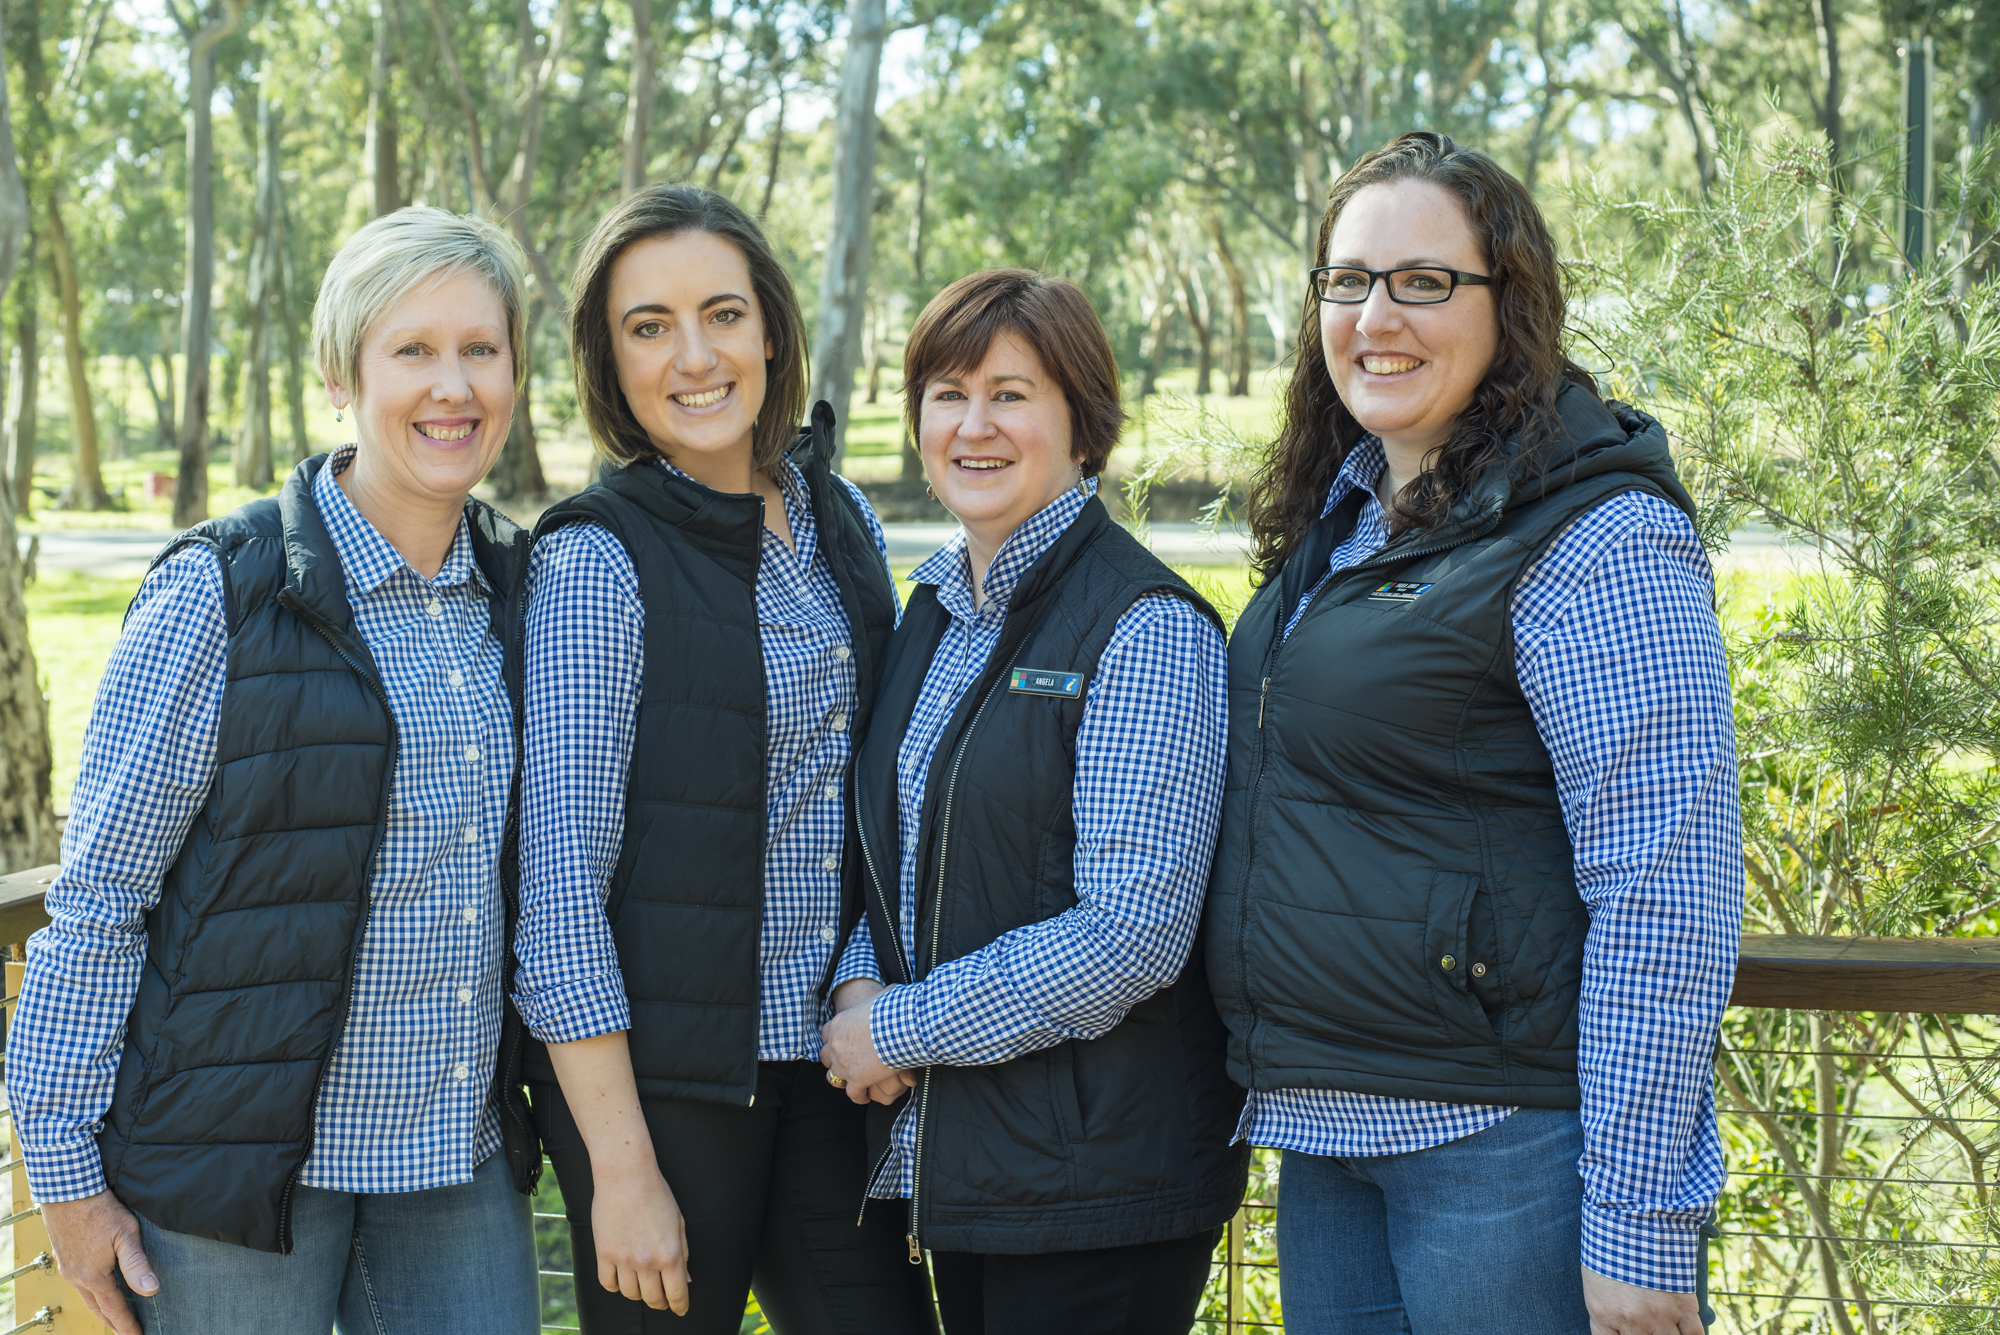
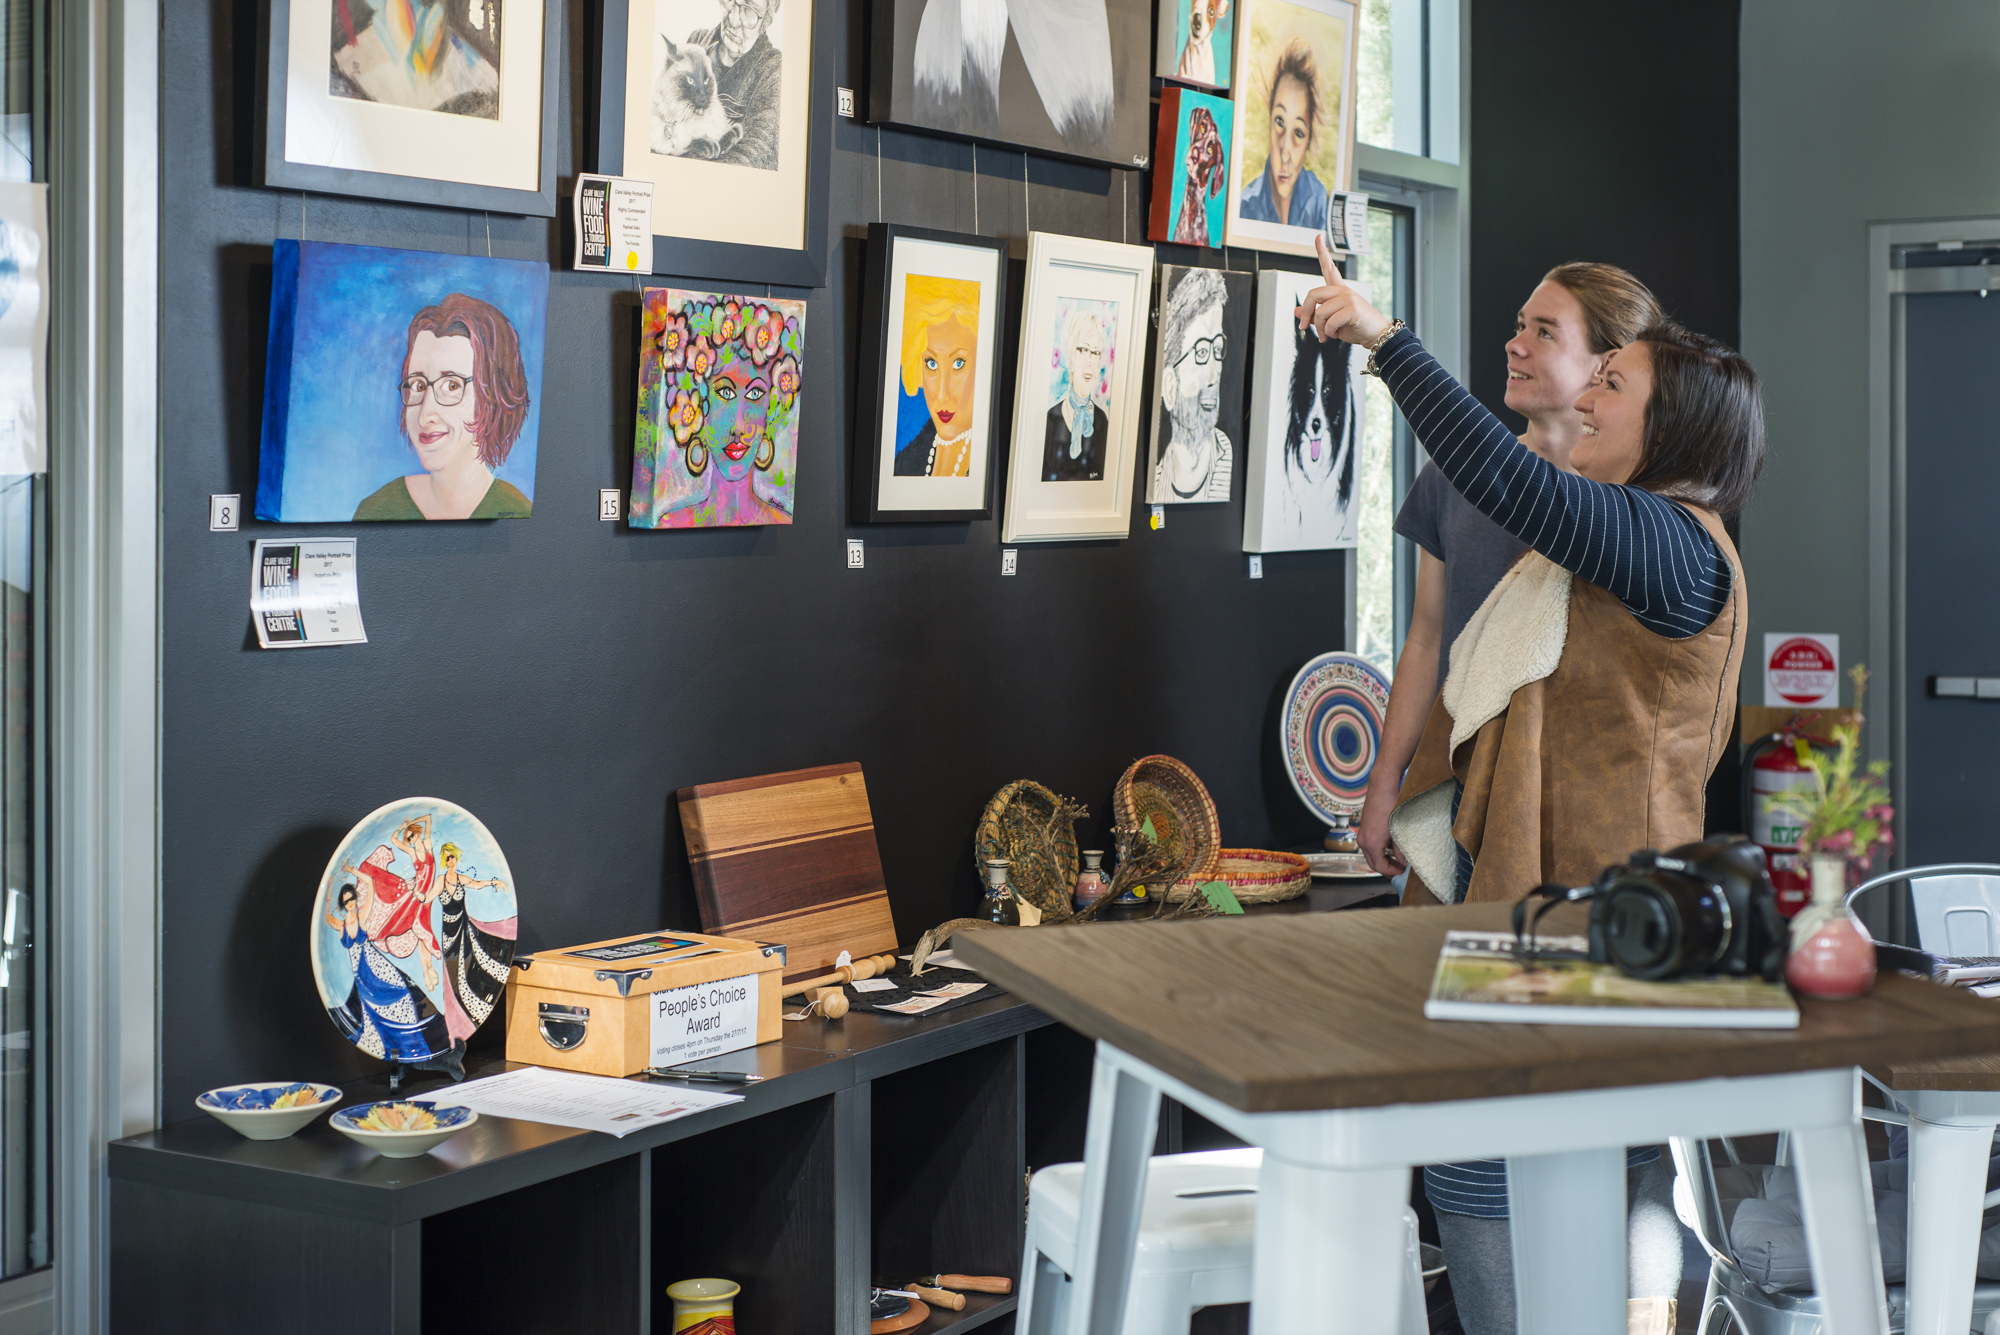
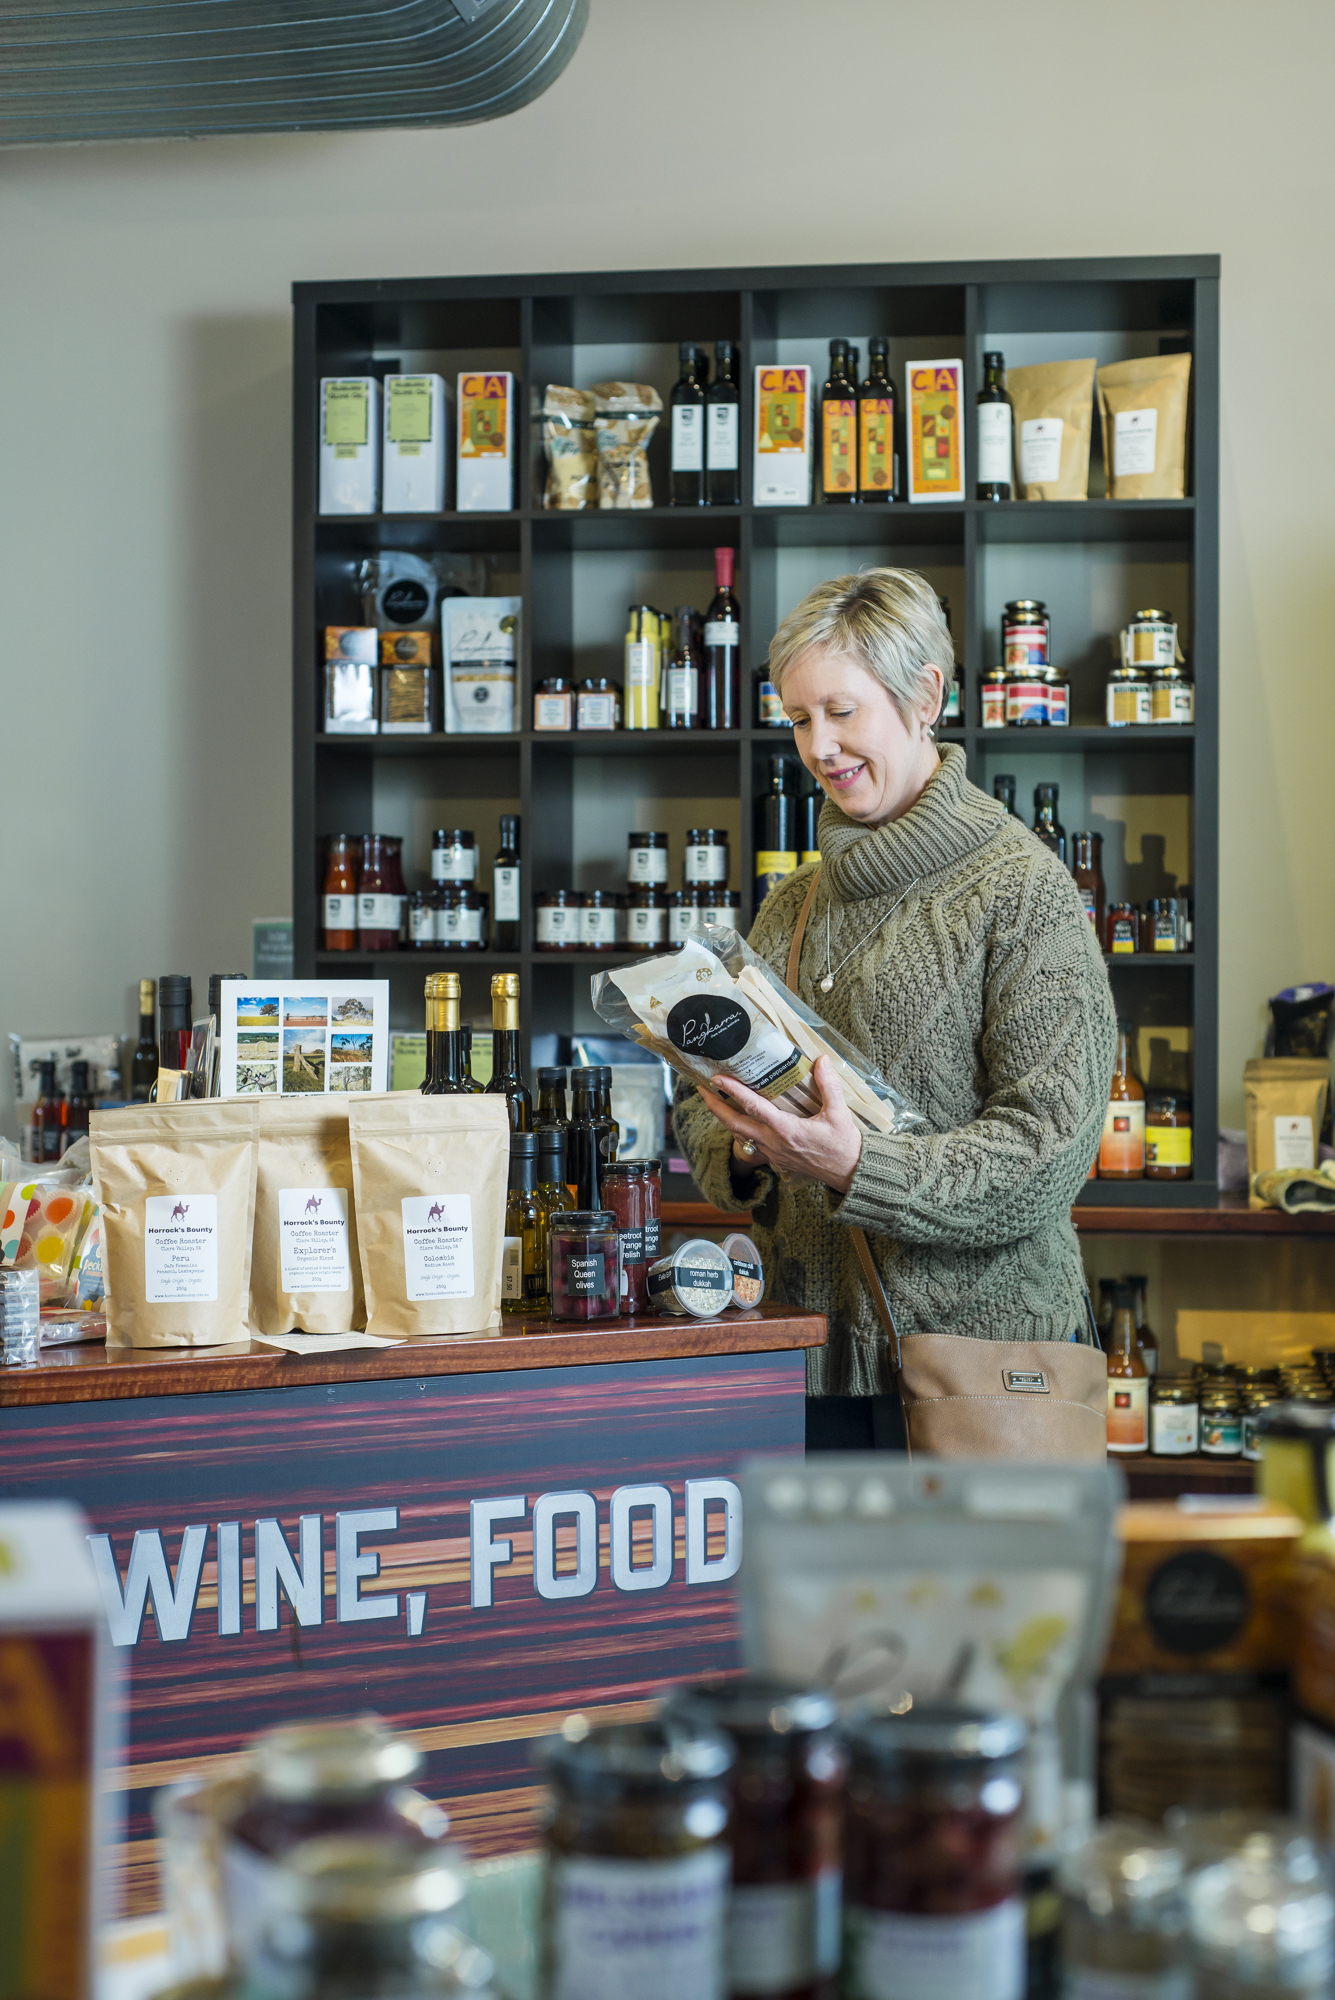
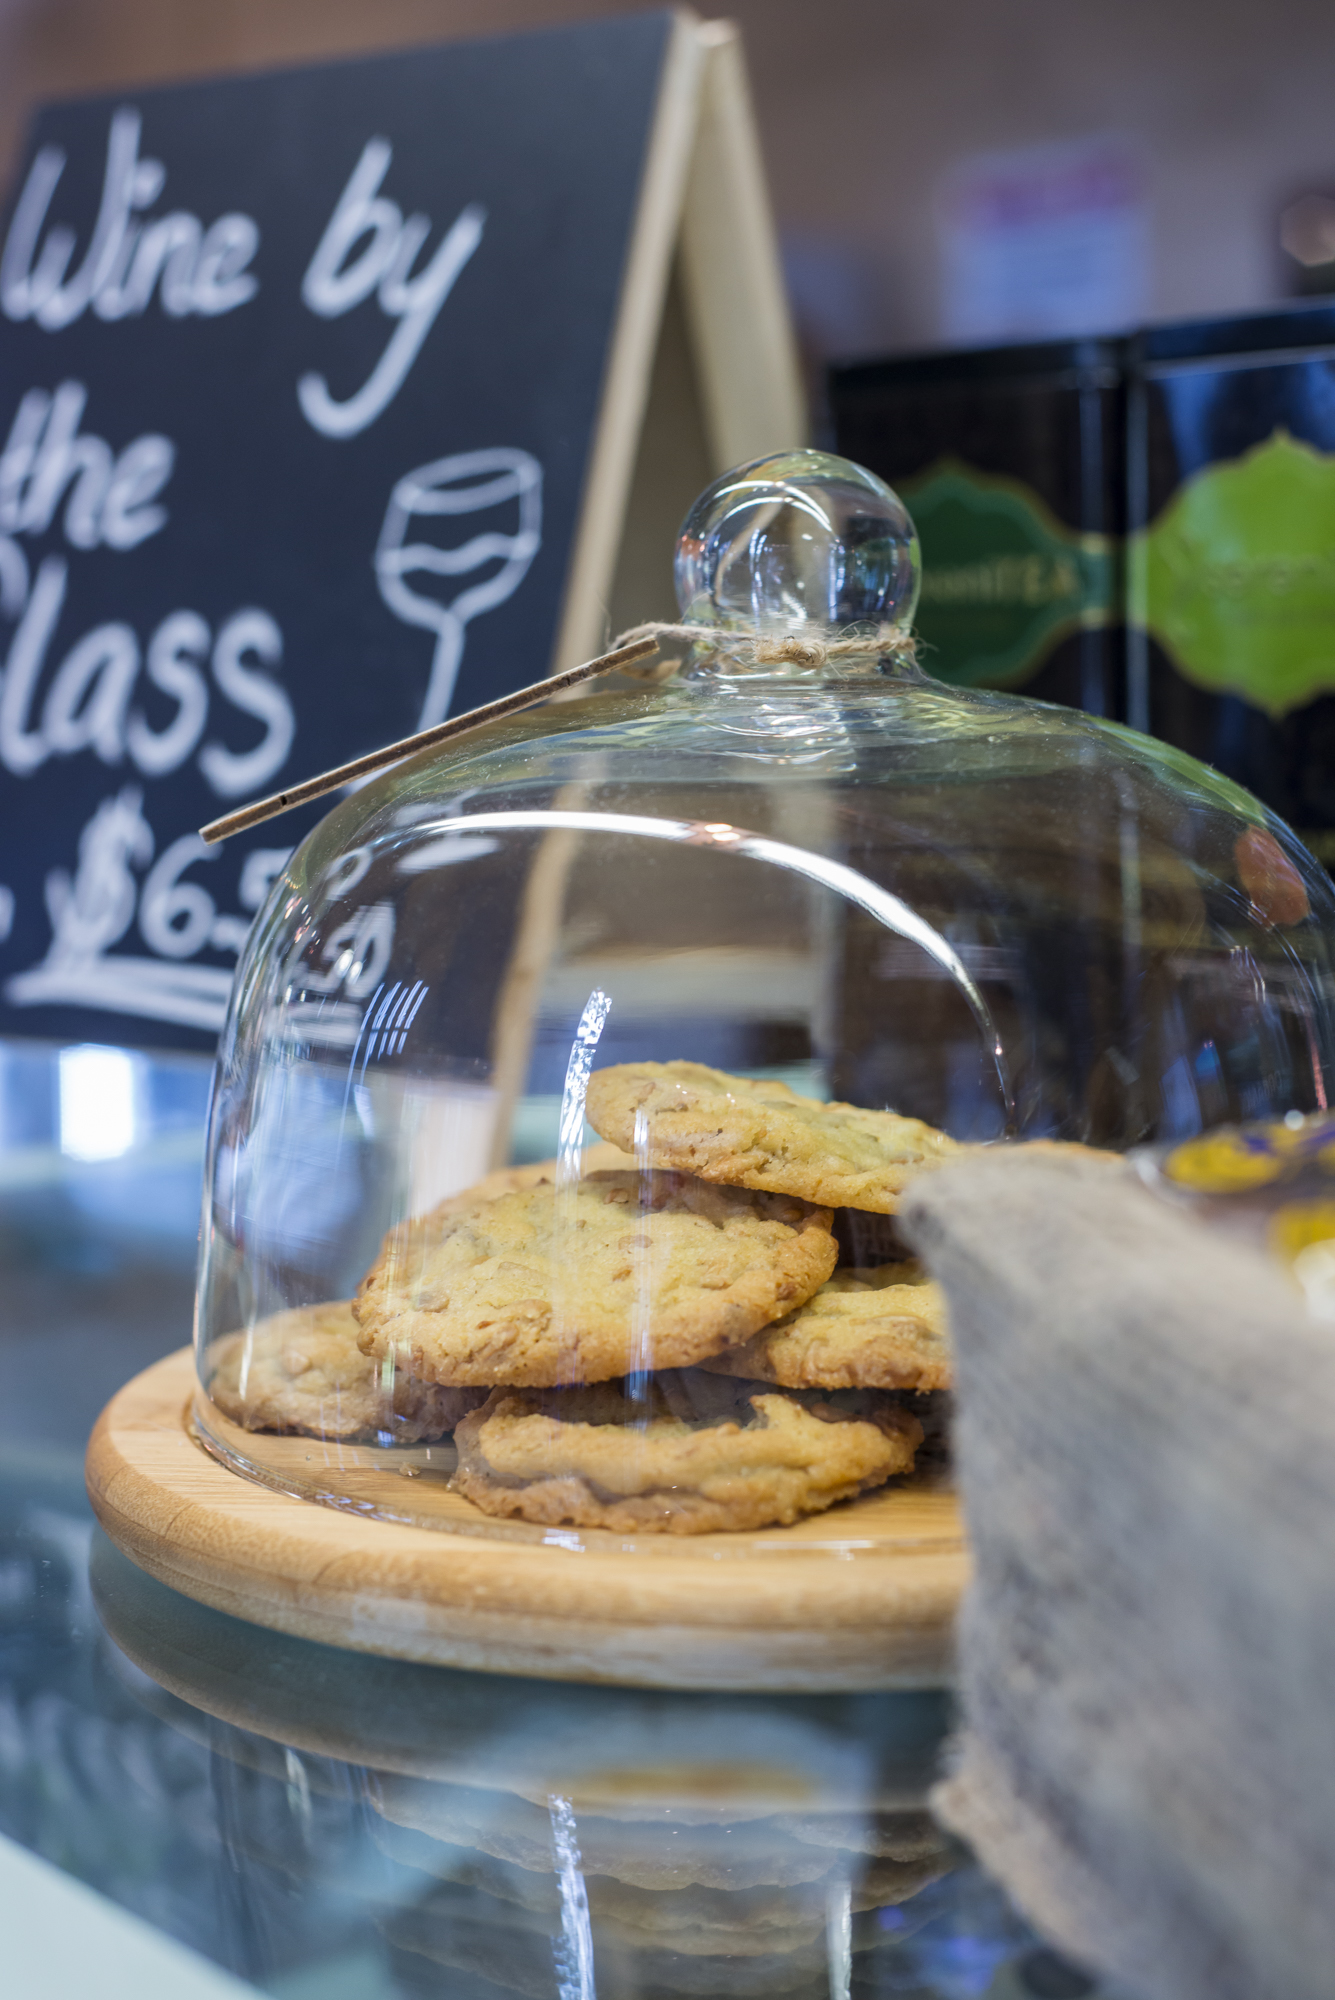
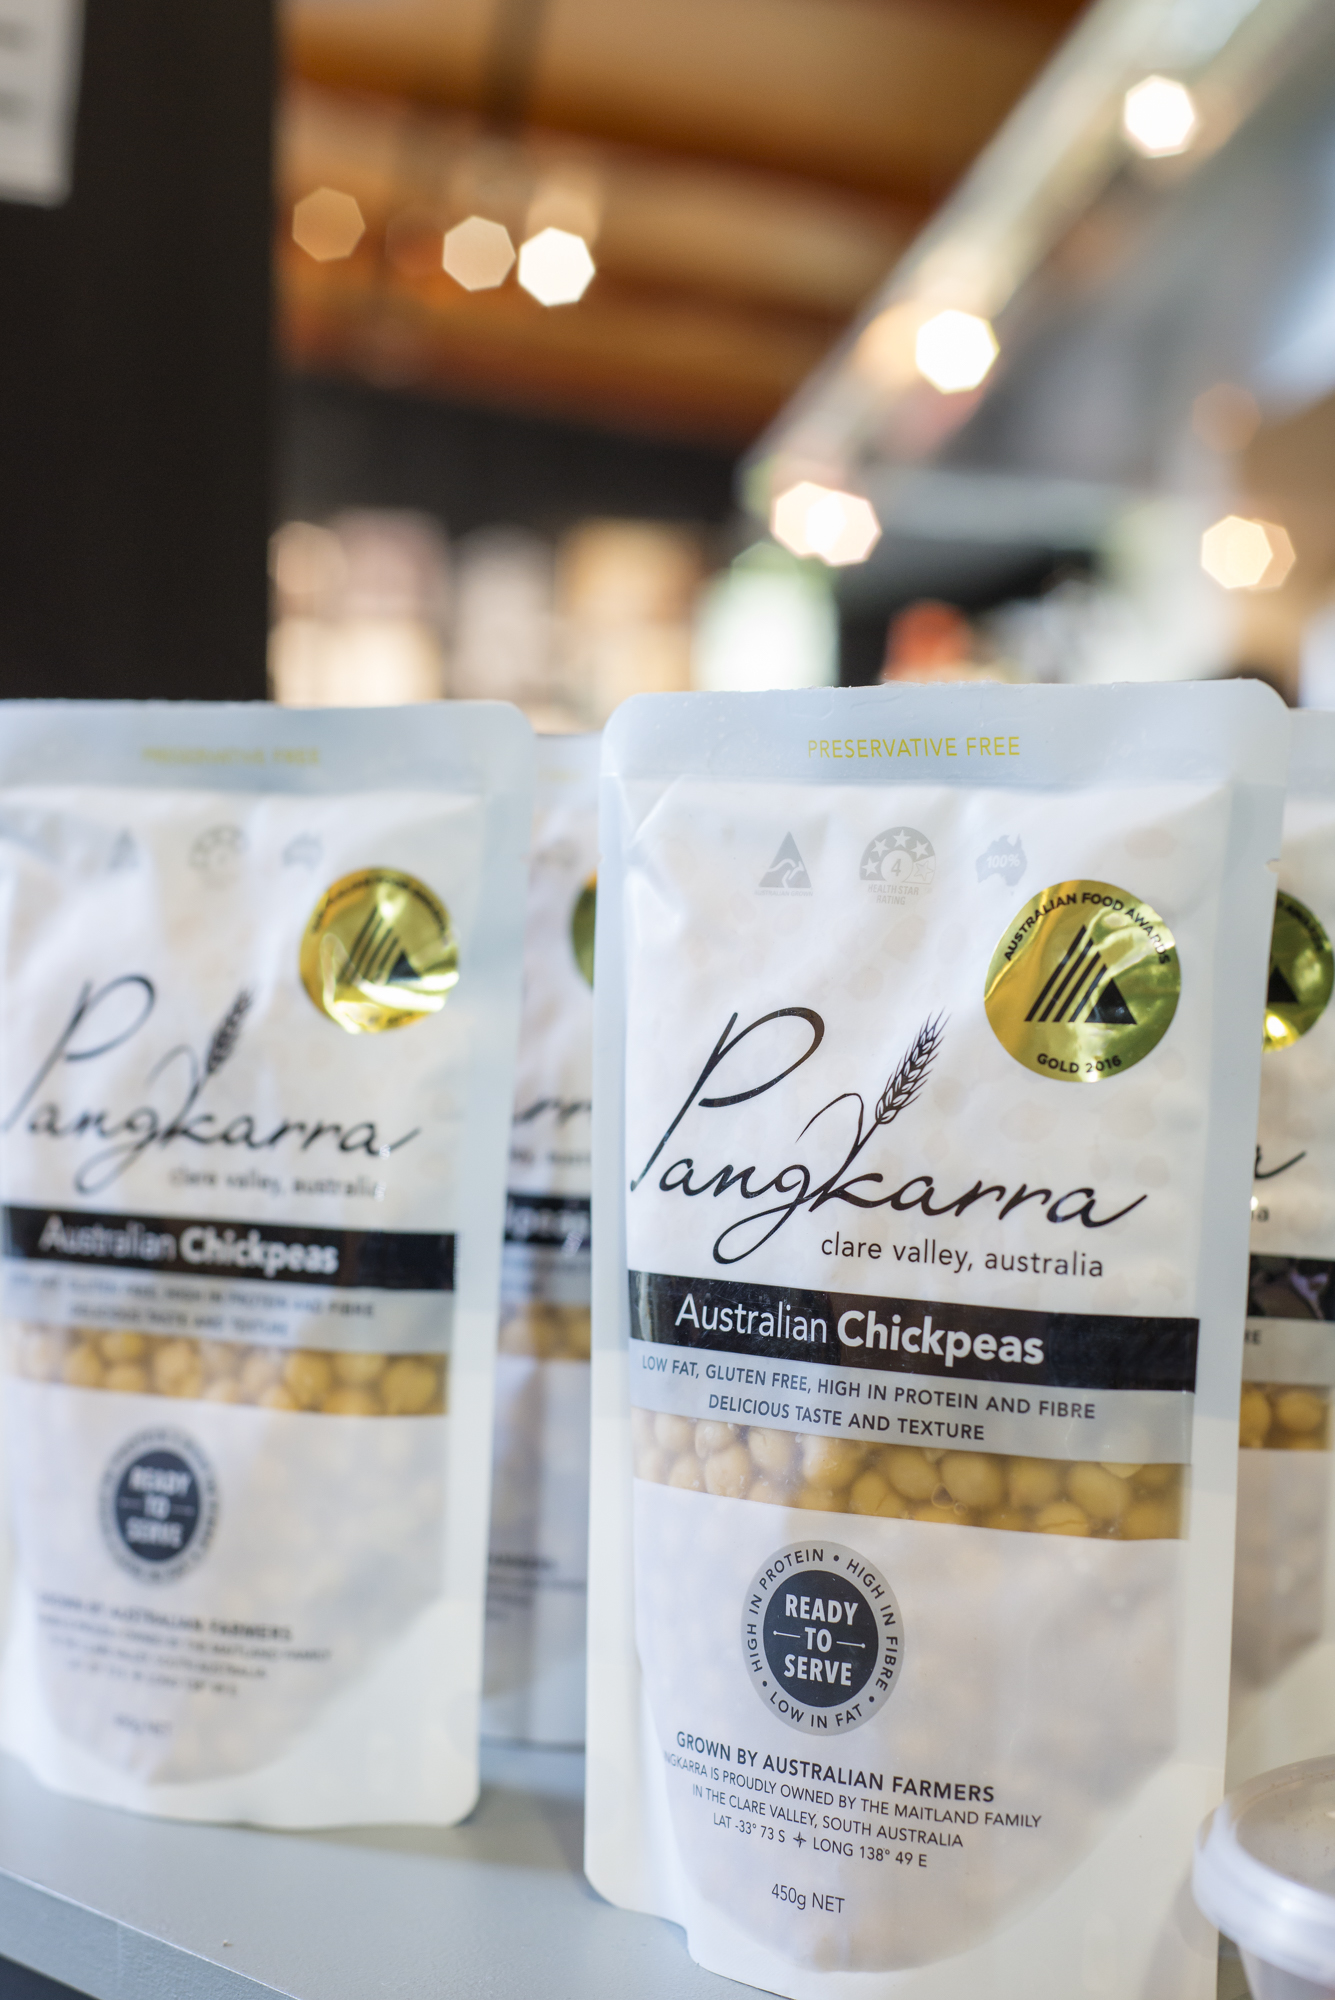
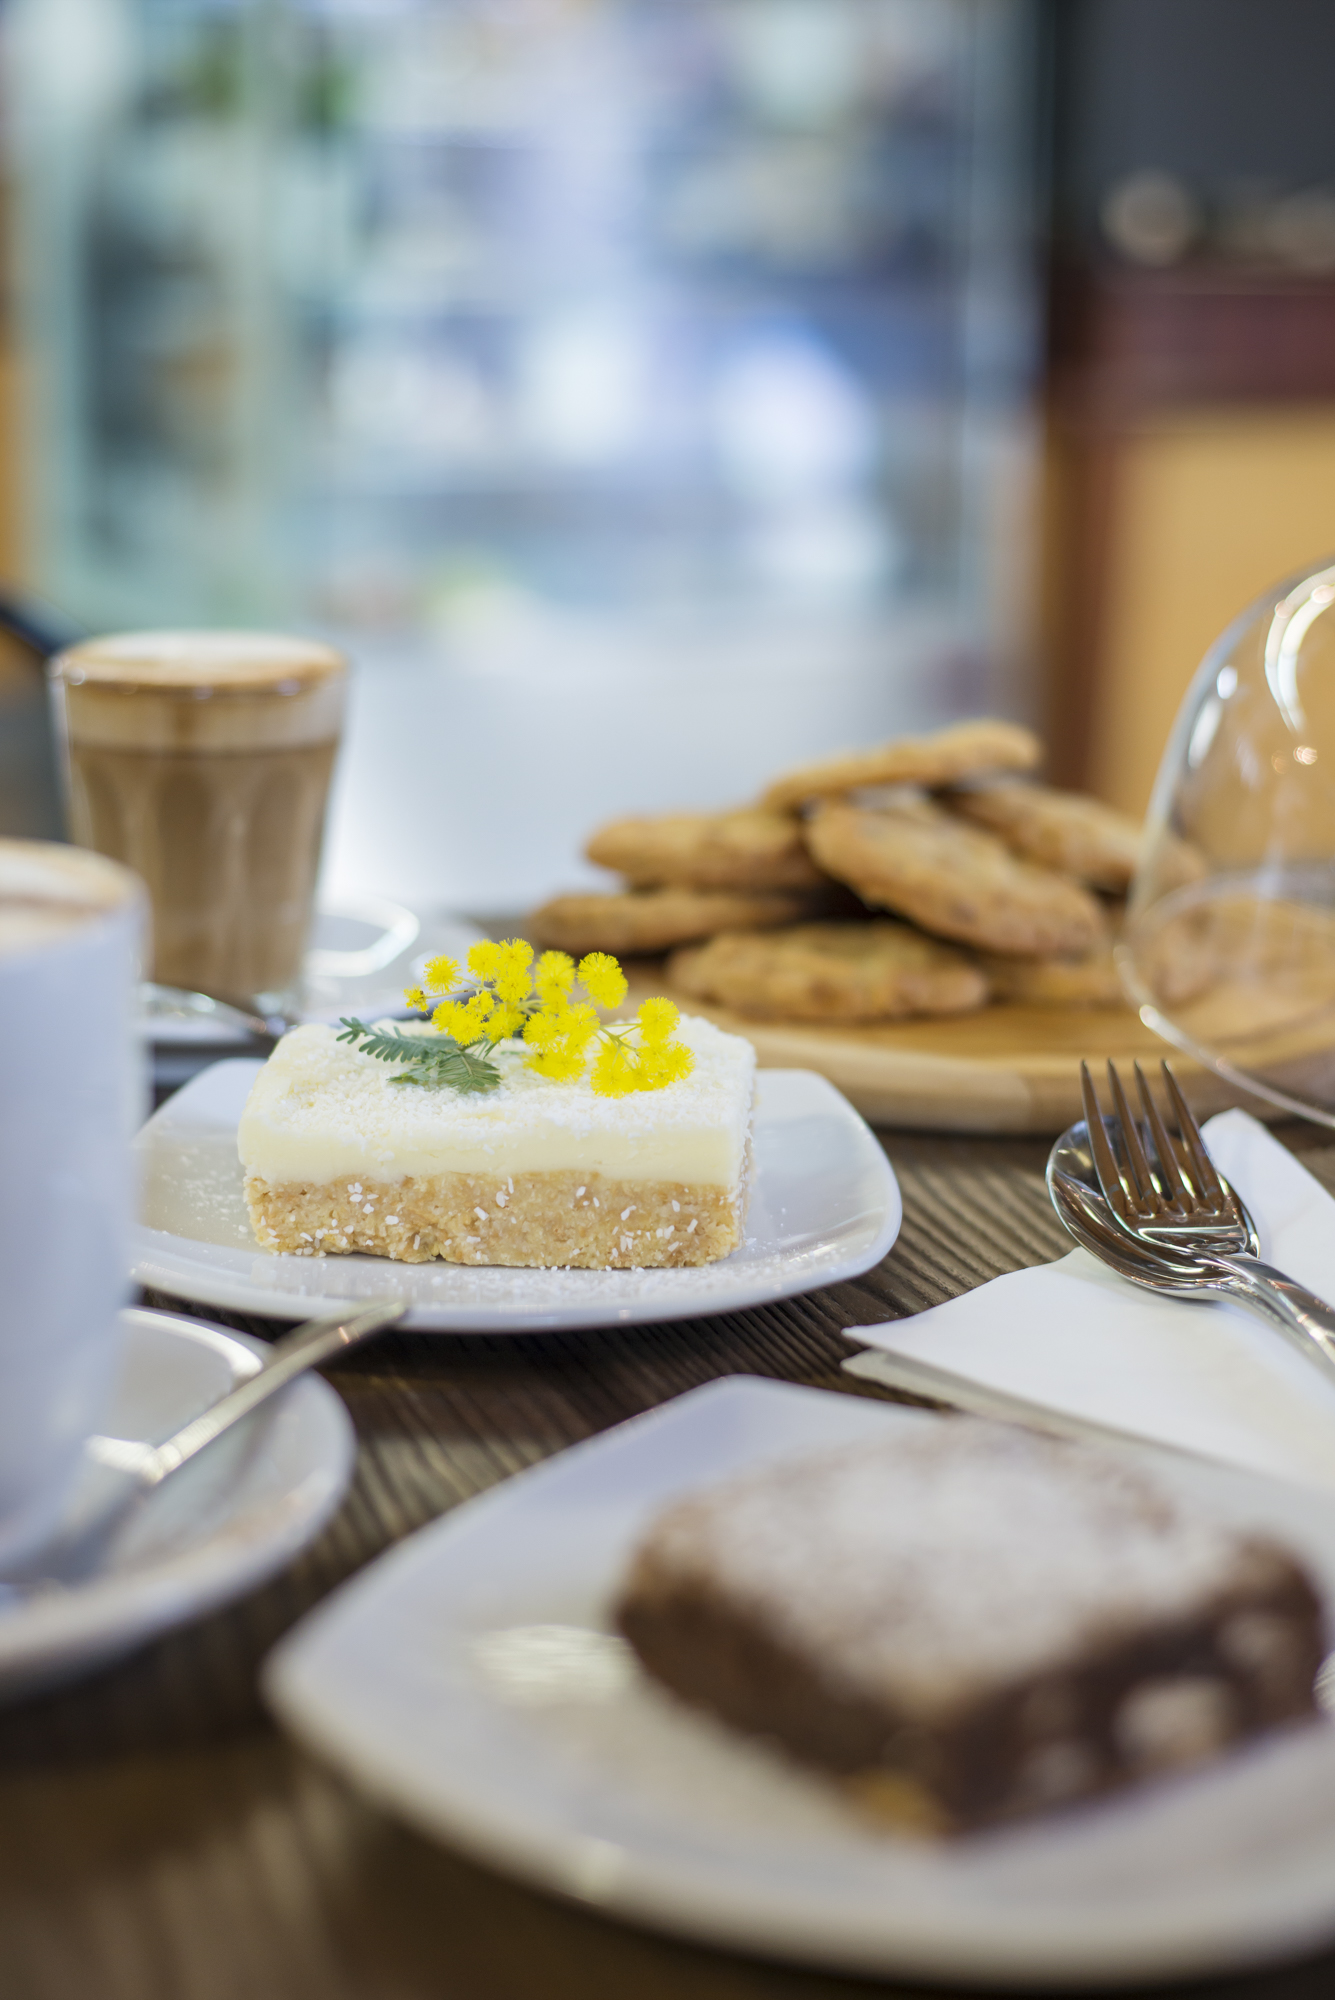
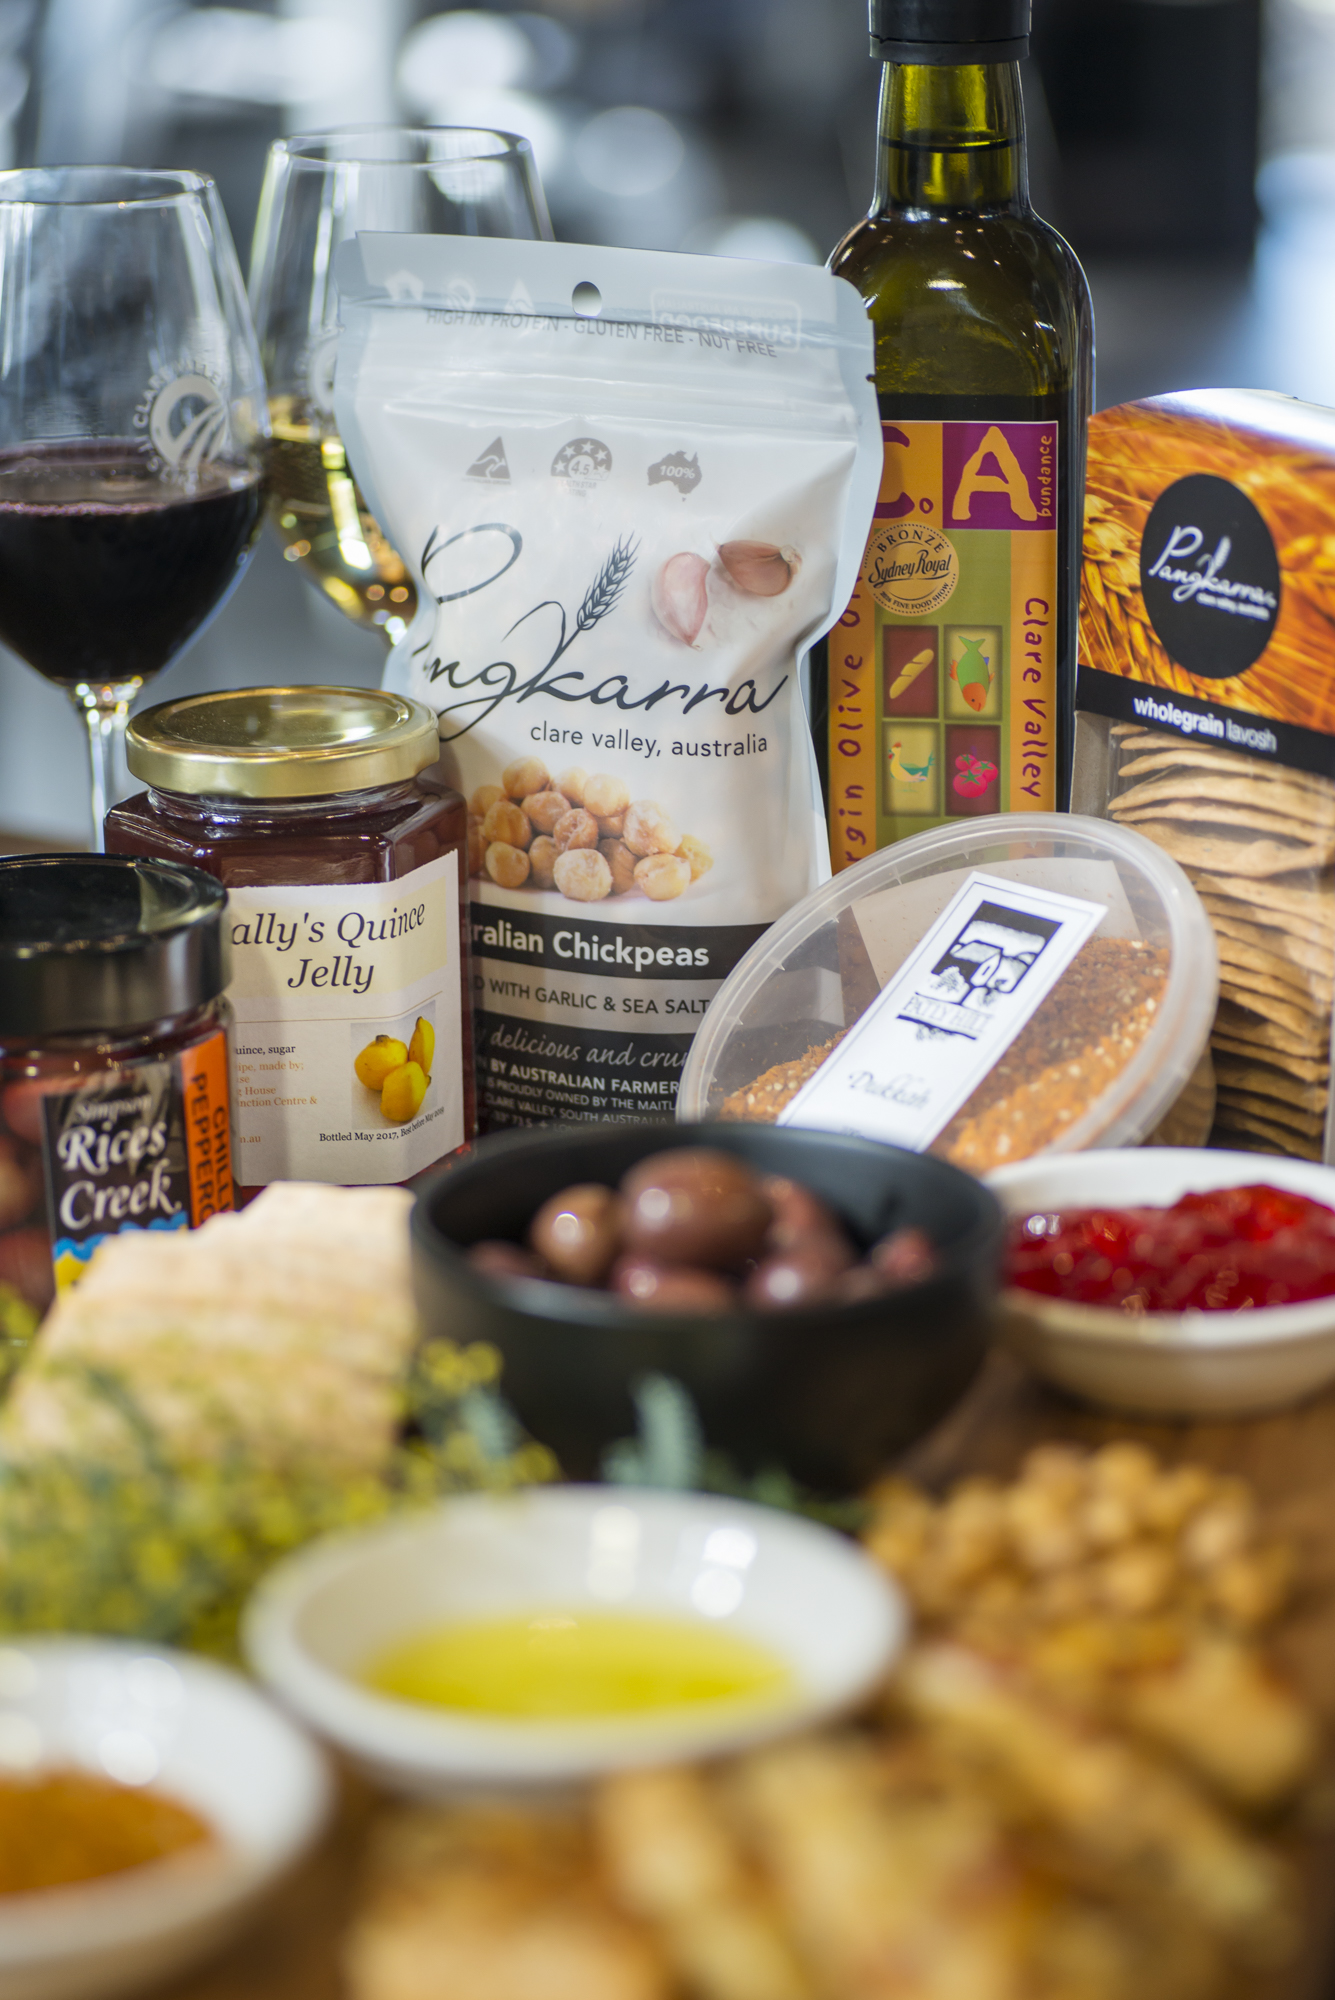
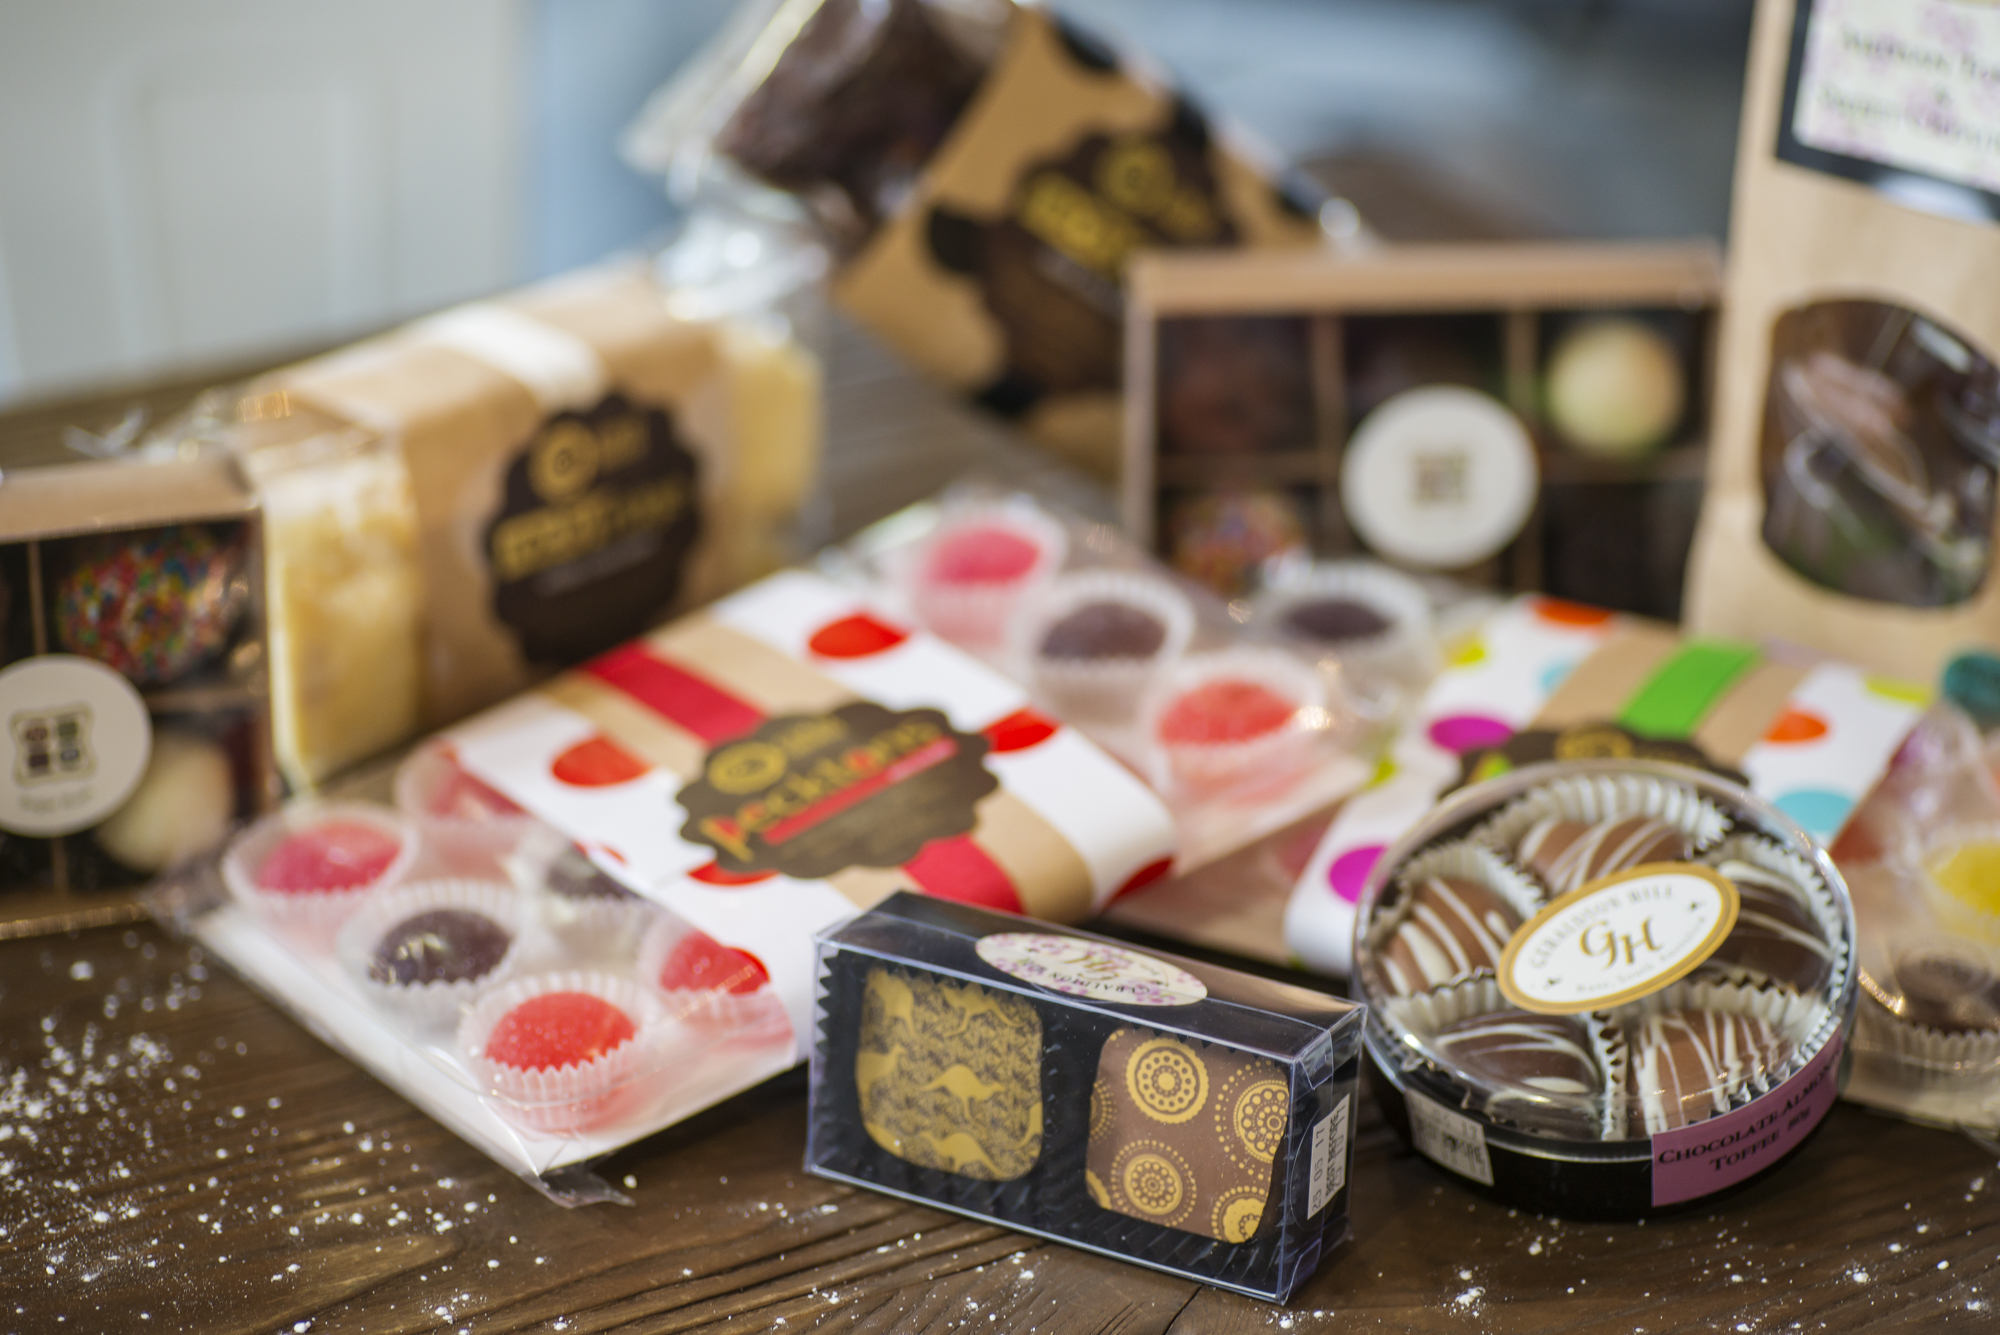
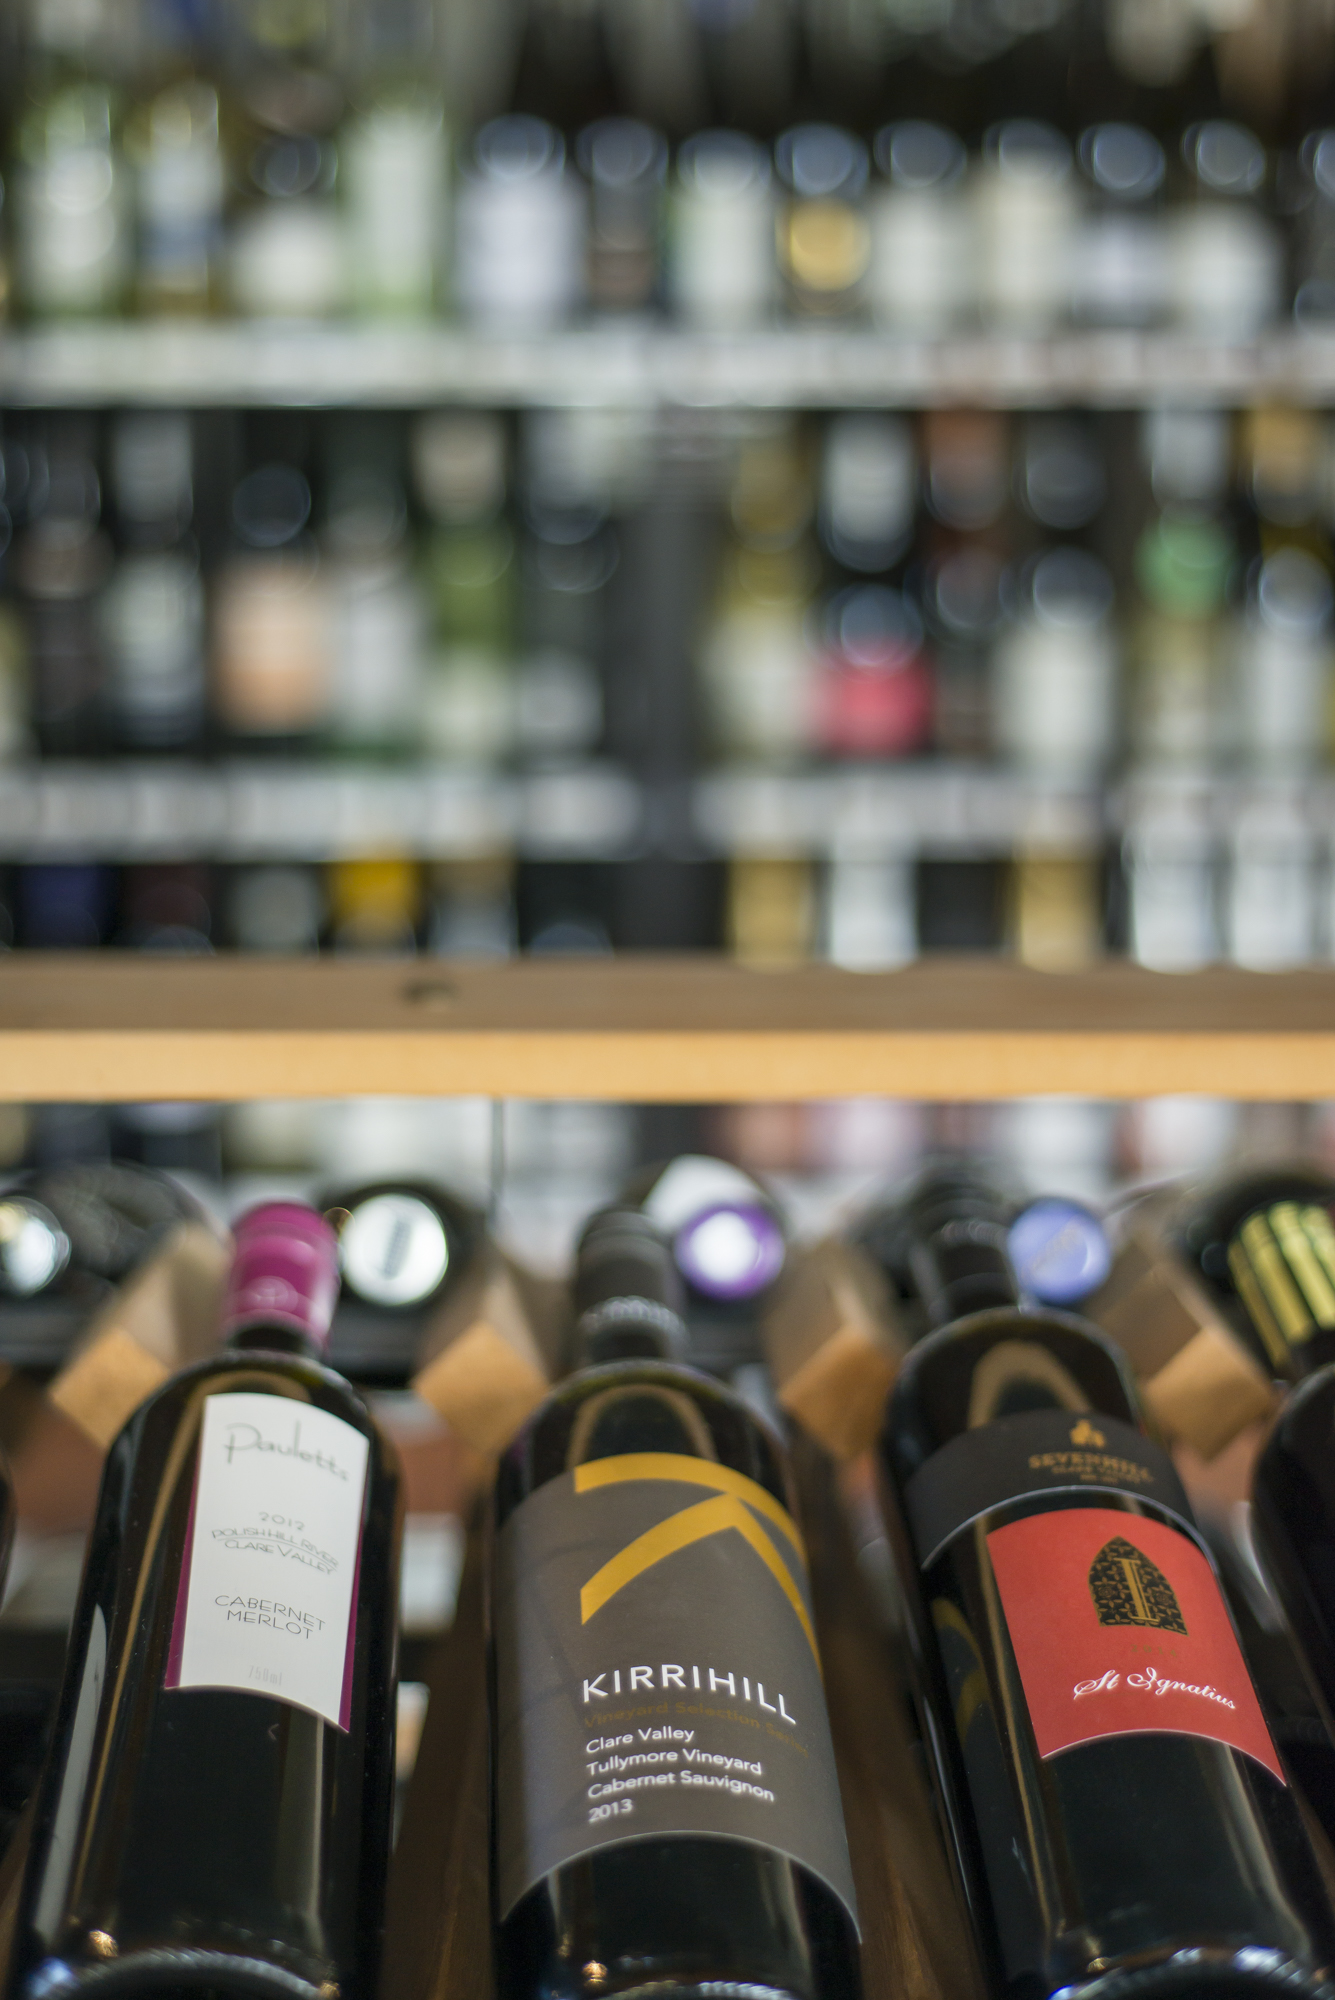
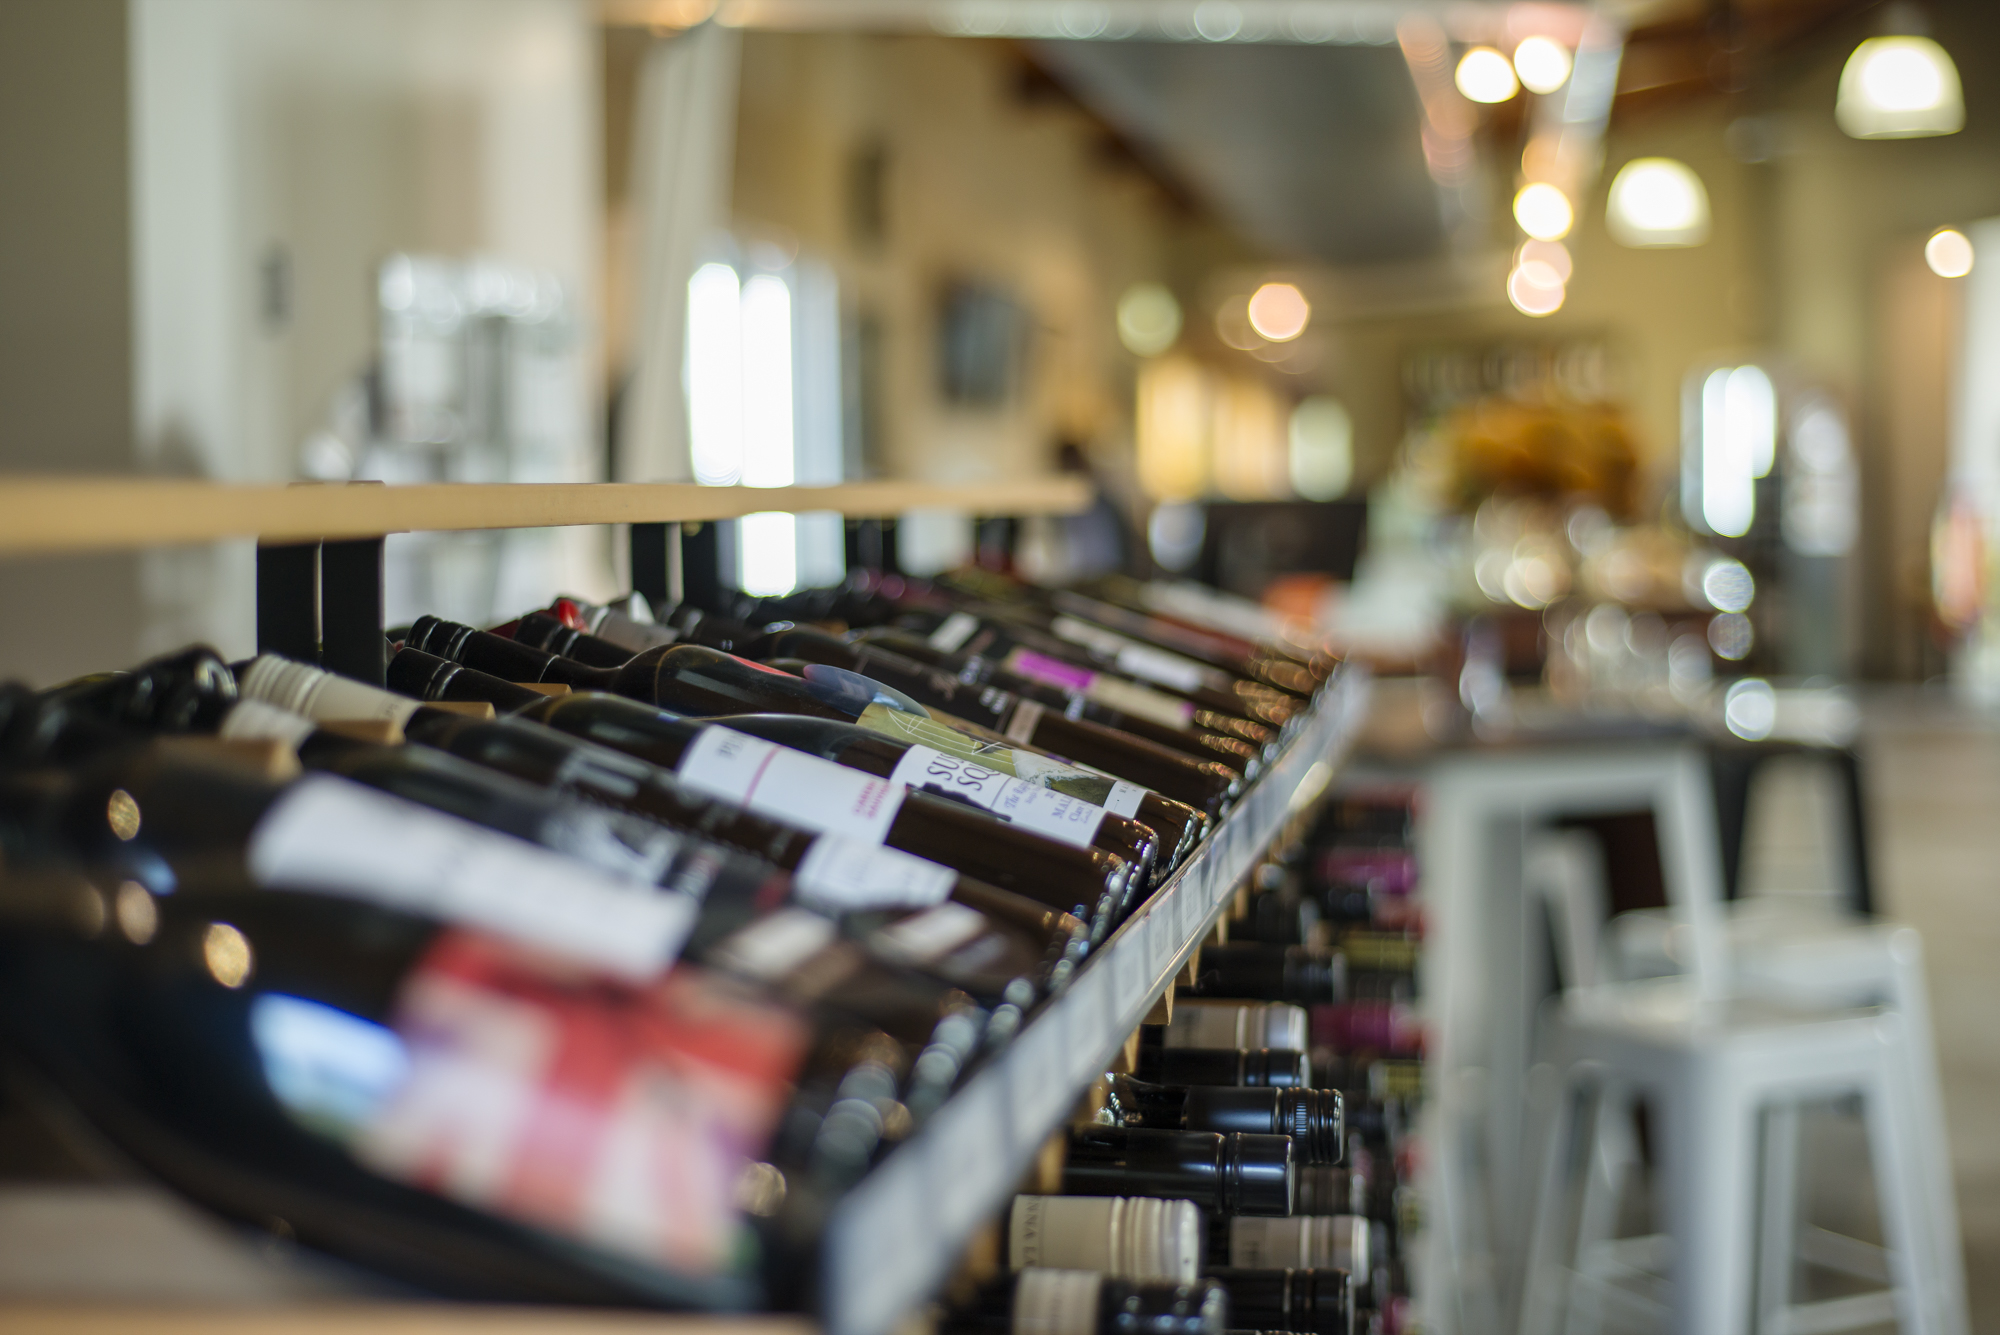
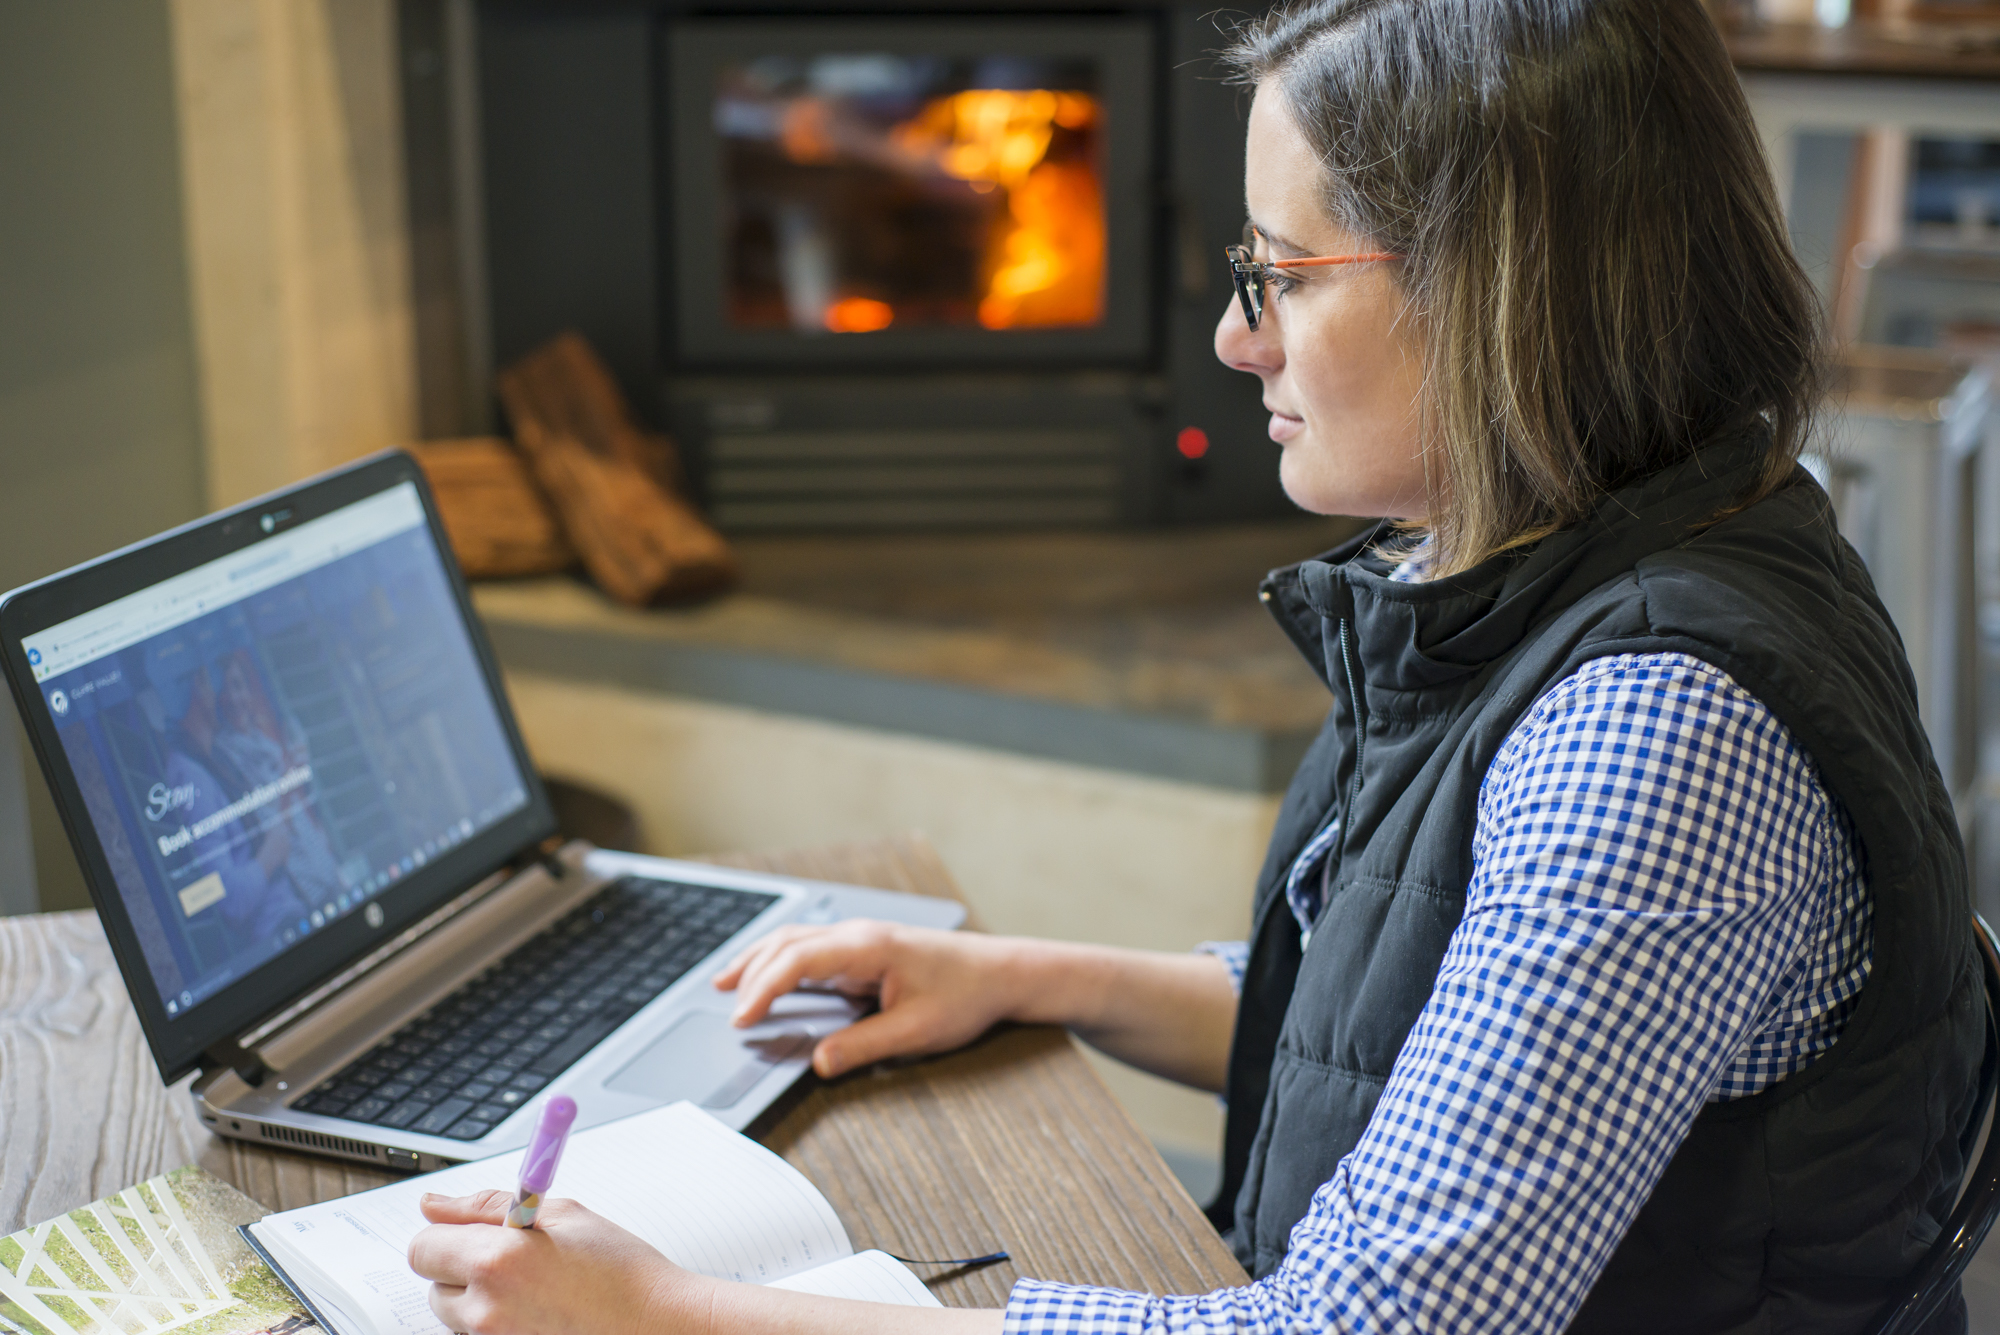
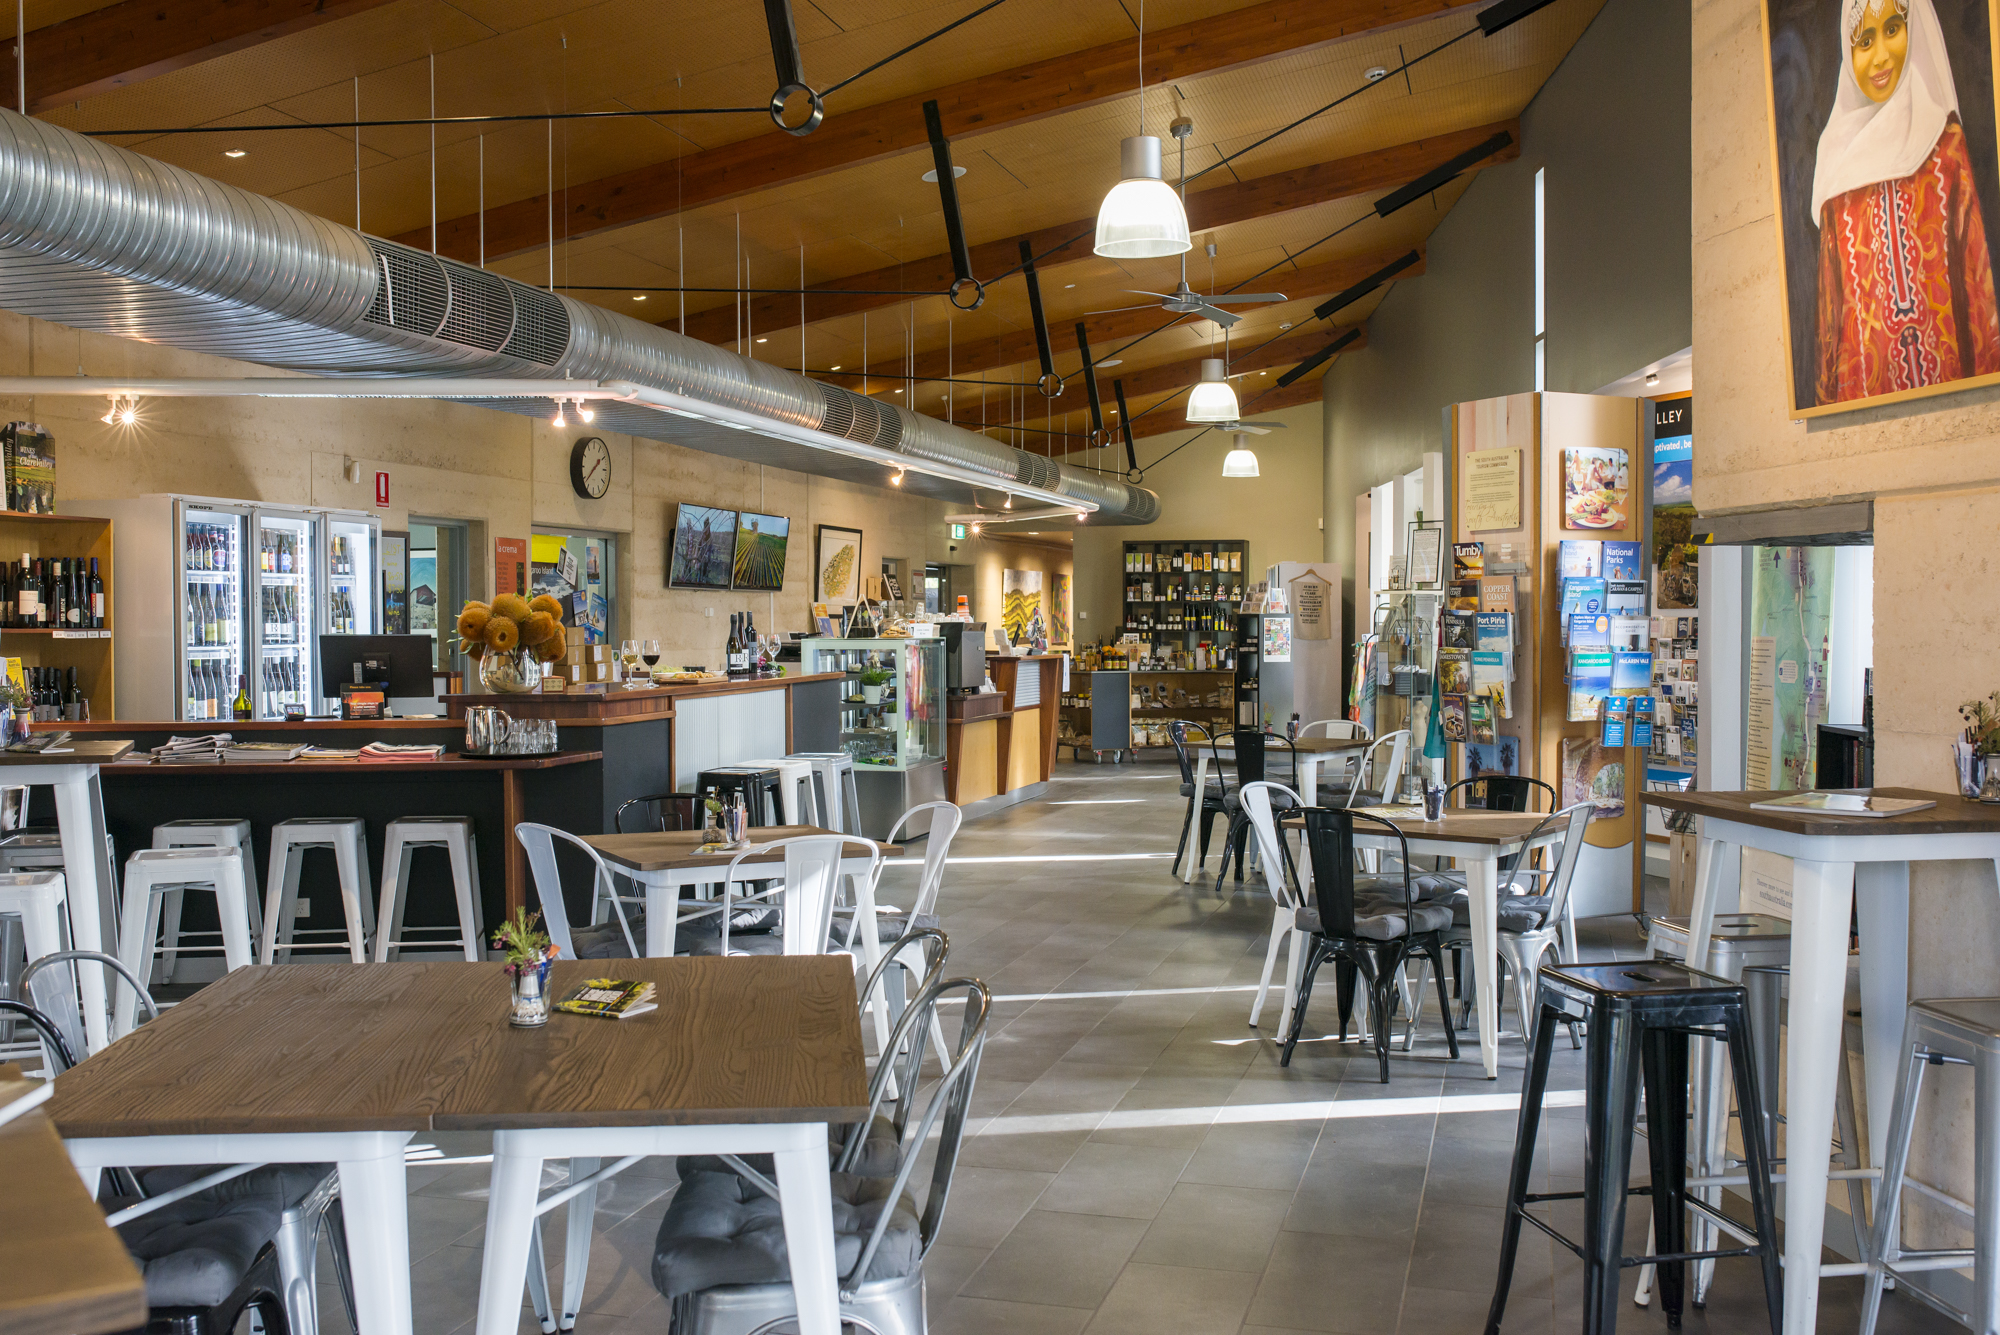
In July 2017 I worked with Clare Valley Wine Food and Tourism Centre... here are the pics. These are all taken within a half day shoot. A 'basic' to 'medium' retouch has been done on these keeping the images real but removing distracting objects like 'Exit' signs.
Many more images were taken, proofs given to the client for selection, the client selects finals for delivery.
Let me tell you... there's choice. :)
If you want some ideas of what could work for you - email me.
5 tips for building your photo library
"A picture tells a thousand words." We have heard the saying... how many times?
How do your photos tell your story?
Here are some tips to get your photo library working best for you.
Special family times...
Your photo library is the visual foundation on which any marketing strategy is built. Photographs show the appeal – and the competitiveness – of a company or destination.
Research says you have 8 seconds to catch the eye of a Gen Z. And for print... the decision to read or reject pamphlets and direct mail pieces is made by readers in just 2.5 seconds.
Considering thousands of dollars are being spent taking those images into the marketplace - think websites, promotional collateral, travel shows, social media... it makes sense to do it properly from the start. Good photographs are the foundations of your marketing.
Here are a couple of suggestions to make sure your foundations are sturdy.
1. Don't rush it. Plan to build your library over several assignments. You are unlikely to get all the images you need in a single assignment. Consider different light, times of year, emotions, feelings, events... Develop a shot list with your photographer, taking into consideration seasons, major events, travel time and accessibility. Then prioritise. Work out what you can do straight away and what you have to wait for.
2. Recognise the difference between “Stock Shots” (the necessary pictures that show the range of attractions you have to offer) and “Hero Shots” (the flagship photographs that are likely to lead your promotional effort). Like a magazine with their hero cover shot and then the additional feature shots inside the article. Plan to it.
Stock shot of accommodation...
Hero shot showing emotion and experience...
3. Build your library on professional standards from the start. For example... ensure all images are licensed to you and your stakeholders to use for promotional purposes, you have Talent Releases for all people in the photographs, and the images are of a professional standard (i.e., size, colour space, etc.).
4. Work out the most effective way of keeping and distributing your library of images. This will save you hours searching for images in your next campaign. And save you from losing any. Your photographer can also offer advice on how they do it/what they recommend.
5. Make sure your images (hero and stock) sit firmly within your marketing brand. Images that define you and make you unique.
Getting back to nature...
Quirky...
Big open spaces...
If you want to start showing off to the world - the best way you can... contact me. We can chat, I can give you ideas, and of course, I can make beautiful photos for you.
All pics taken at www.almertastation.com.au - a place where ‘Kids can be kids and adults can reconnect.’
Tourism Hero Shots - what it takes to get them
Thinking out Hero Shots. You need them. How do you get them?
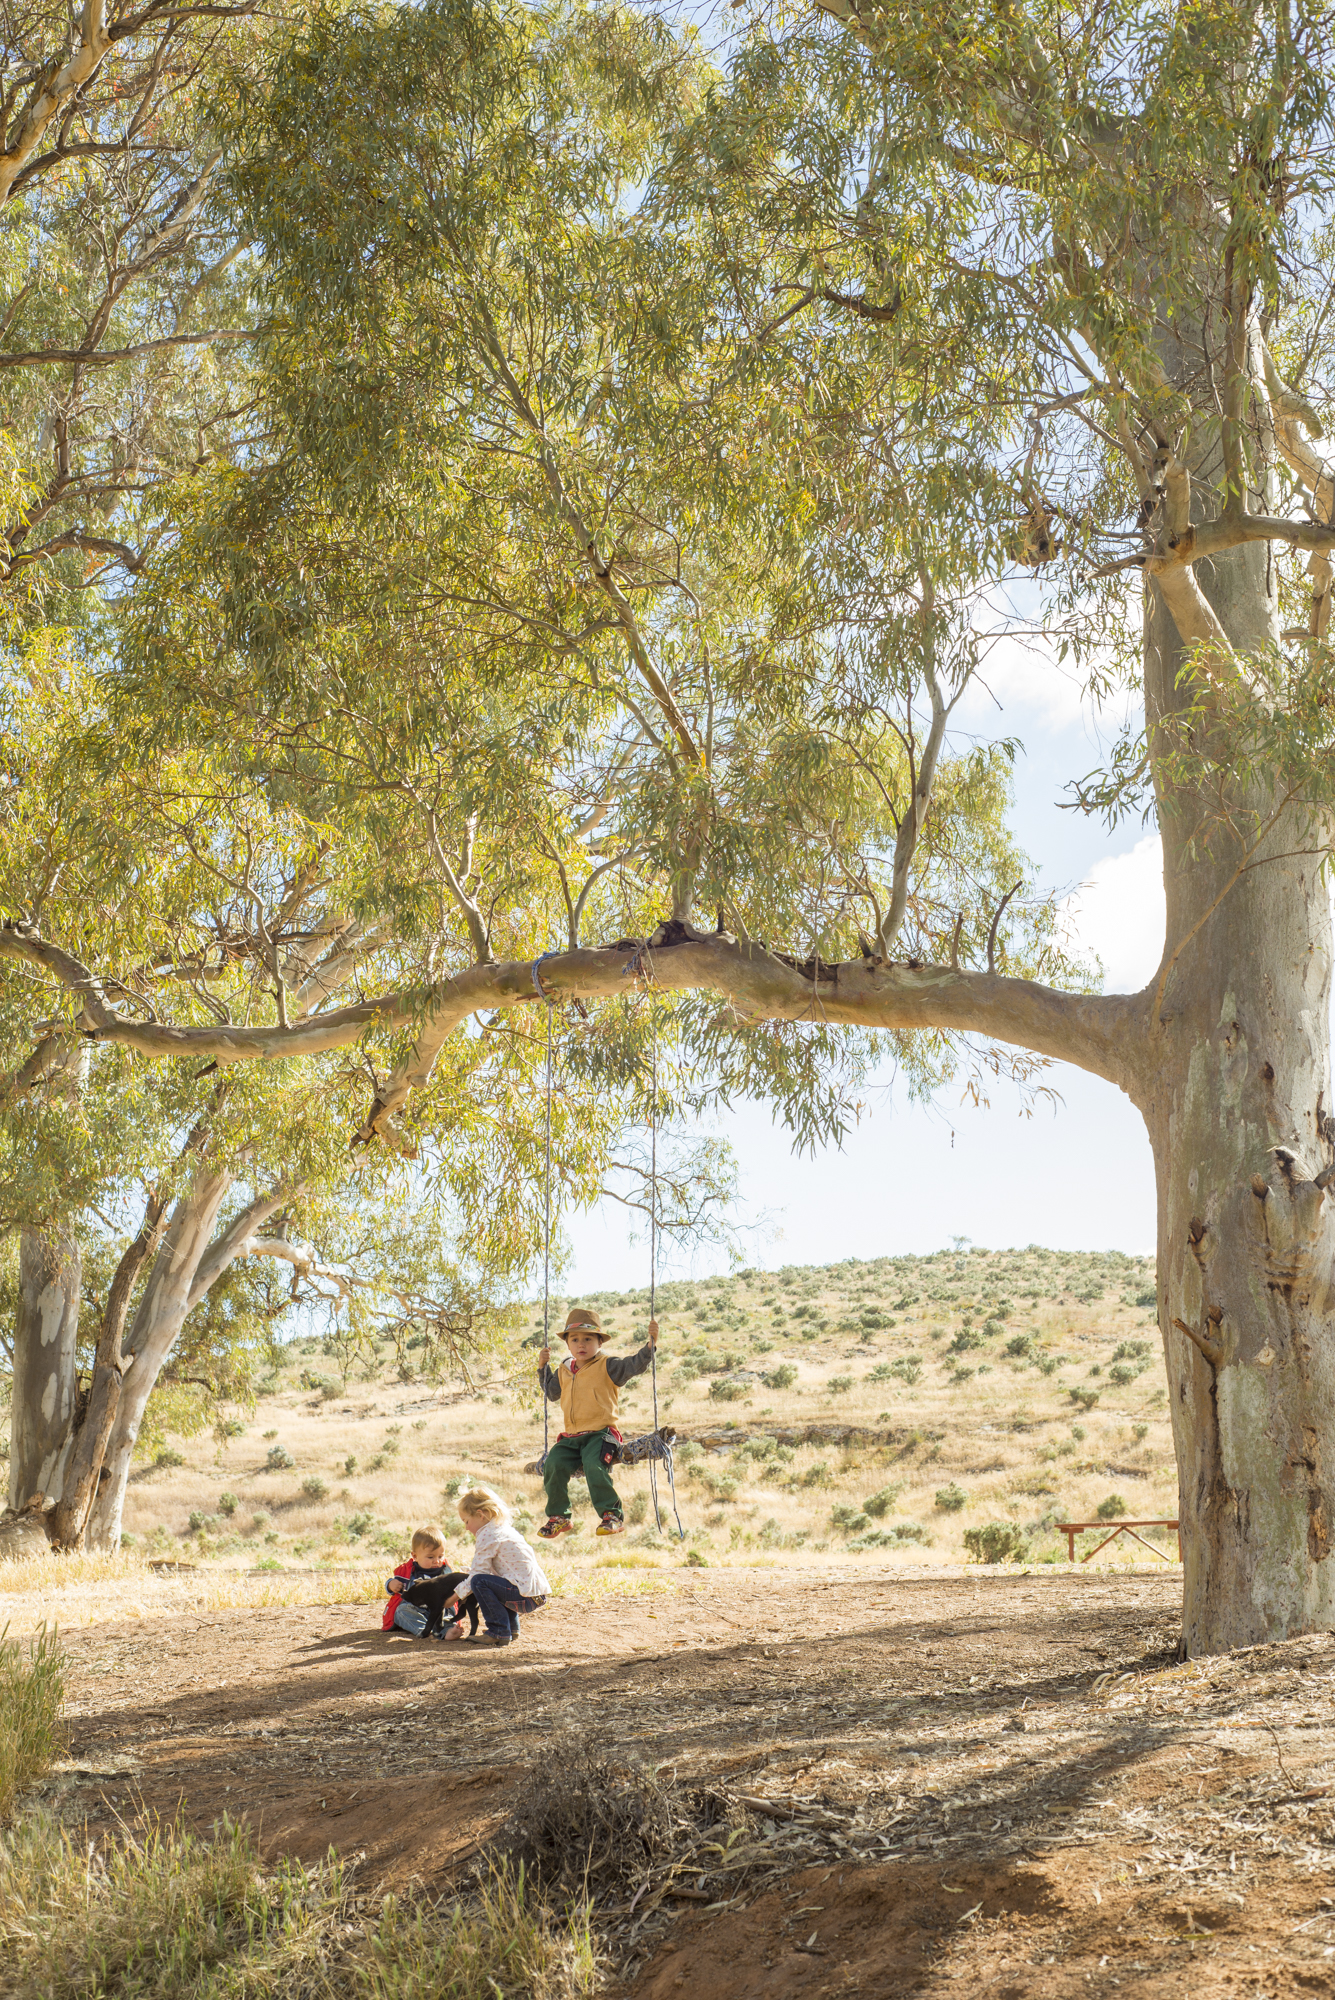
Family stays at an outback station. Kids having fun in the natural space. Nice weather, casual, safe, fun. That's what families would want to see if looking to go outback for some quality time together.
Clients need “Hero Shots” of their destinations (or any business for that matter). It's their defining image - what sets them apart from the rest.
So, what exactly is a Hero Shot – and what does it take to capture them?
A Hero Shot is a 'wow' photograph that makes the viewer think (or say) 'I want to be there now!' It either grabs your attention quickly in a saturation of images. A library of promotional images complements the hero shots. These images are less memorable (or impactful), but just as necessary to tell the story.
These hero images define and differentiate a destination from its competition. A series of Hero Shots can be created to broaden a destination’s appeal and convey your key marketing messages to the specific audience you are looking to attract.
Images like these require considerable forethought and planning. Unless of course, I just get lucky (which does happen). But I, or you, don't want to rely on just luck. Prep is needed.
Your destinations appeal and uniqueness
+
great idea/concept
+
awesome team
=
Hero image
Uniqueness/appeal could be a landmark, a feeling or an experience.
The great idea revolves around a story. What do you want to say? Find your answer and then go about resourcing how to get it. Time of year for the shoot, time of day, appropriate talent (if any), props, team and style all need to be considered. Think about what your ideal audience is wanting to see, put them in the photo. Best weather, atmosphere, activity, talent similar to themselves... Let your audience imagine it could be them there, enjoying your destination.
Then find the production team you need, and trust, to be able to get it.
Awesome team - people you trust and can deliver on what you want. Look at their portfolio, get to know them, find recommendations. You have to be comfortable and confident.
TIPS:
Make sure your talent doesn't look posed. It needs to look believable. Think about every aspect, not just the posing.
Have plans but allow for spontaneity.
Have fun - emotions and smiles connect.
Lighting and weather make the photo - anticipate. Check the direction of light, weather forecast and allow for extra time just in case.
How I got the shot... Bruny Island House of Whiskey
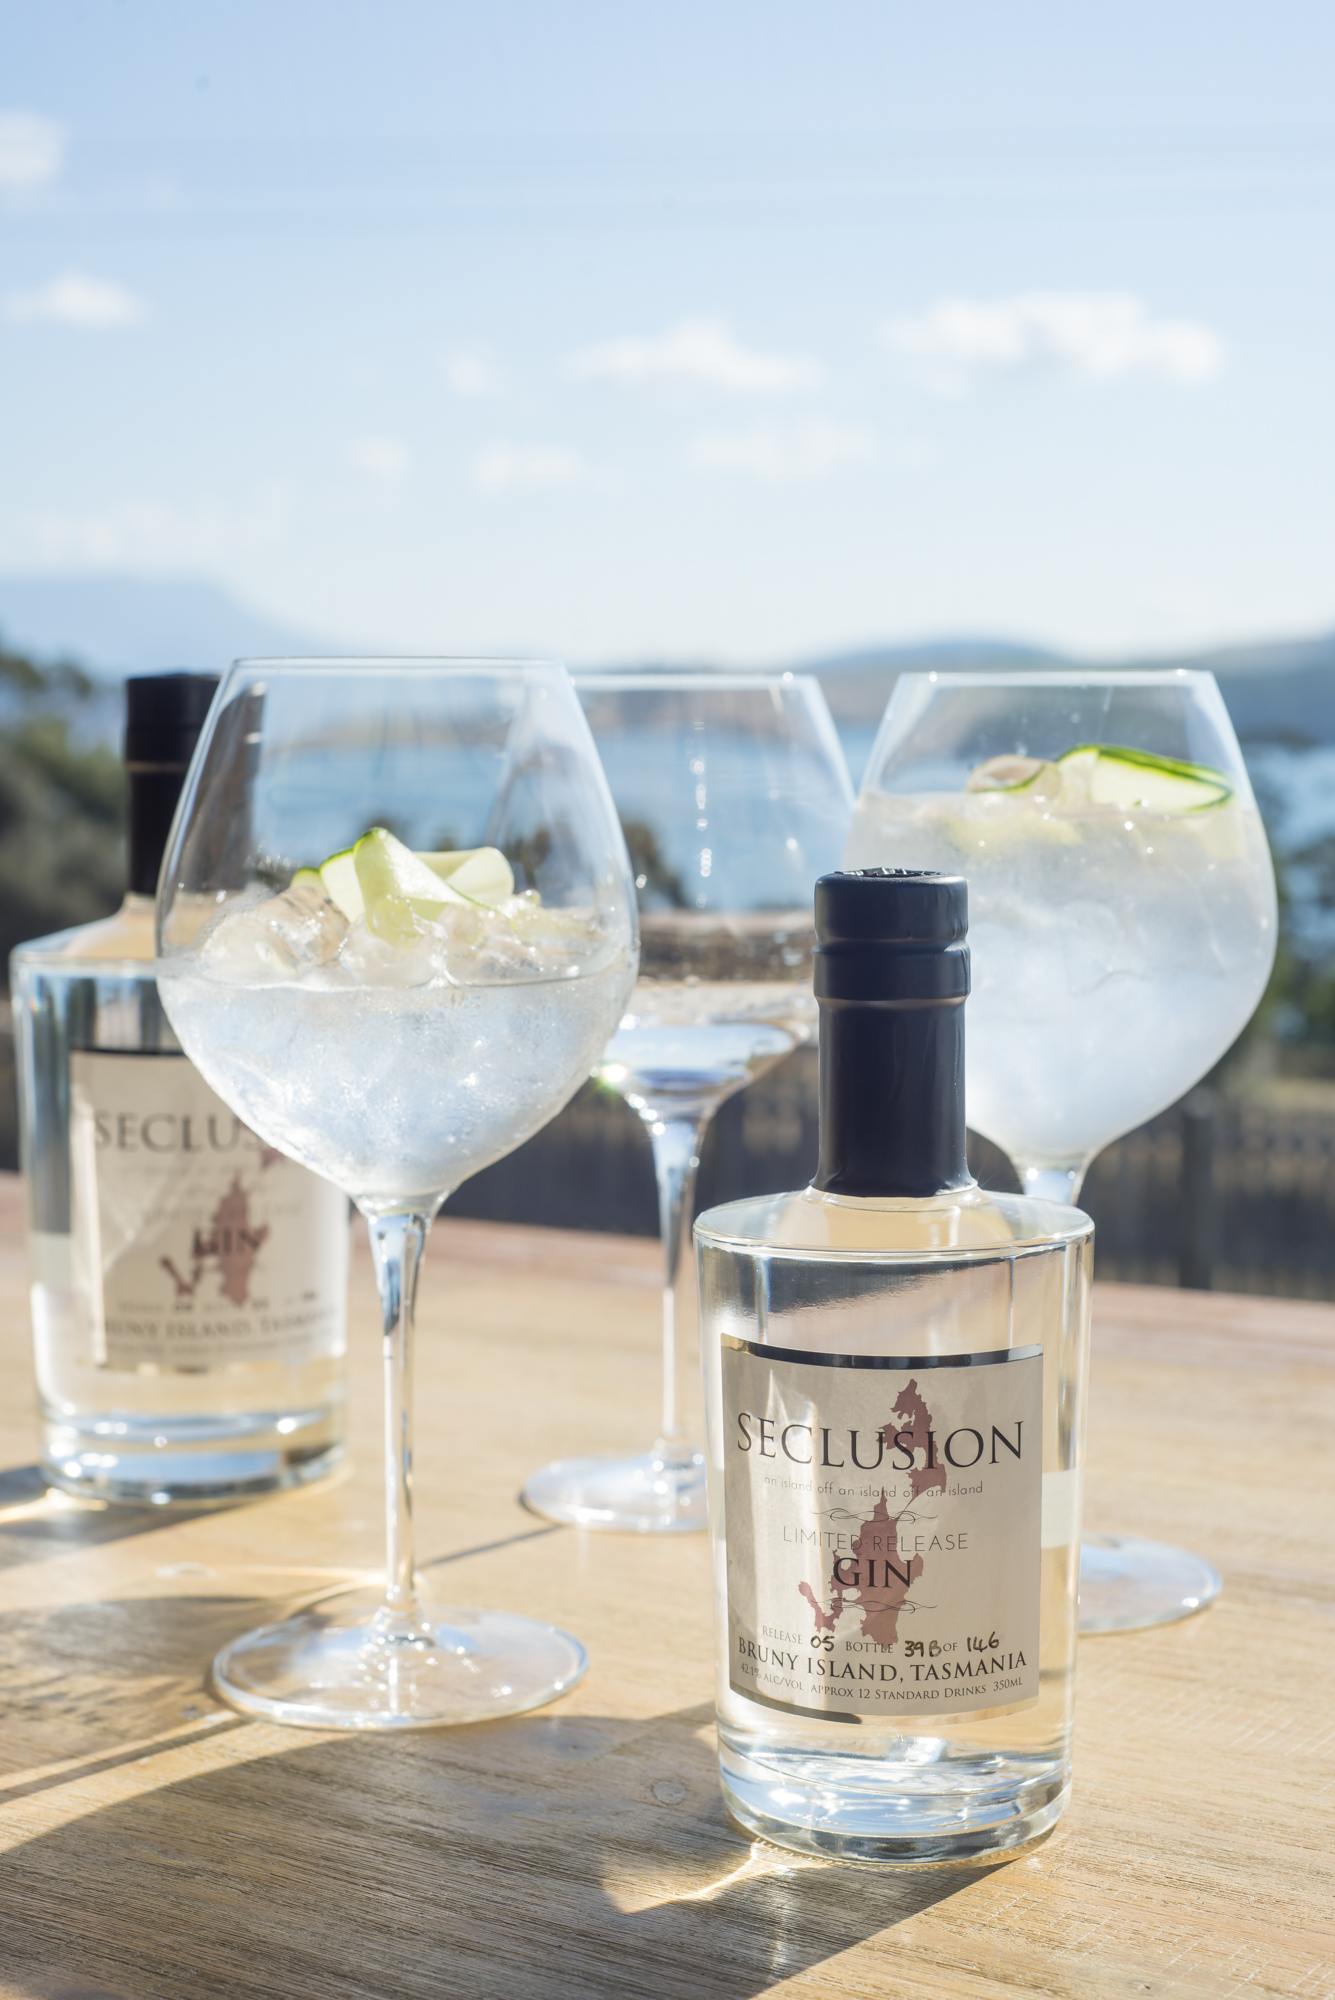
Want to know to get a decent bottle photograph? One simple tip.
Ok, so this shot is not perfect. But hey, for a shot 'on the run', I think it's pretty. It's unretouched and raw.
Bottles, glass and reflections make photography difficult. It's one thing people ask quite often. "How do I get a nice shot of a bottle?"
One easy trick is to diffuse the light that is falling on your subject. In this shot, I did that with a reflector scrim. That is it. A scrim is a translucent material that still allows light to go through, but softens it.
I had someone hold it between the sun and the bottles. It really minimised the reflections and made the image creamier looking.
Check out the other pic that shows the bottles without the scrim in place. You can see the difference on the labels.
What do you think?
The difference in retouching...
What sort of retouching is needed after a photo shoot? Do you have to have any?
So, what does a basic retouch mean?
What about an editorial retouch?
And what do I mean when I say 'extensive' retouch?
I've had many Clients ask this, and I the answer is always hard. So, I have decided to show it visually. That's the best way with photography anyway. So I think.
Above is a food photo, let me explain the differences you can see.
No retouch
This image is straight out of the camera.
I shoot in RAW. This allows for maximum information caught, and kept, in the capture. You will find most professionals photograph in this setting.
Why throw away information without even considering it? The more information I have, the better the image can be.
It does also mean that there is always going to be a need for some amount of retouch. This can range from a click of 'auto' in software which has varied, and sometimes unexpected, results or manipulated by the photographer individually. I typically start with an Auto Correct then adjust each file individually from there.
RAW = better quality
After all, that is why you are paying a photographer. To get the best images possible.
Editorial Retouch
This image has had a basic Auto Correct, then individually retouched via Lightroom.
I will lighten shadows, adjust contrast/colour/tone/crop, remove any large blemishes/distractions and adjust local areas within the image. I also sharpen/noise reduce and perhaps add some saturation/clarity/vibrancy.
Generally, an editorial image is not taken into Photoshop for more intensive retouching.
Extensive Retouch
This image is looked at in detail. It gets the Editorial Retouch then it's taken into Photoshop for individual and precise alterations.
I have fixed perspective, removed some of the reflections from the glasses, removed blemishes on the surface, lightened darker areas of the food and cropped slightly.
So, what retouch do you choose?
What retouch you choose depends on the final use of your image. We can chat about it when you book your next shoot. Or, if you have any questions, leave them here for me to answer.
Food photography tips
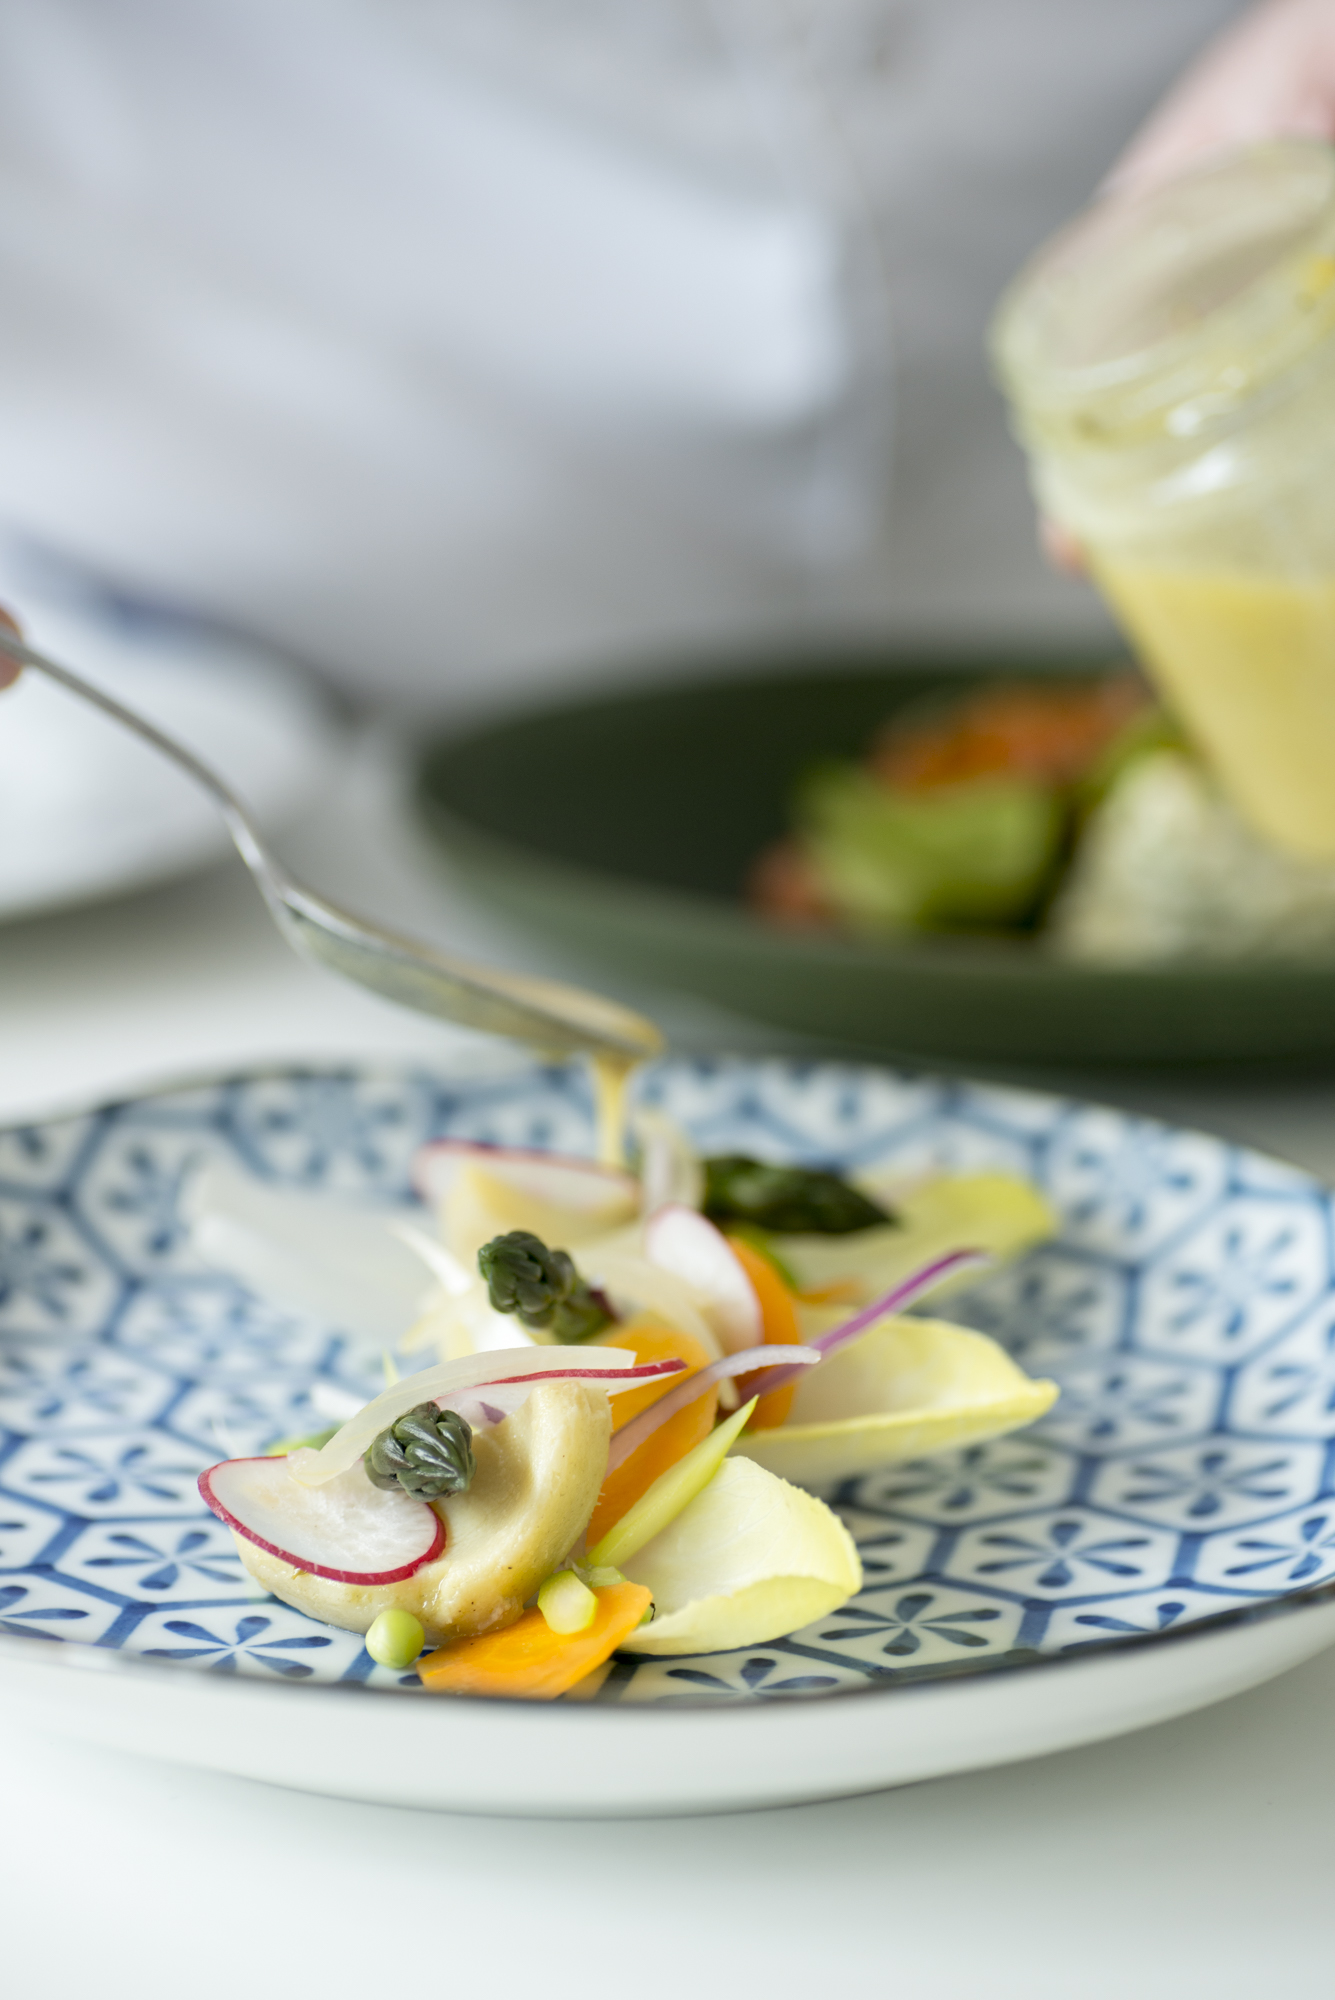
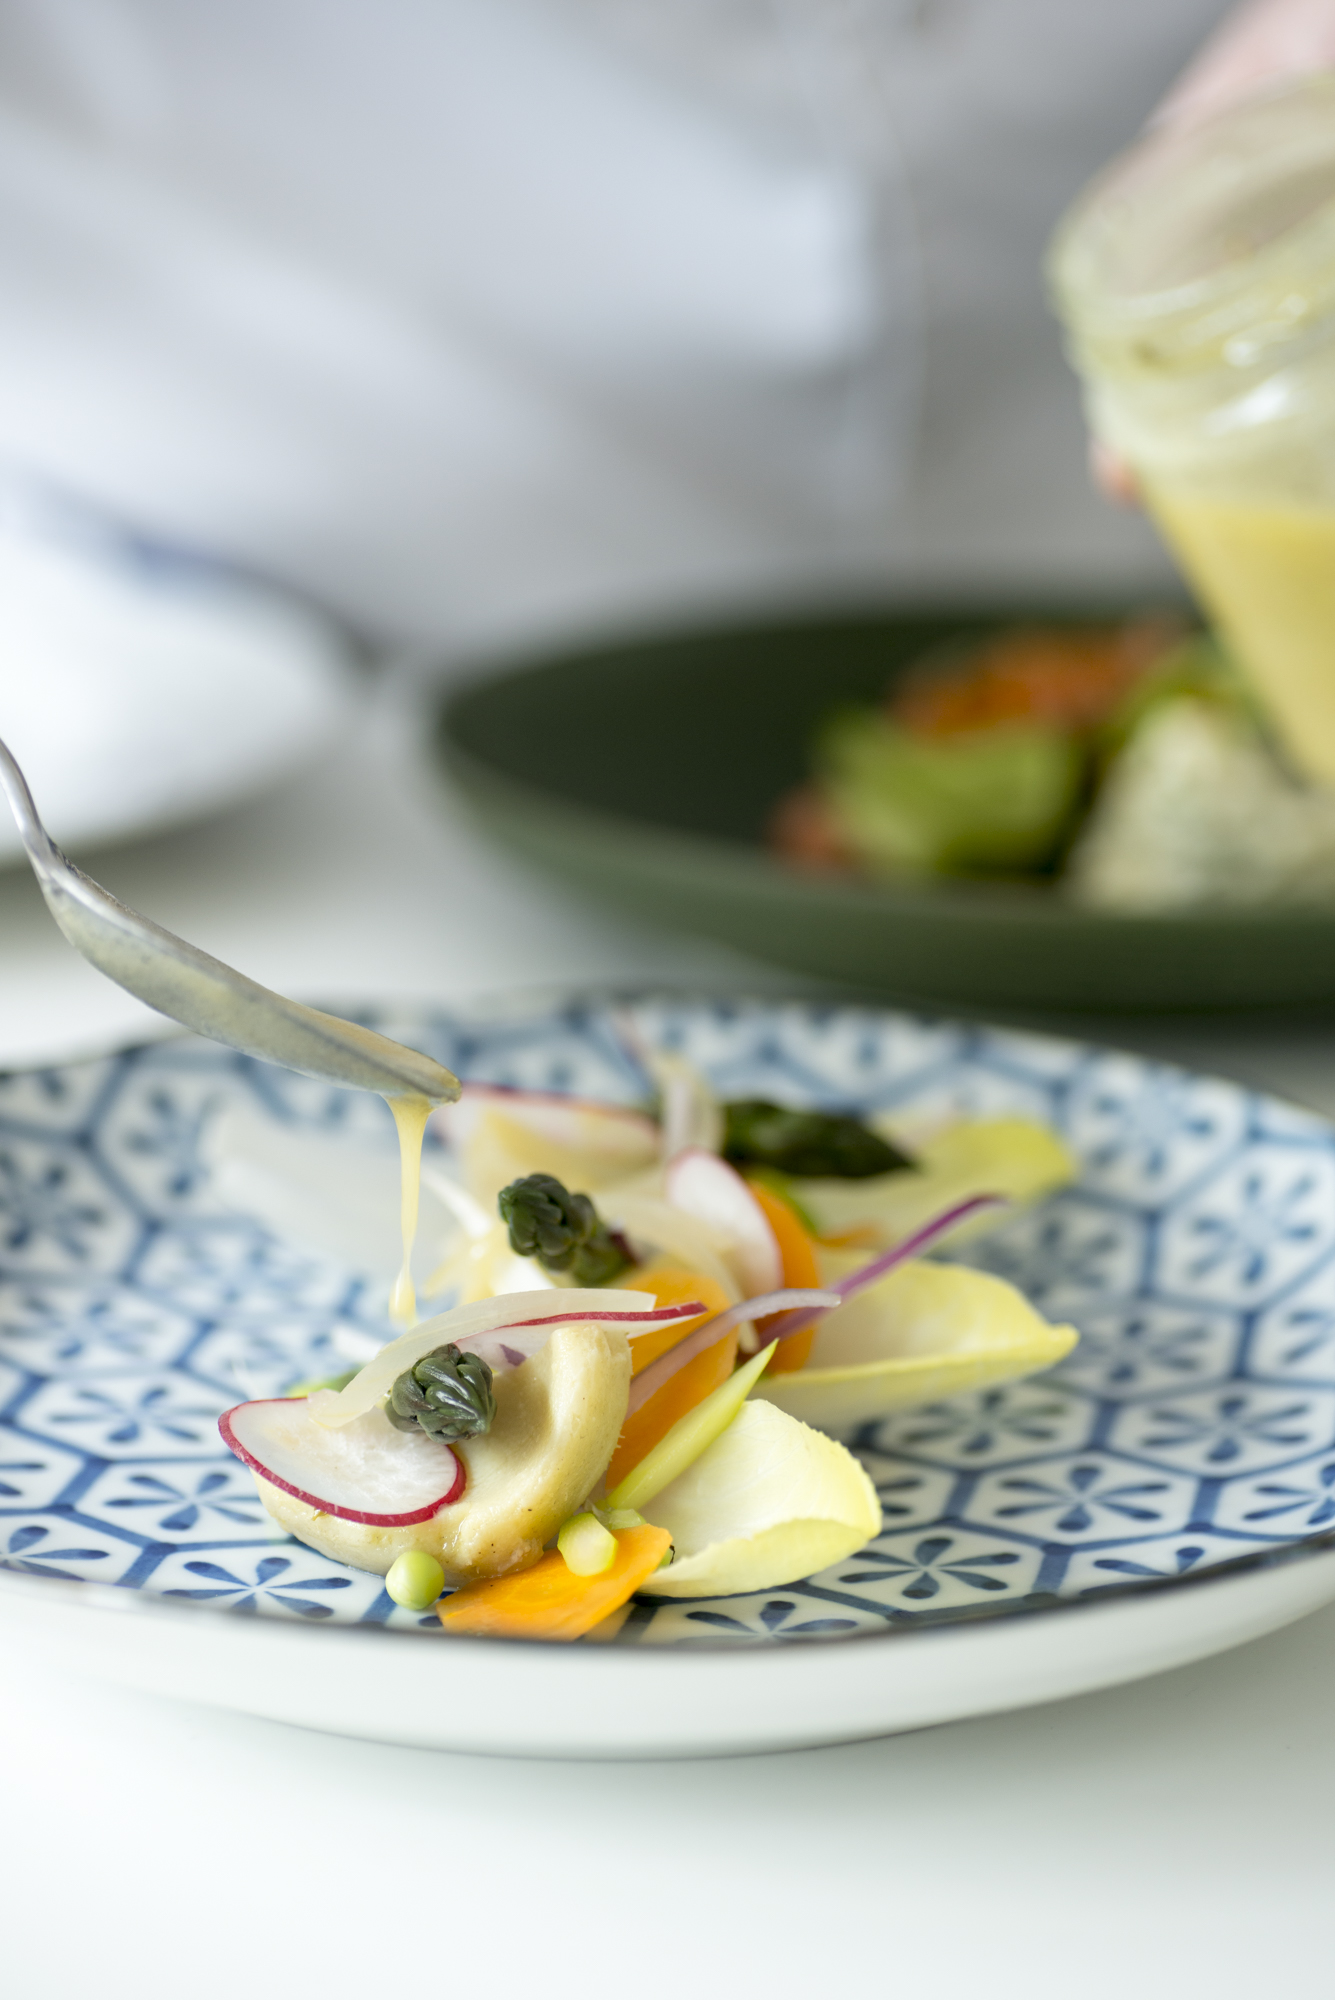
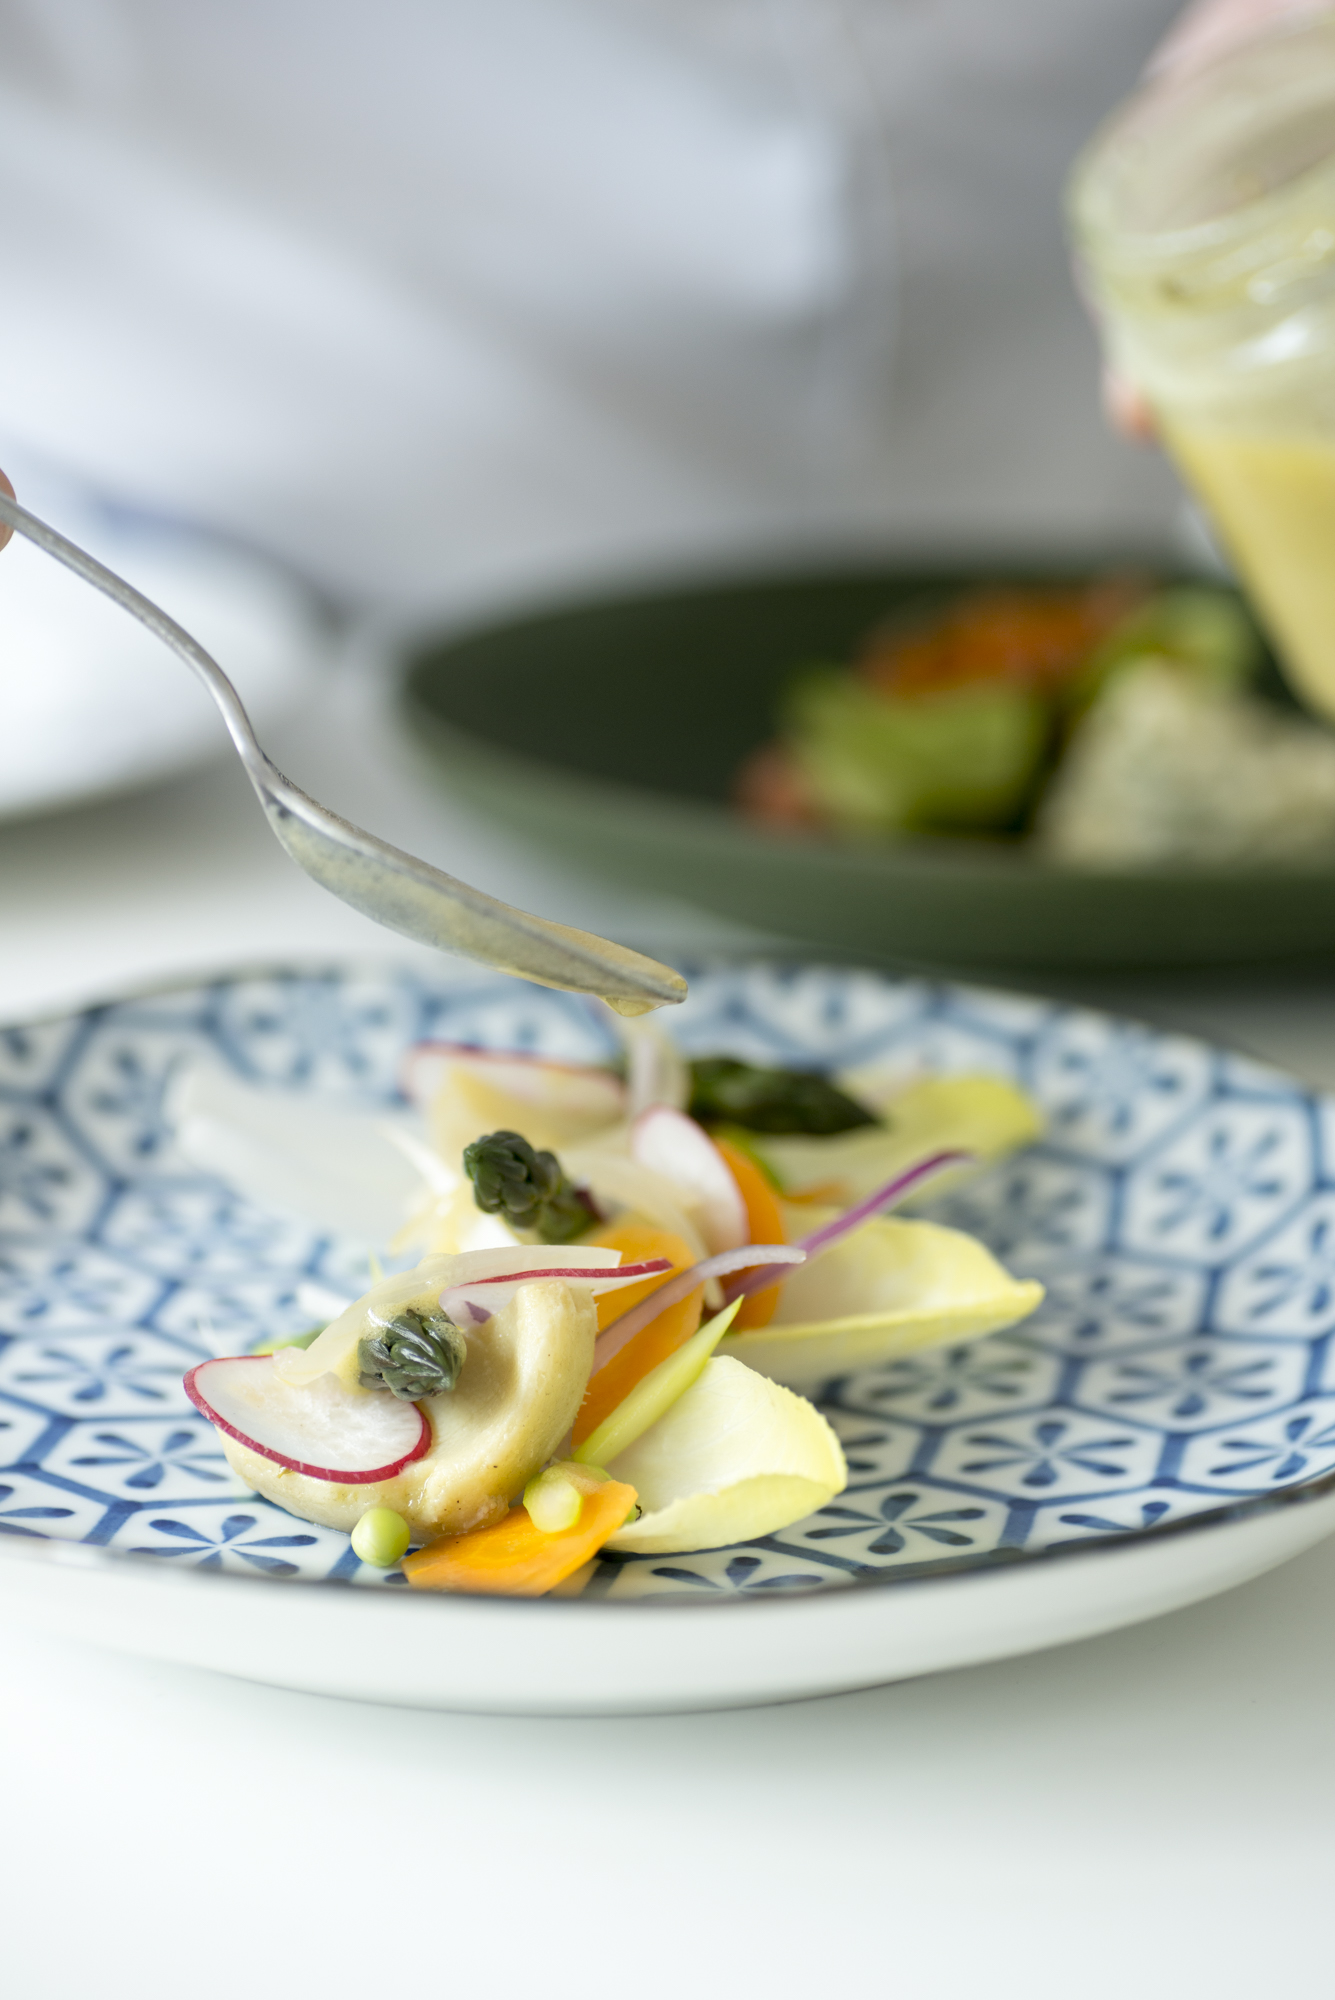
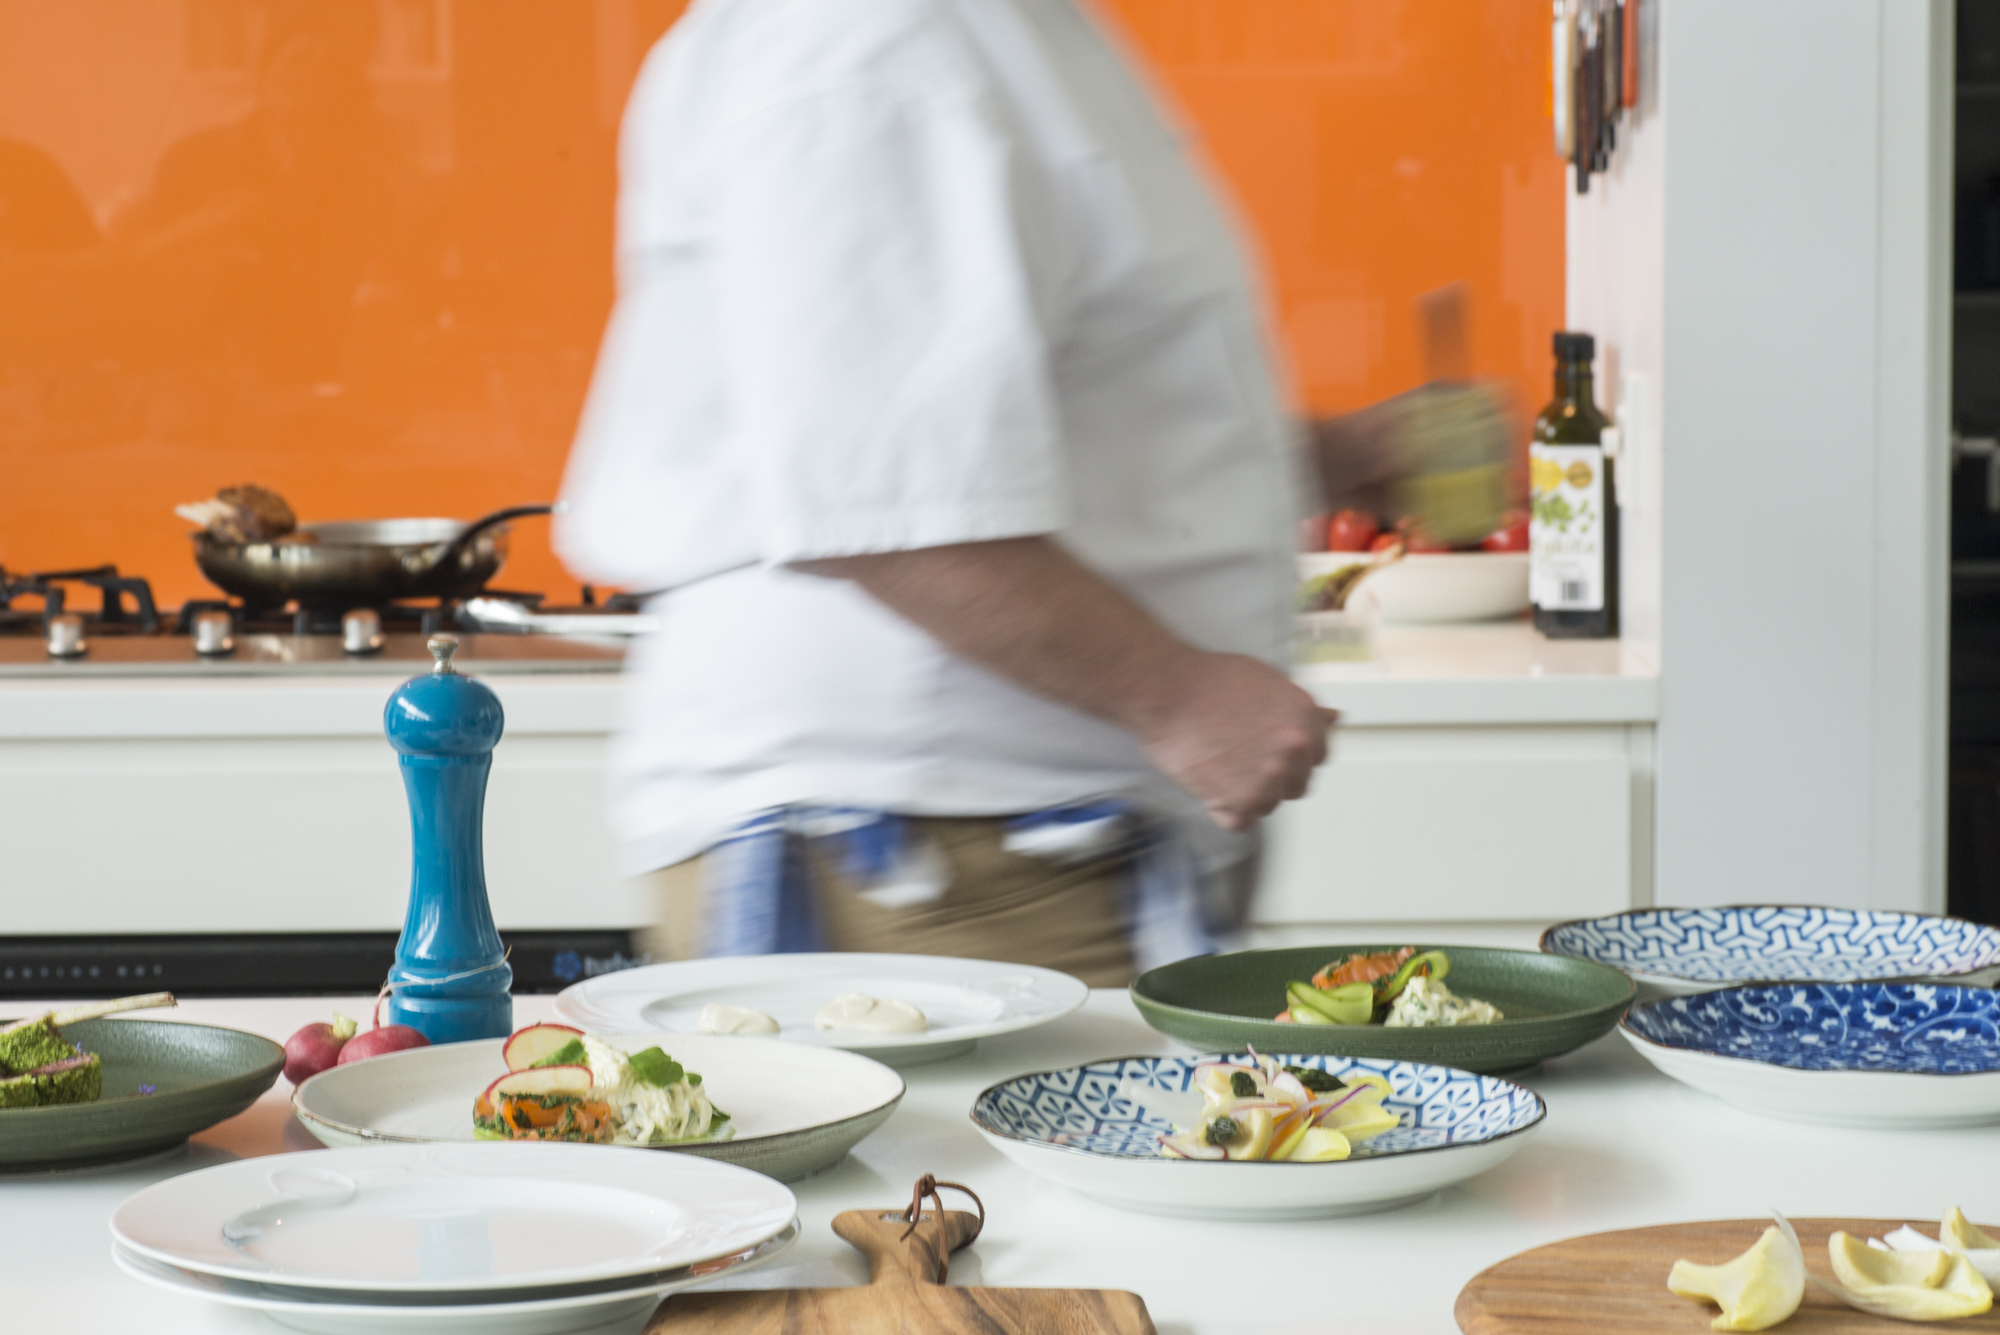
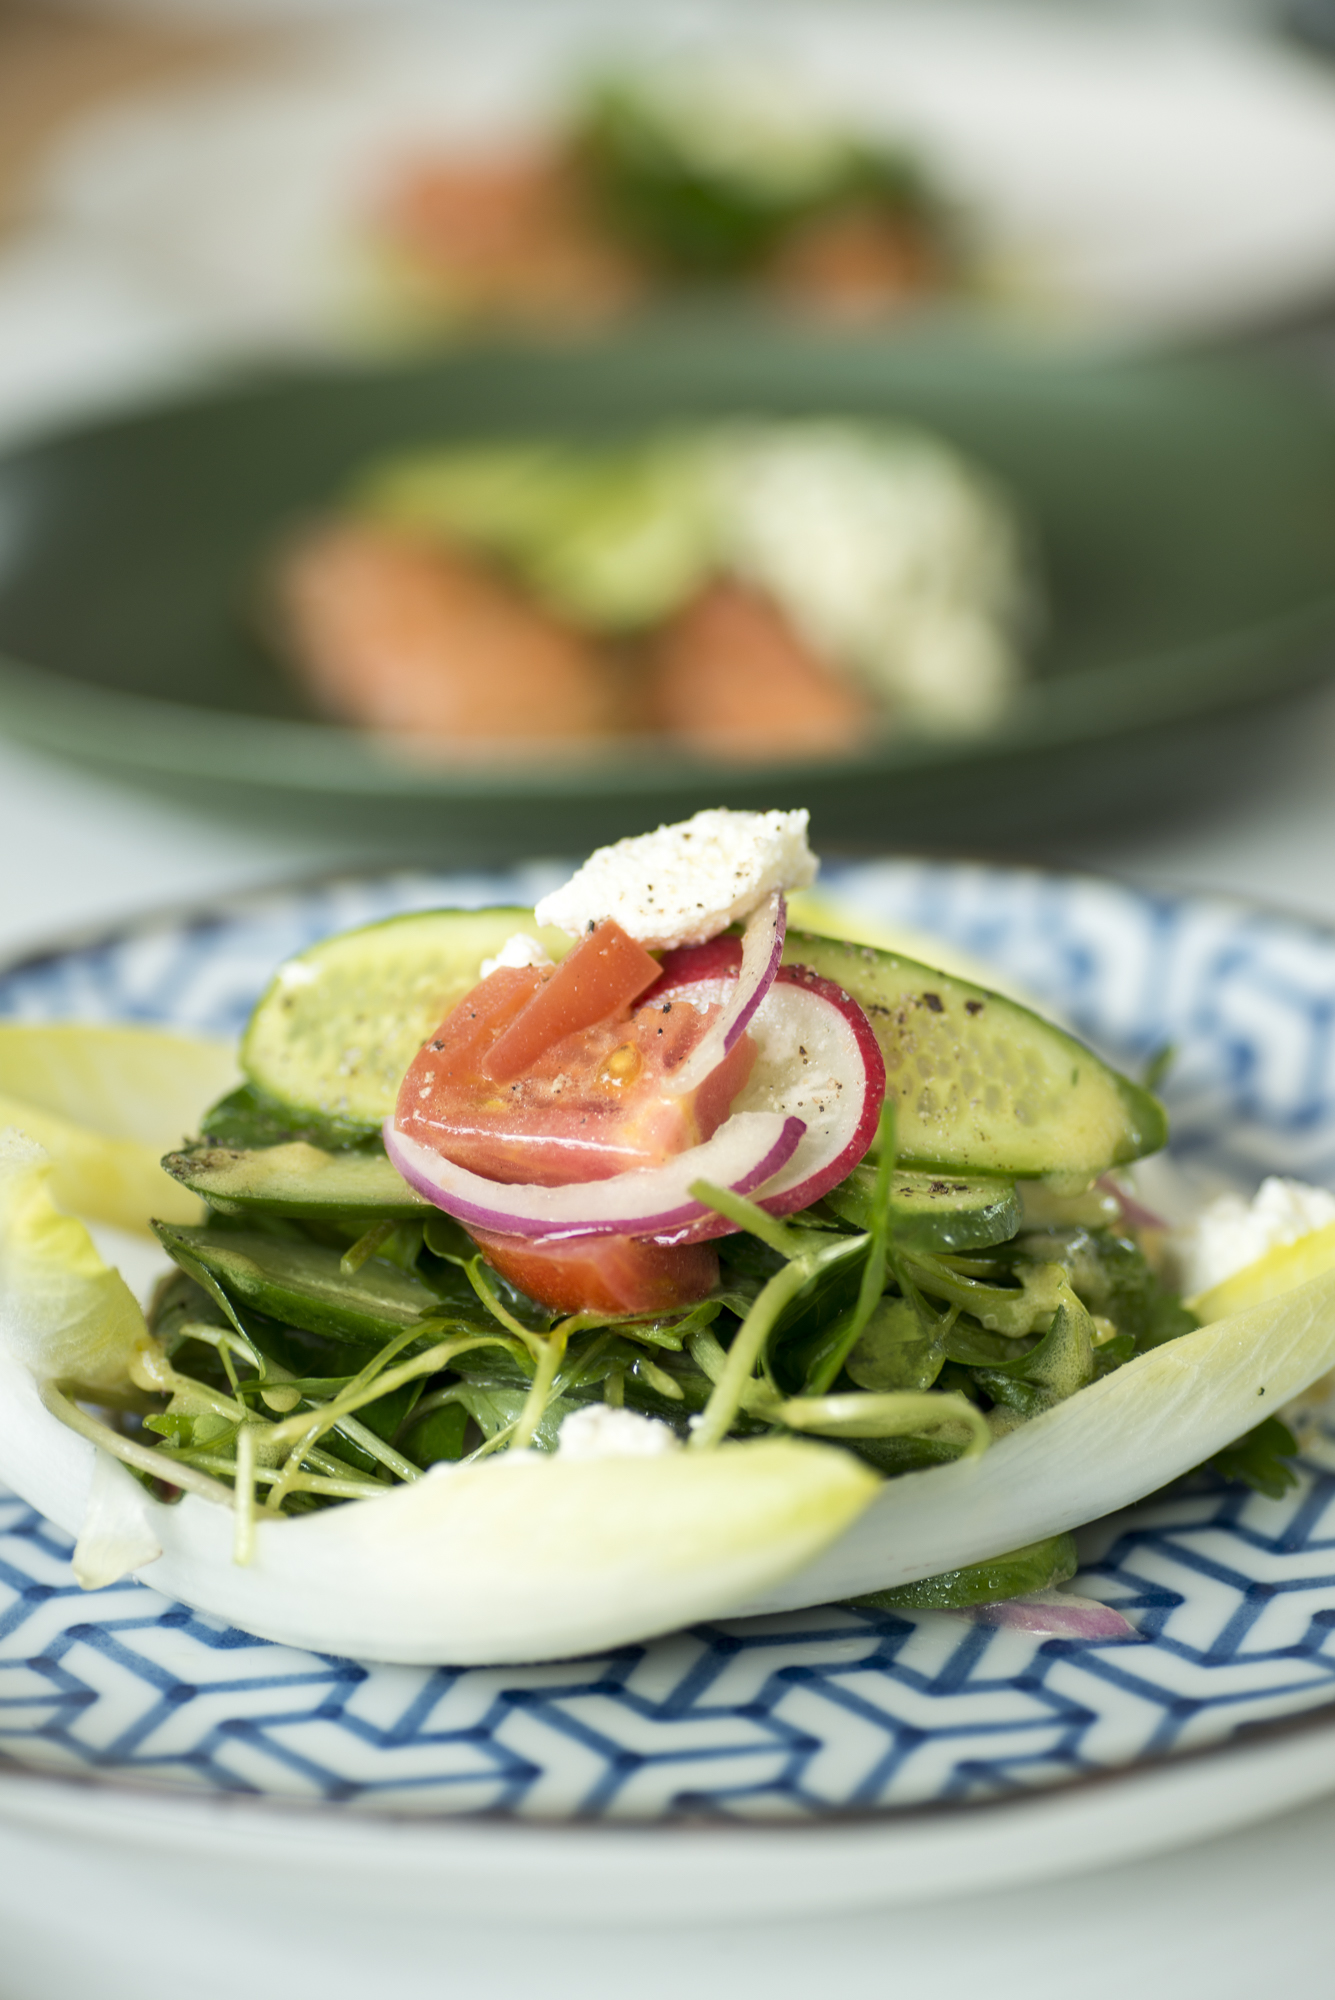
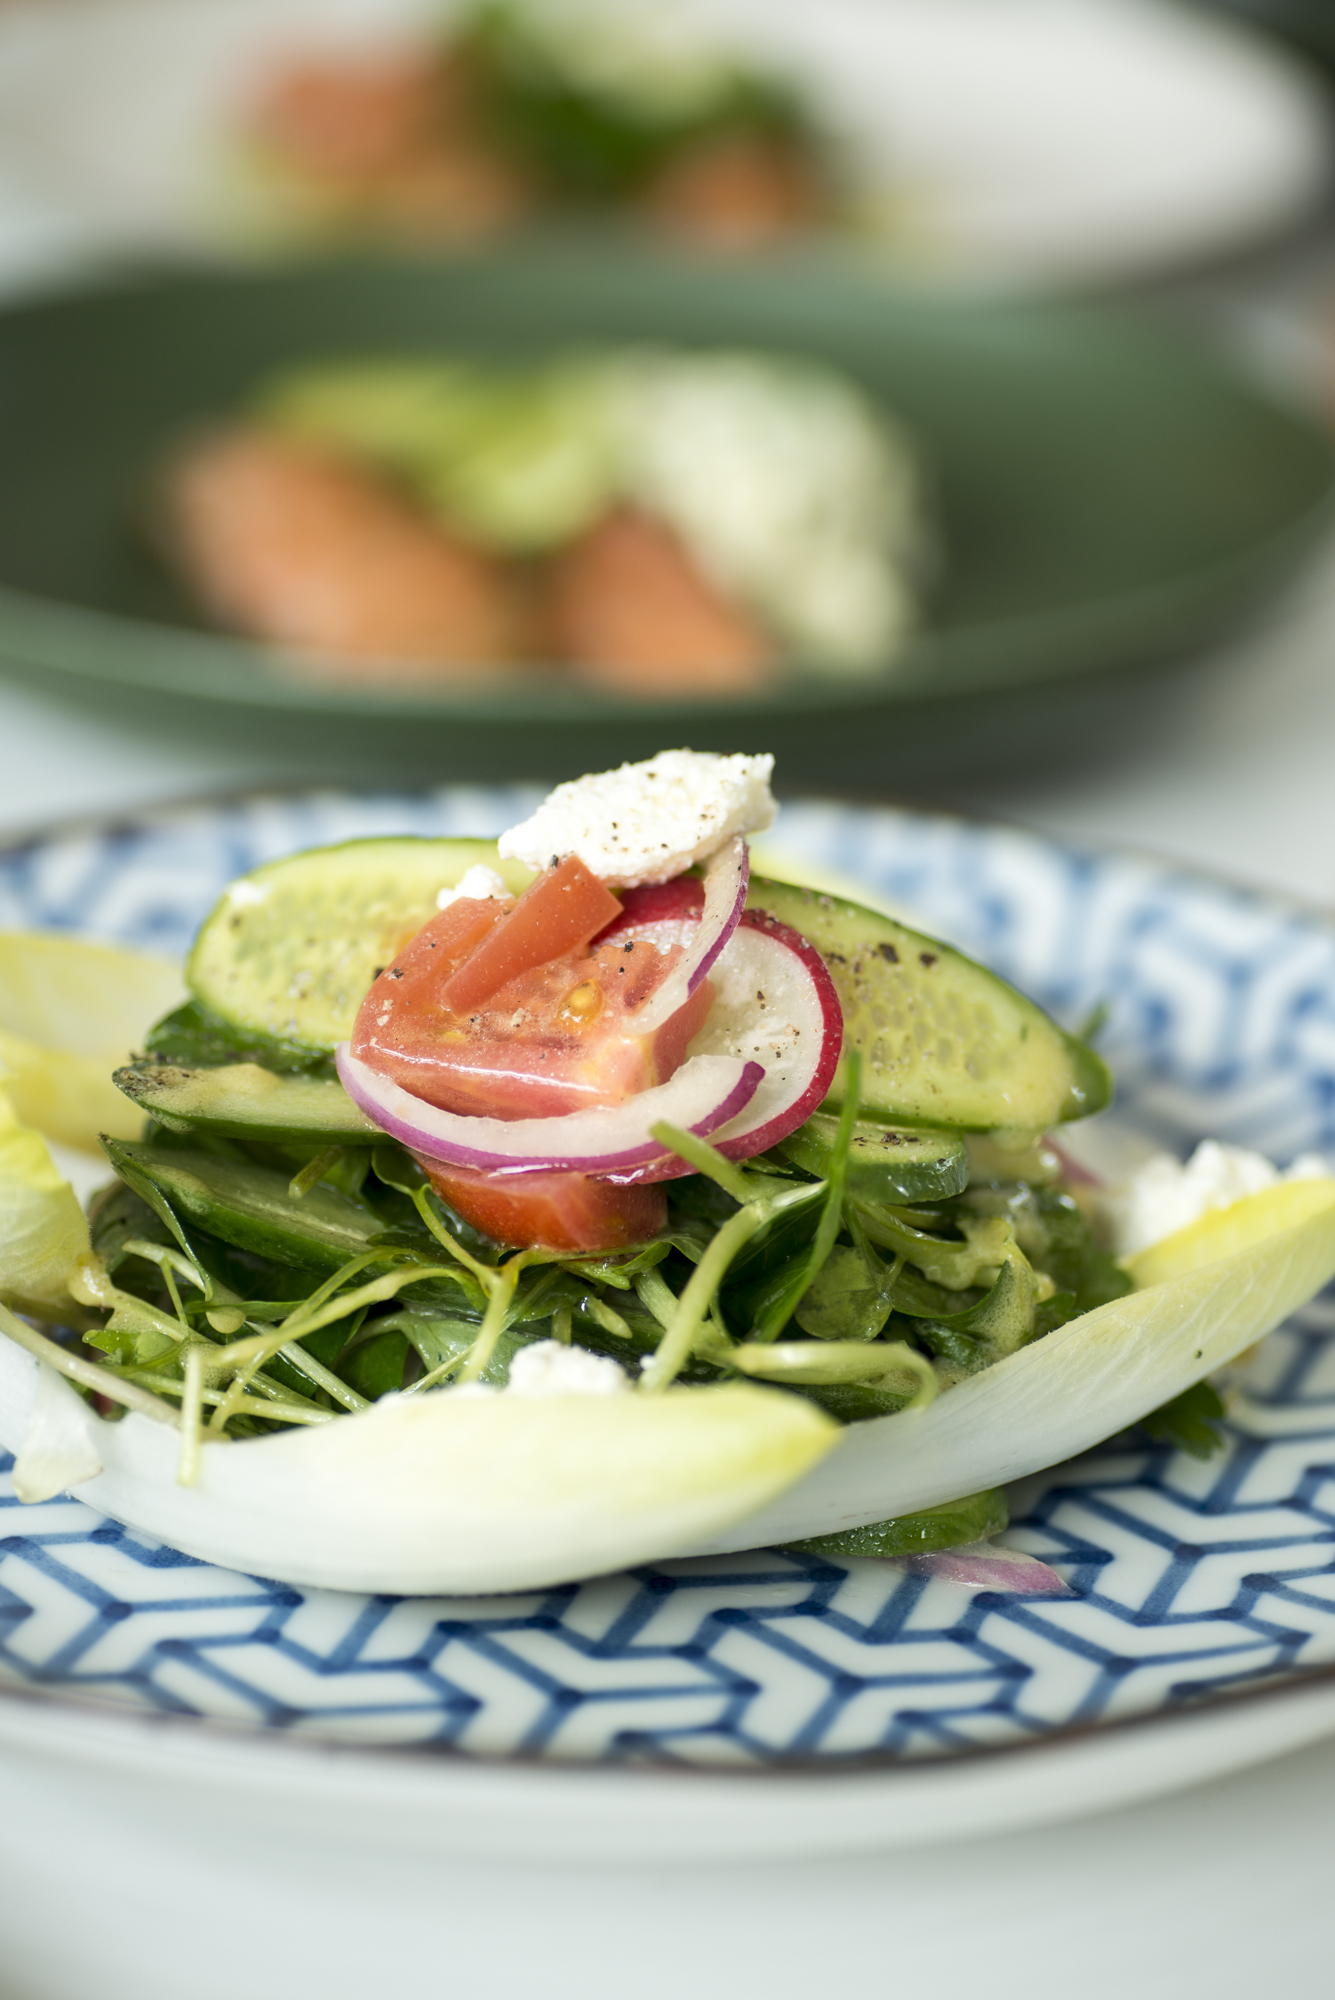
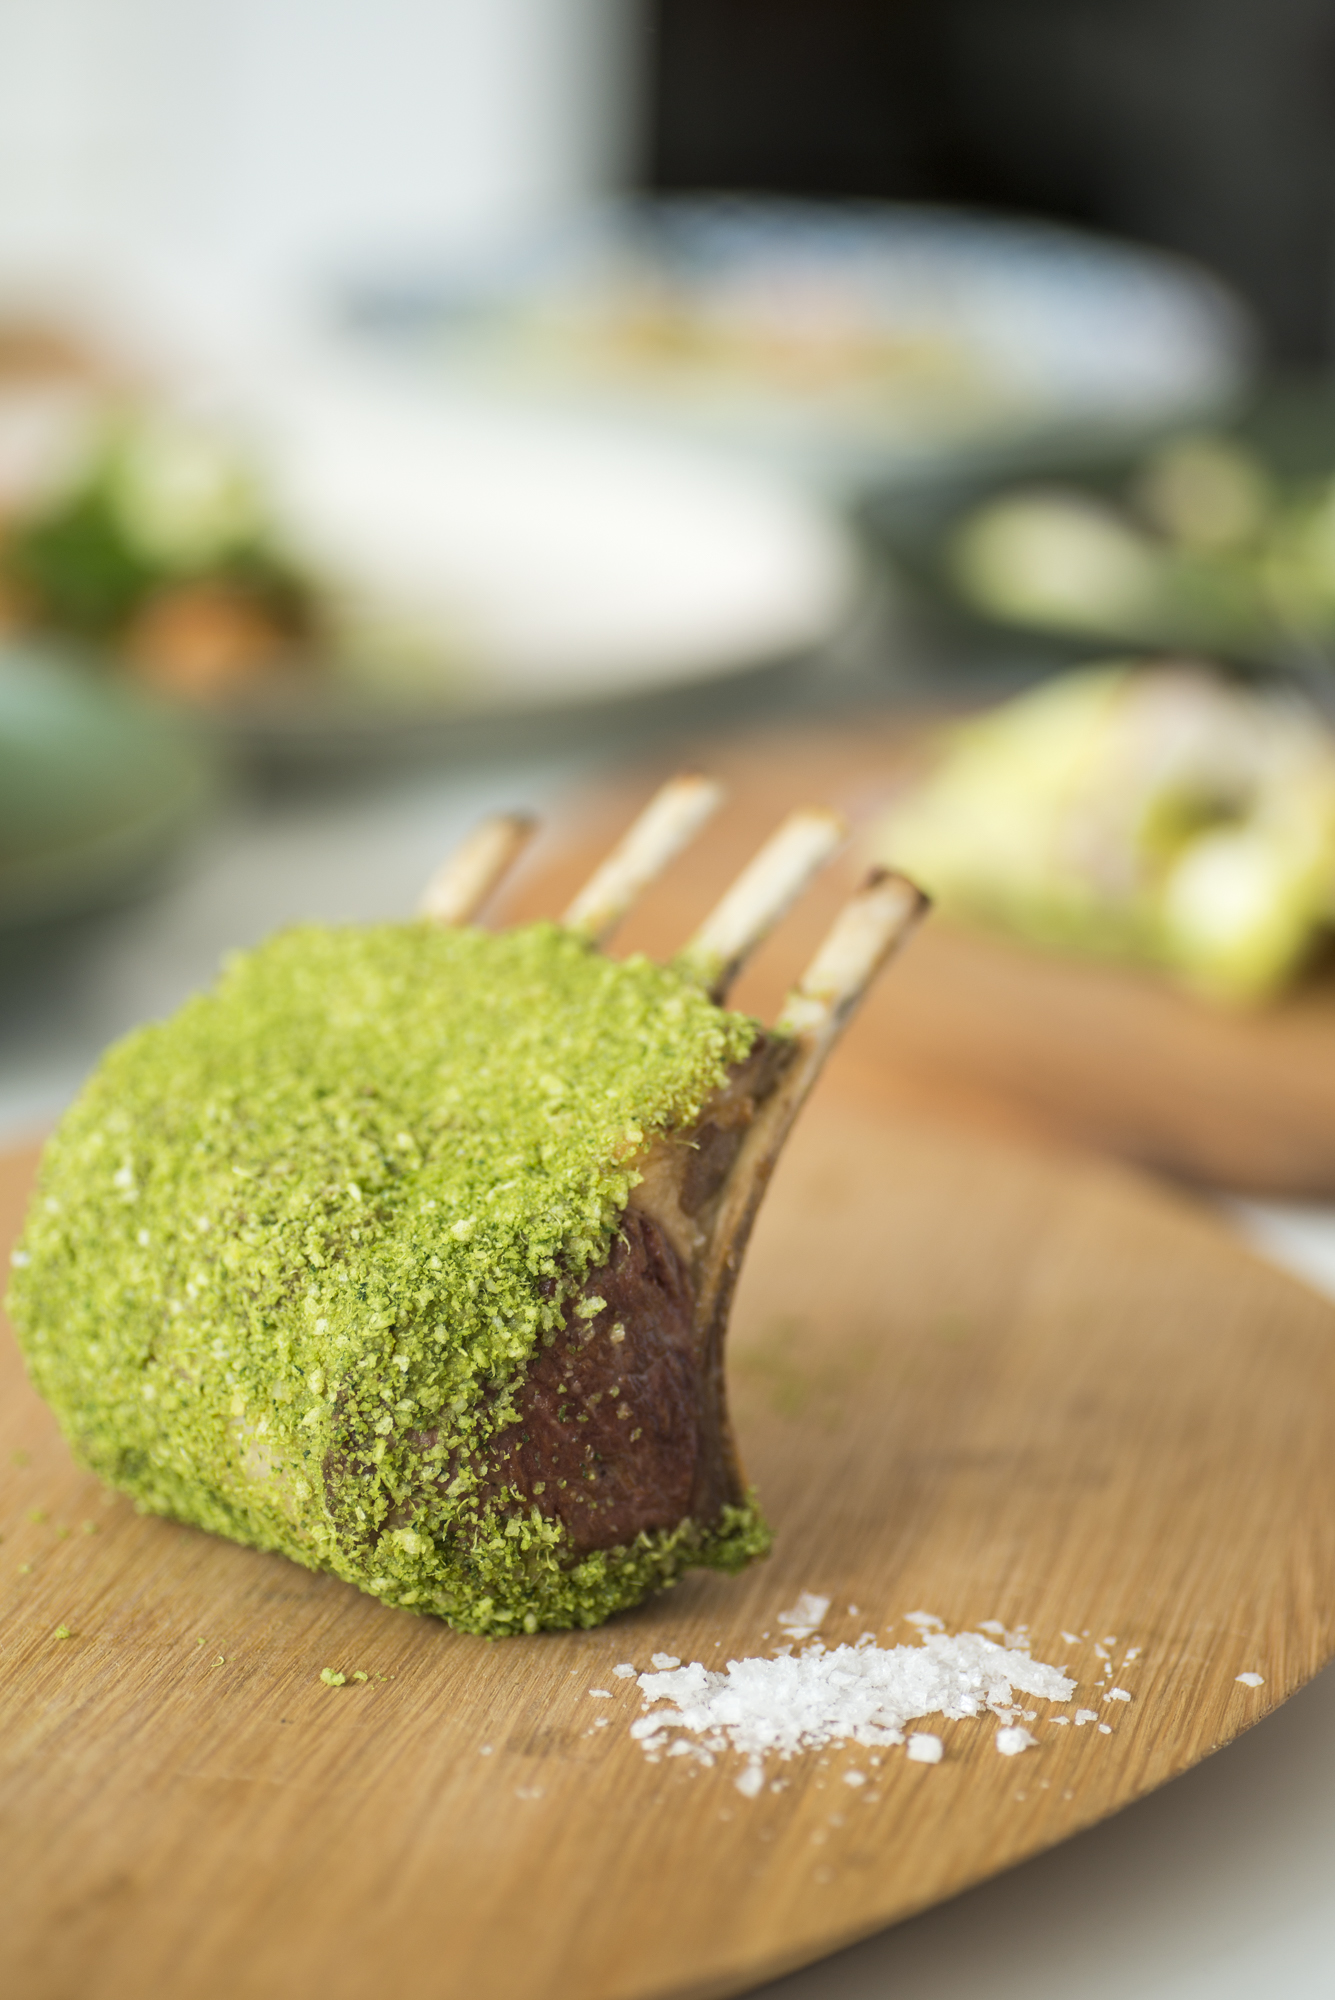
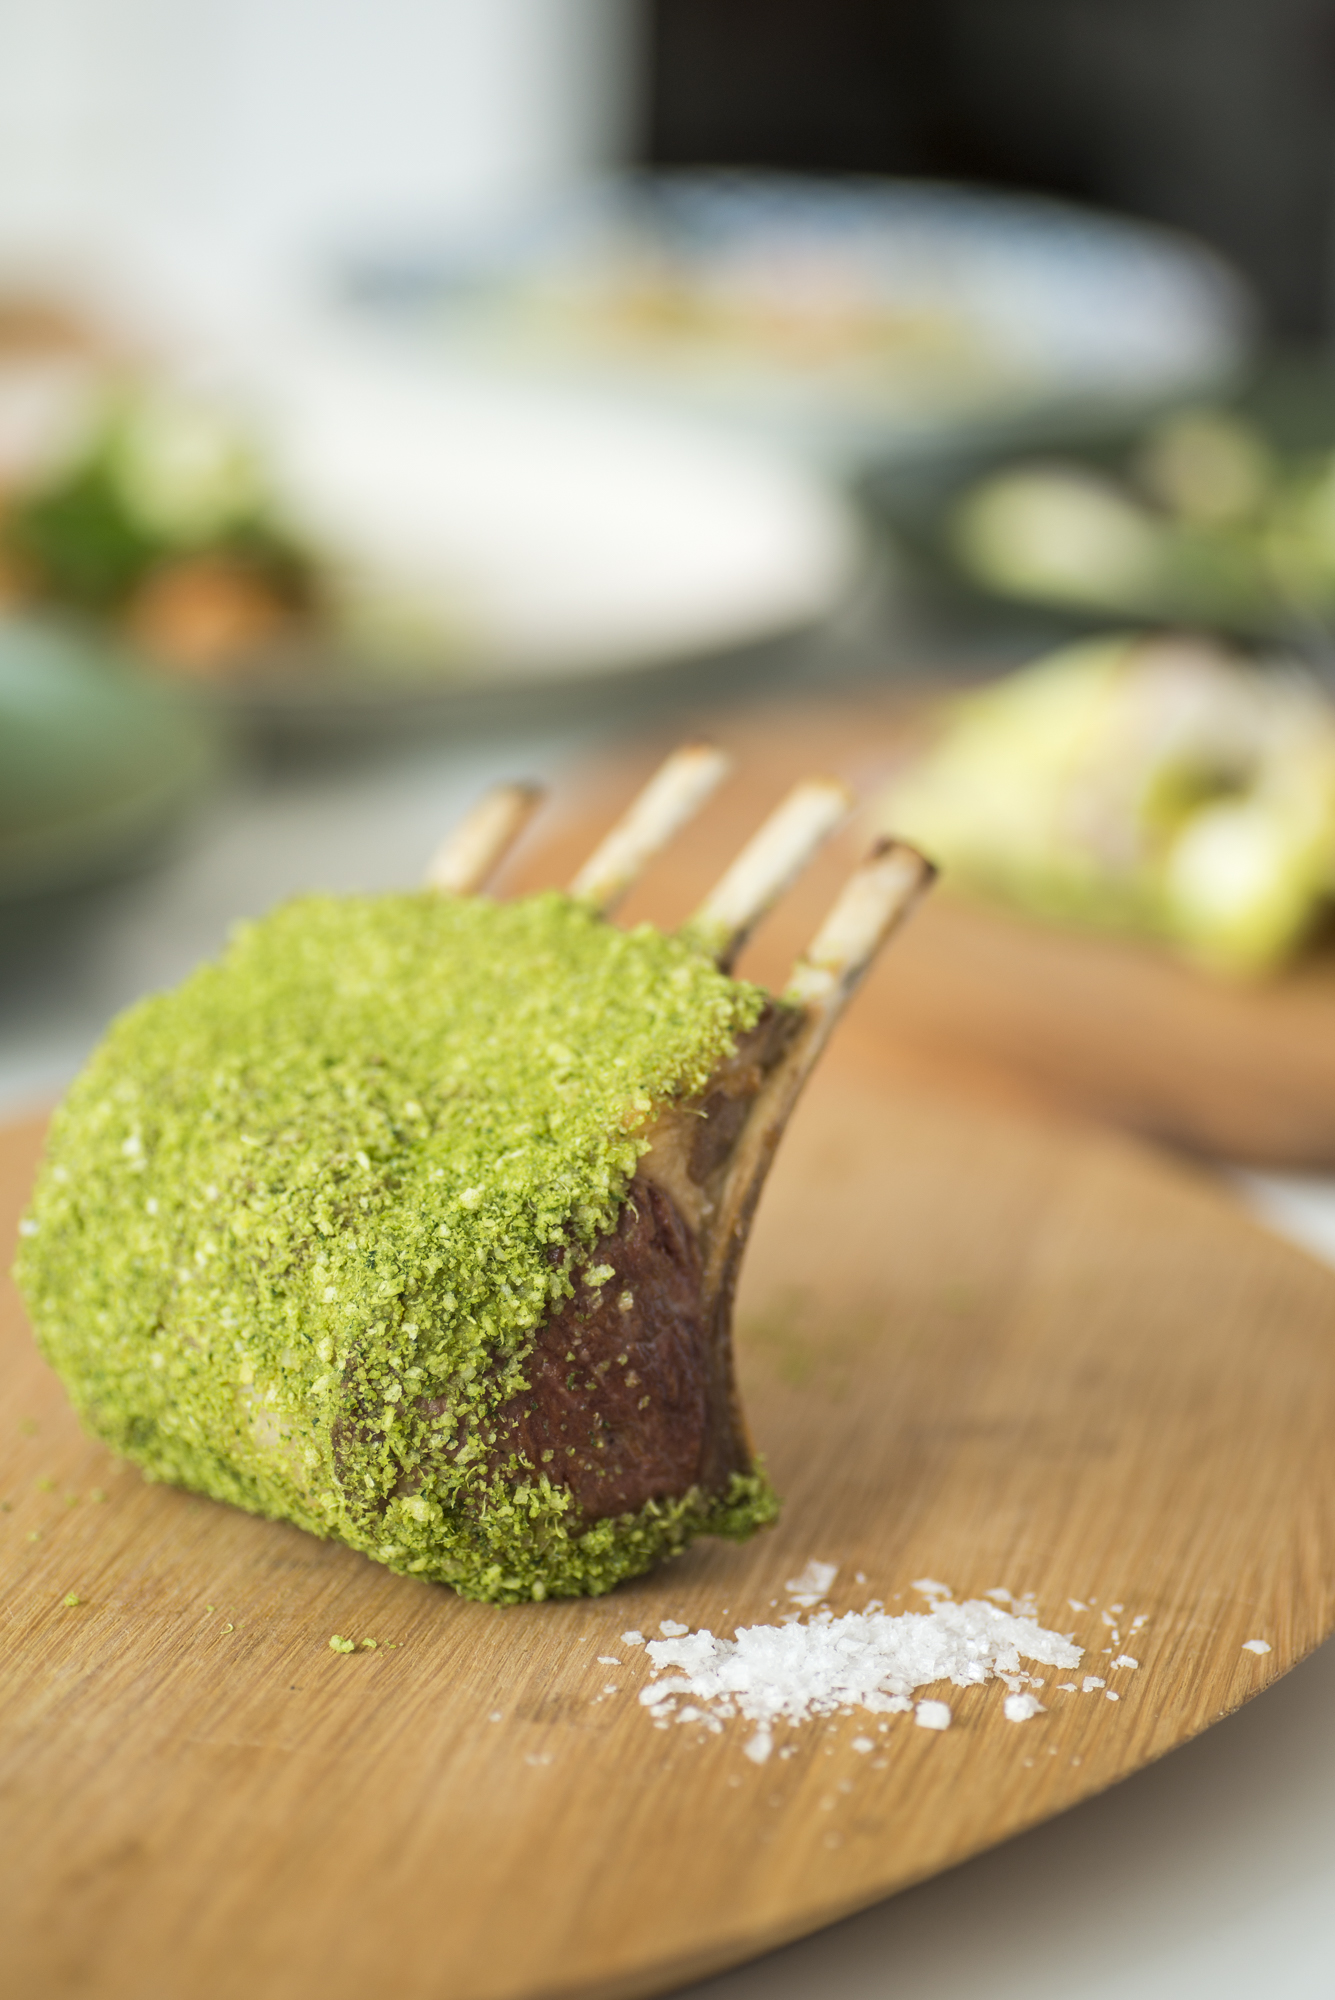
Some tips and pics from recent workshops held for Fleurieu Food and Shimmer Festival.
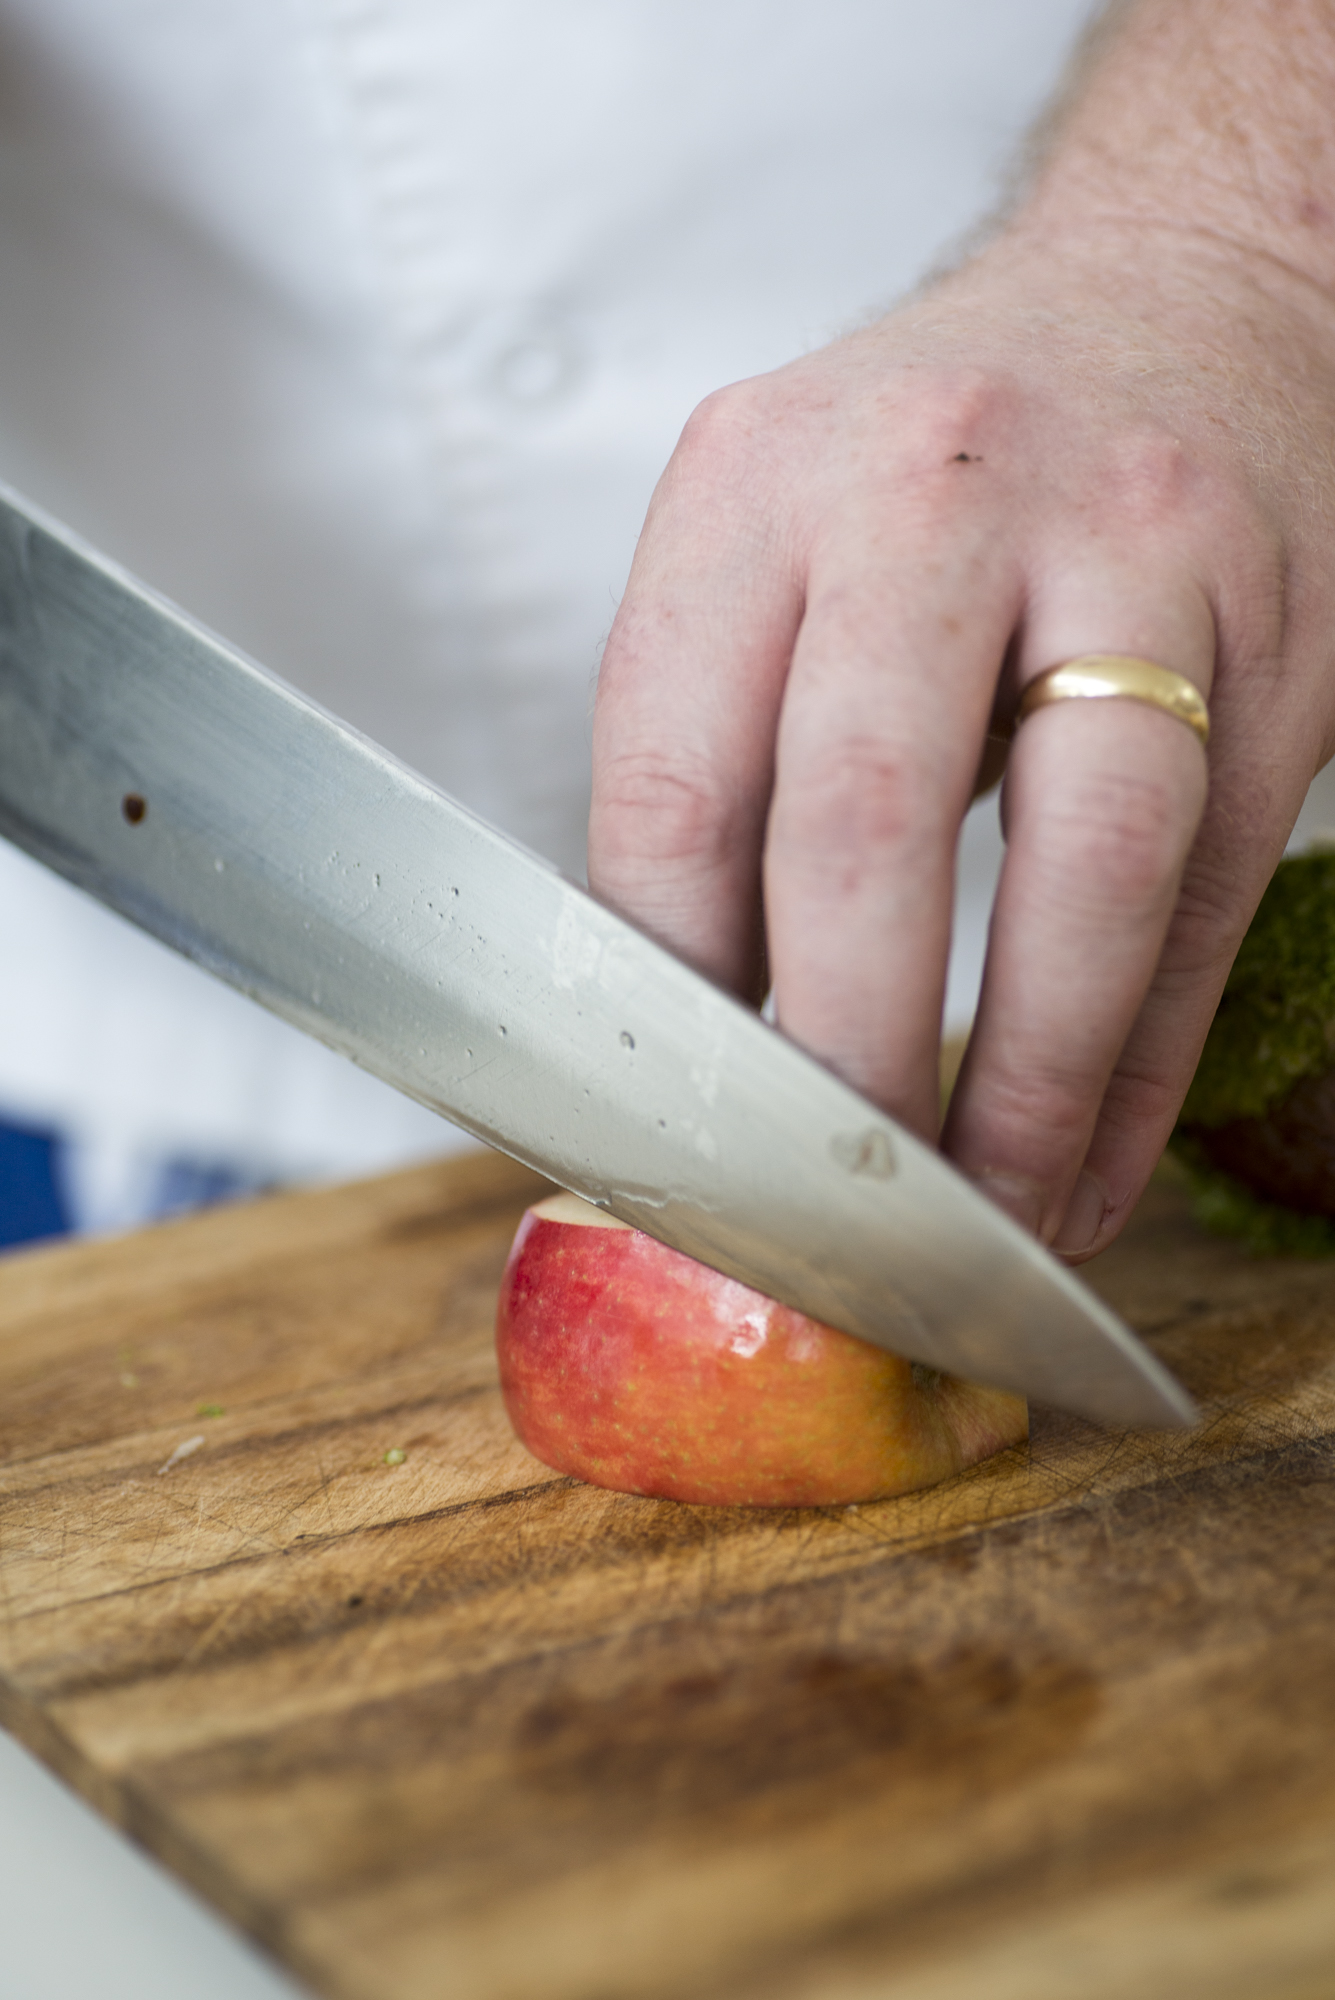
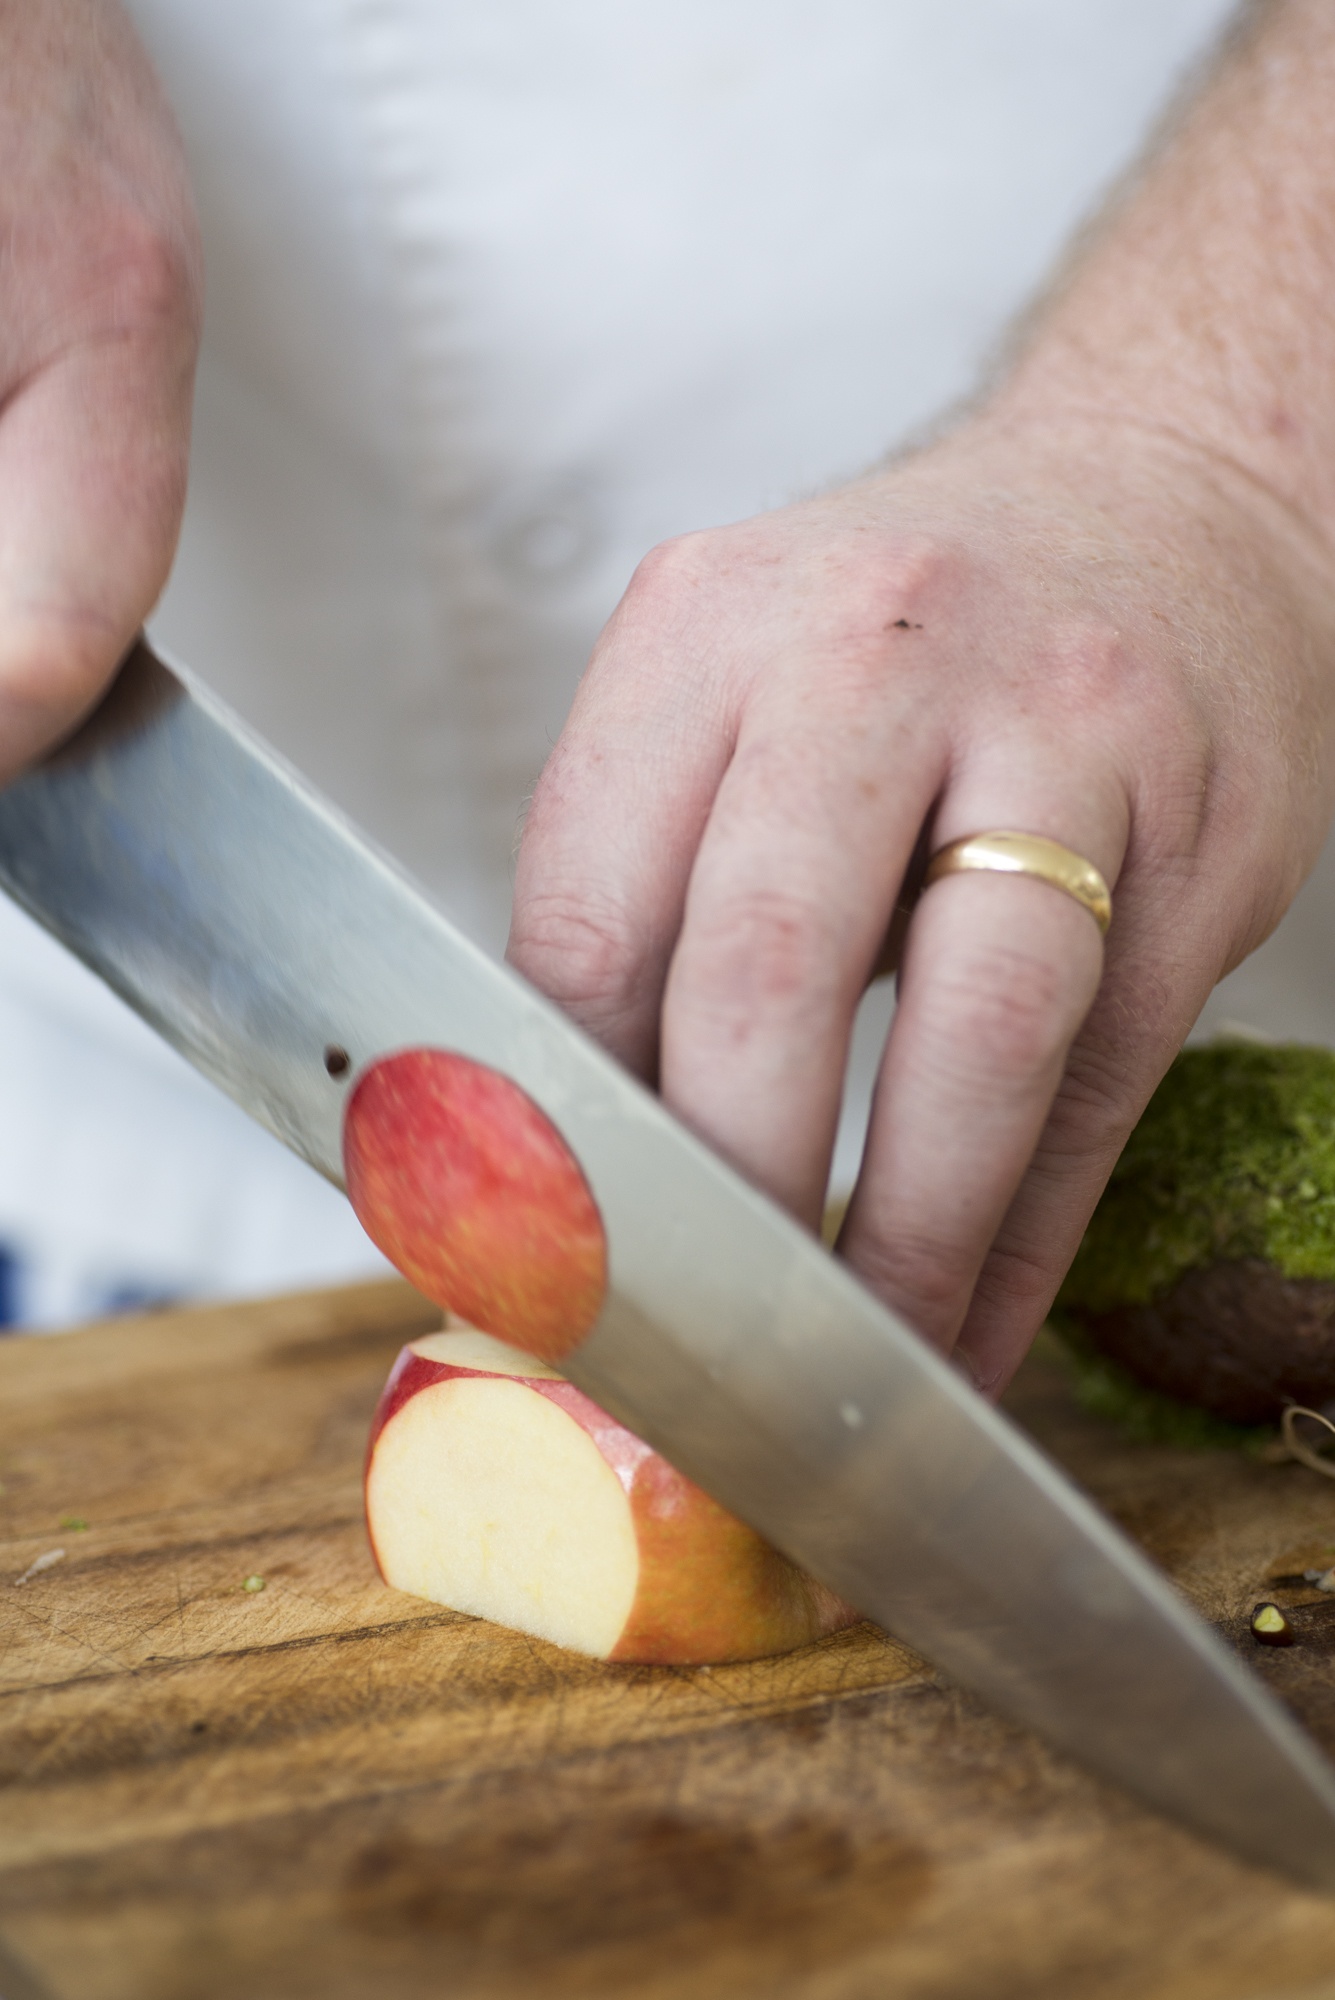
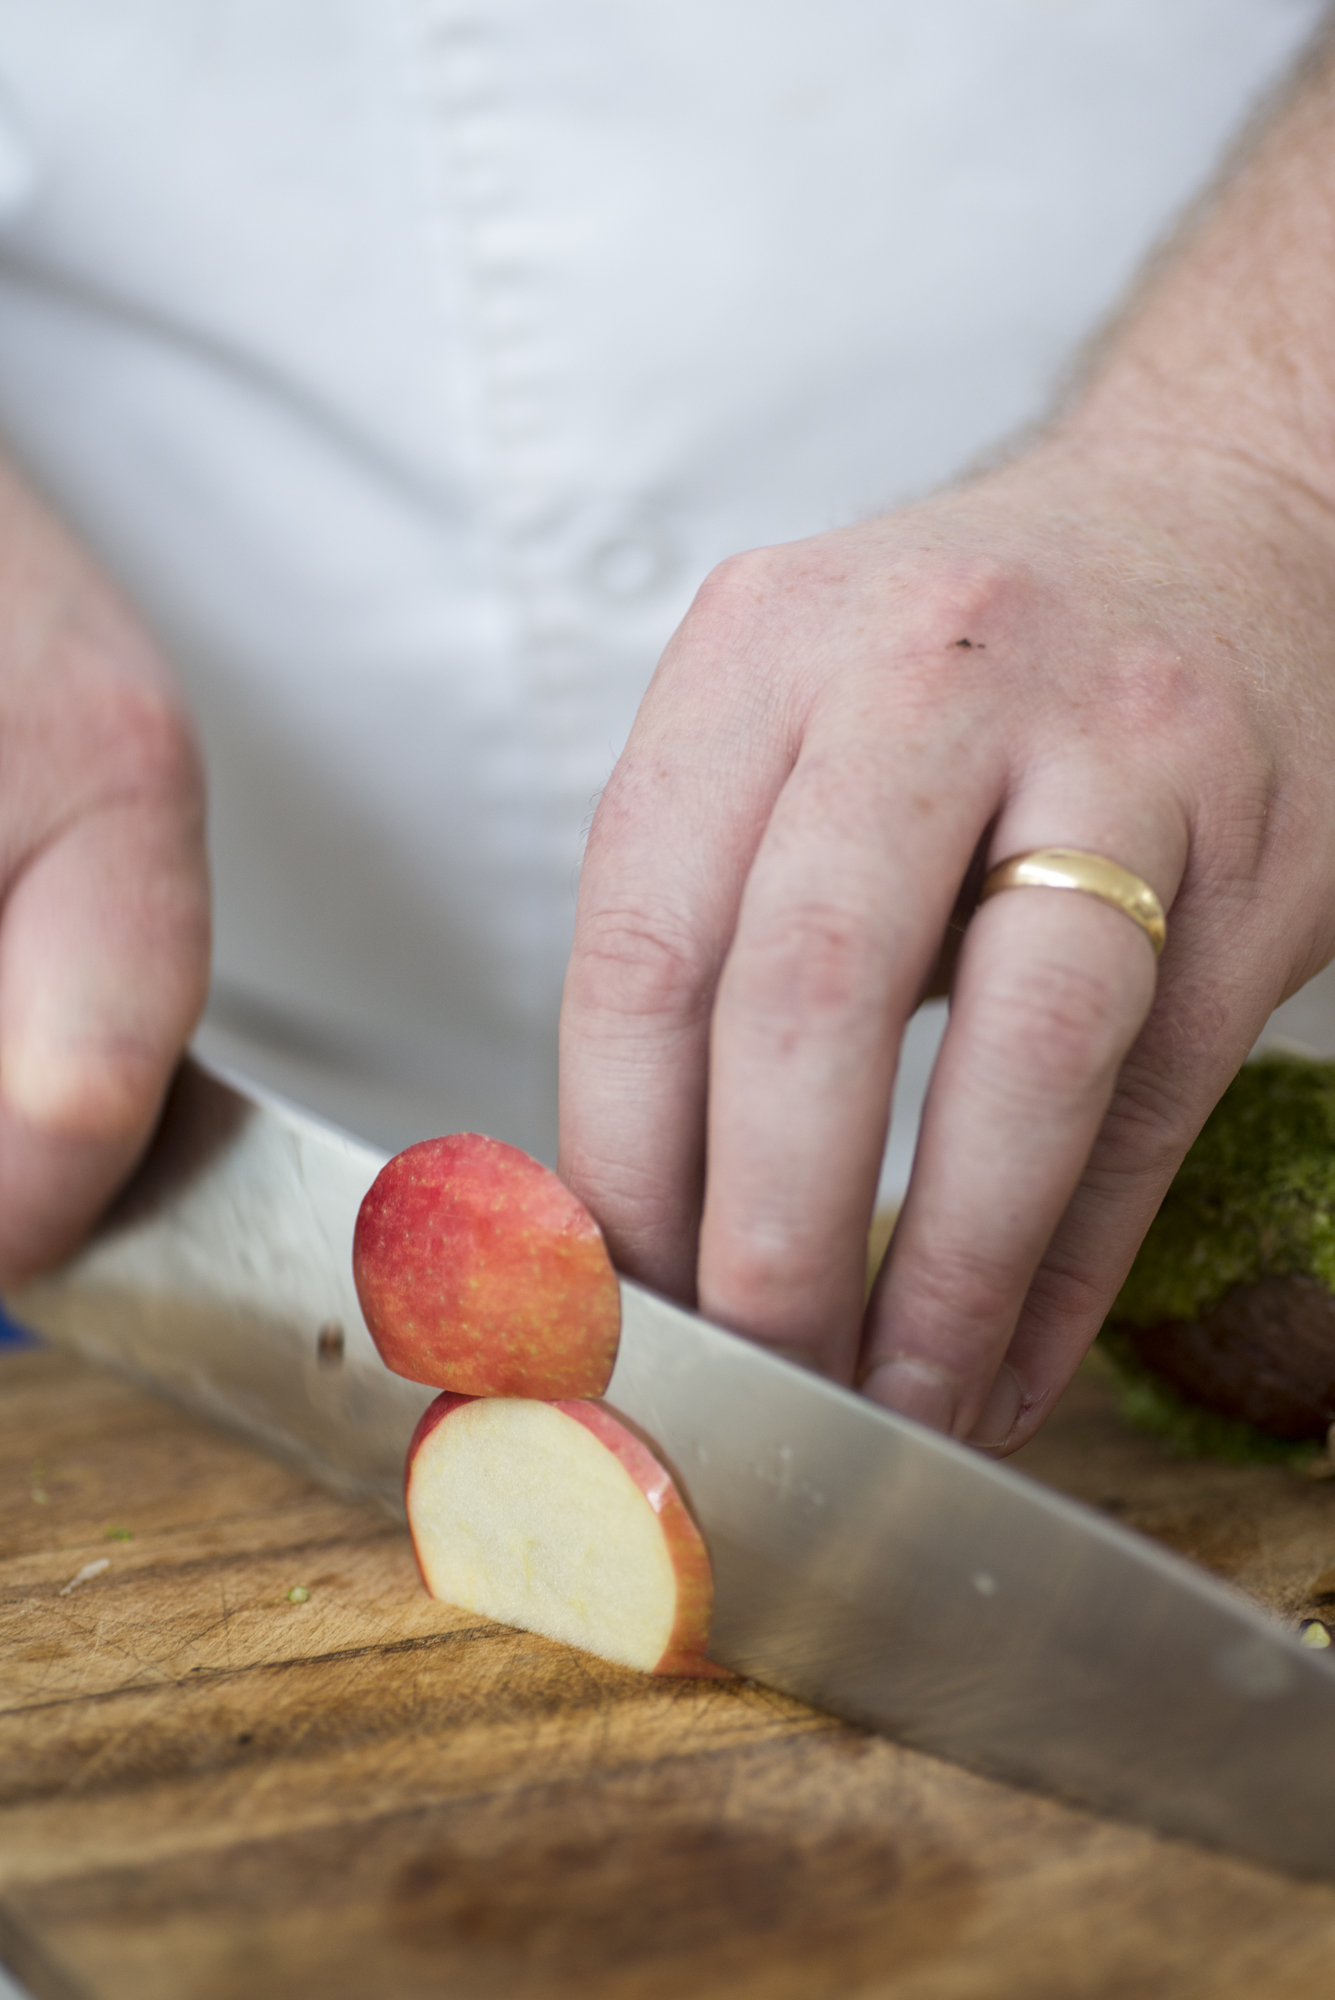
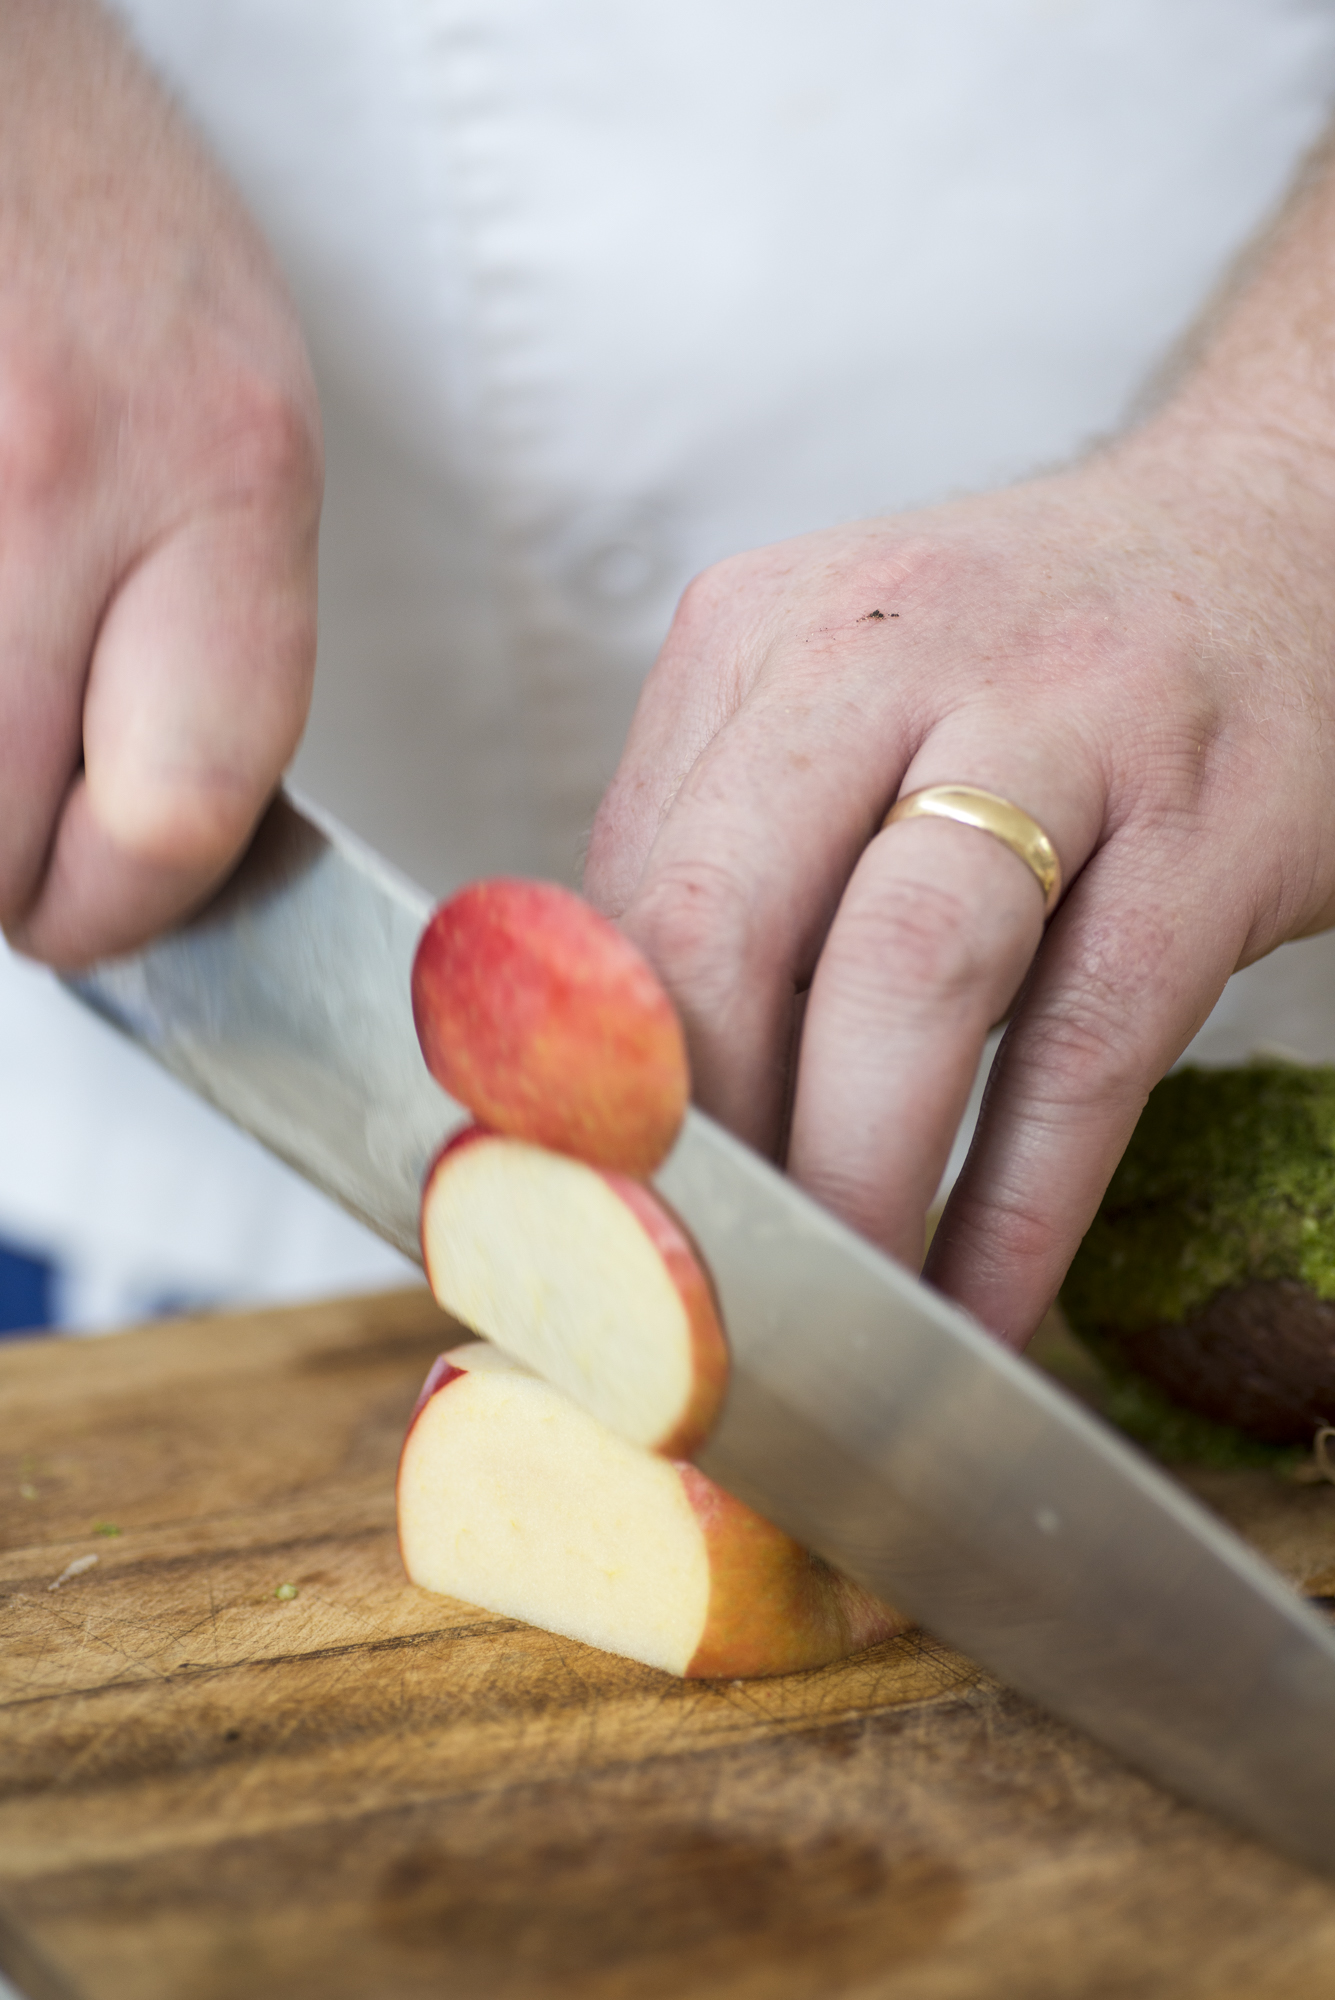
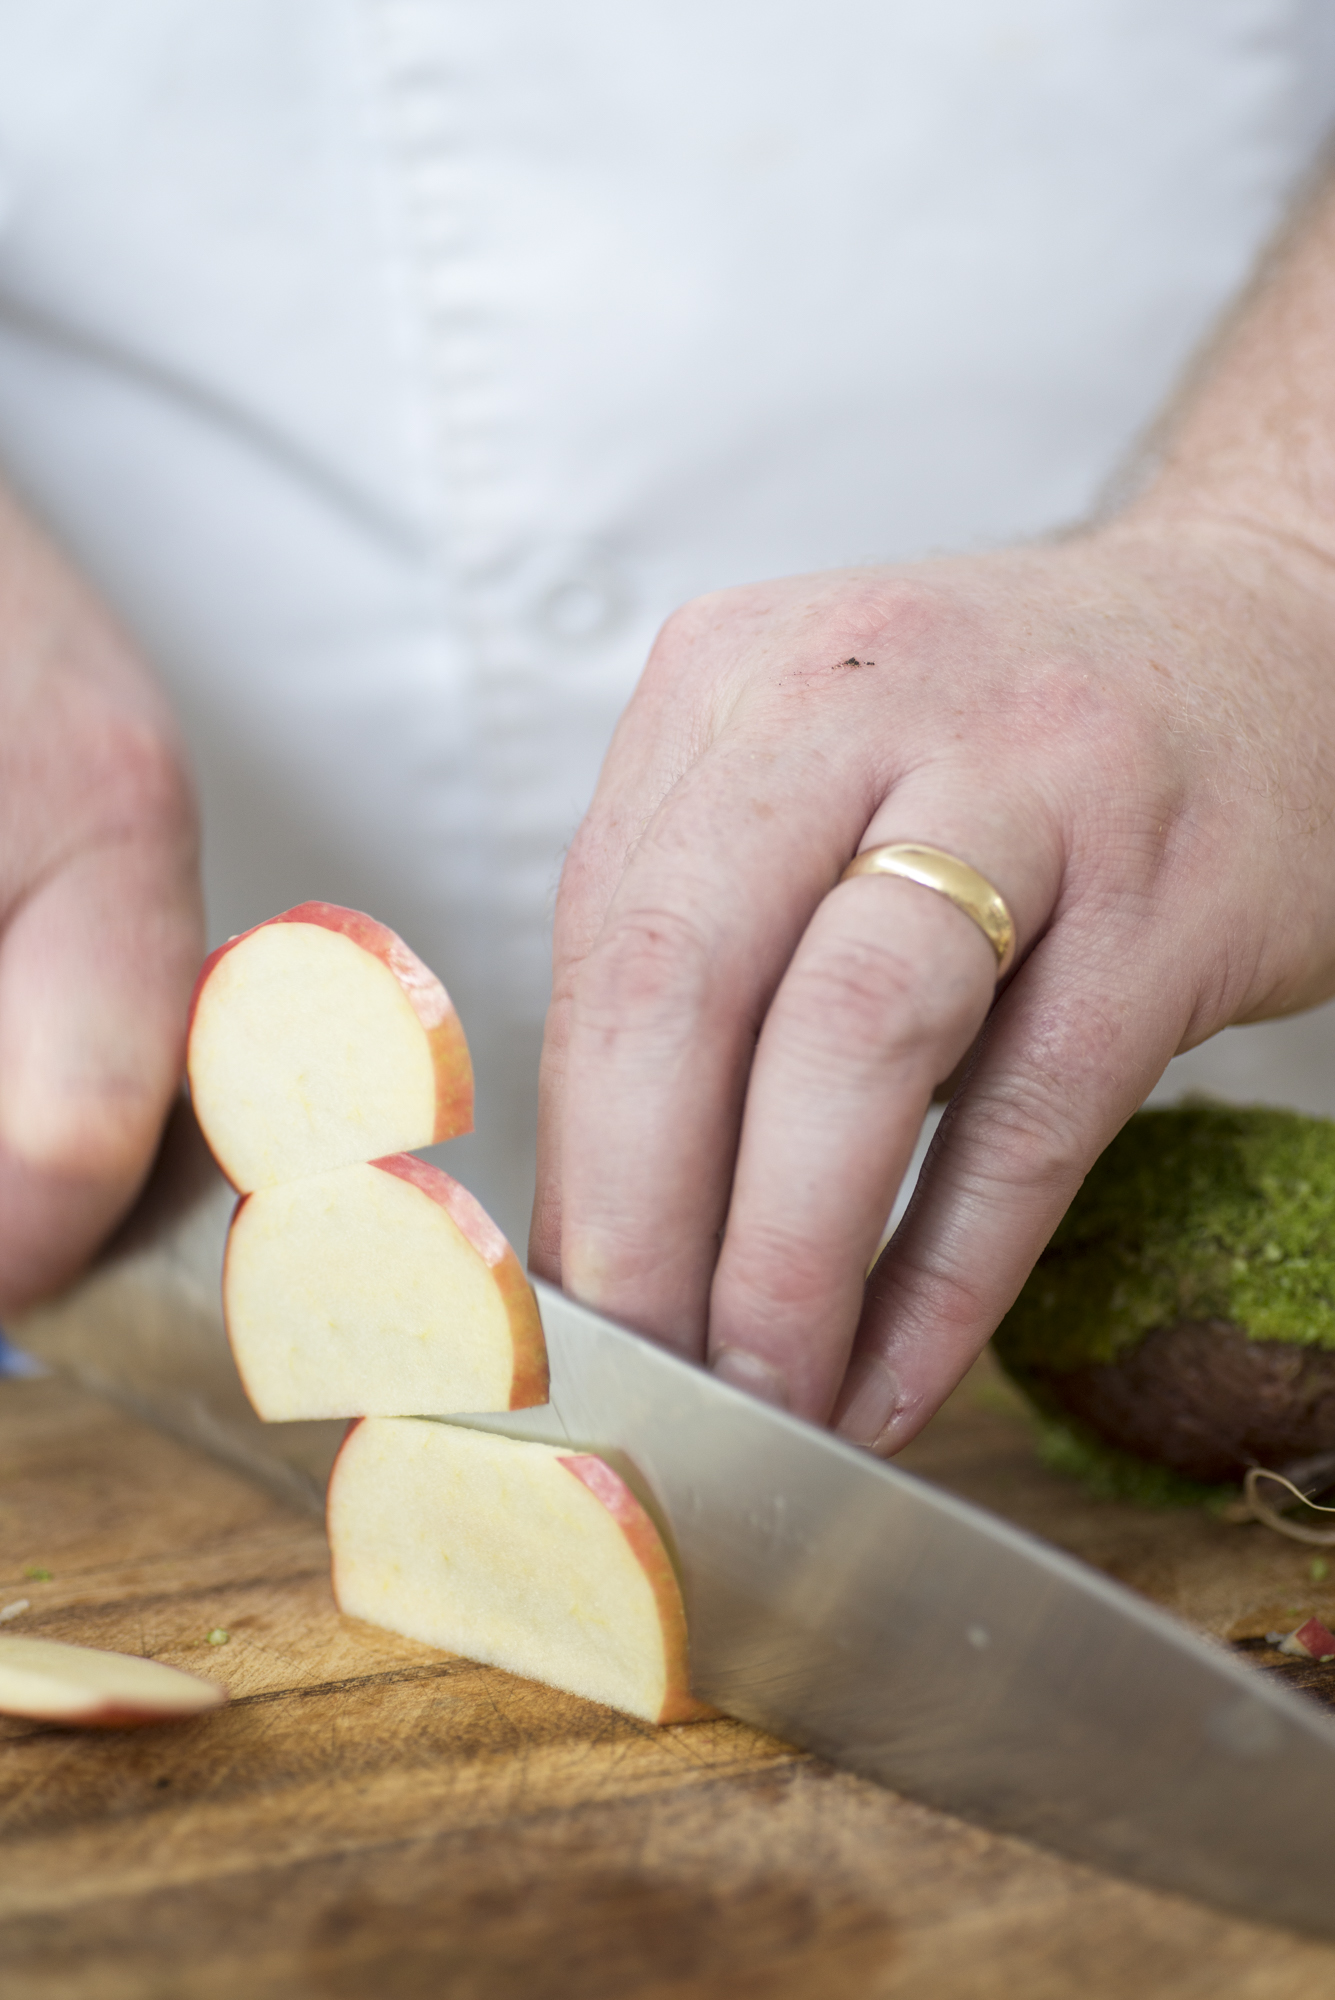
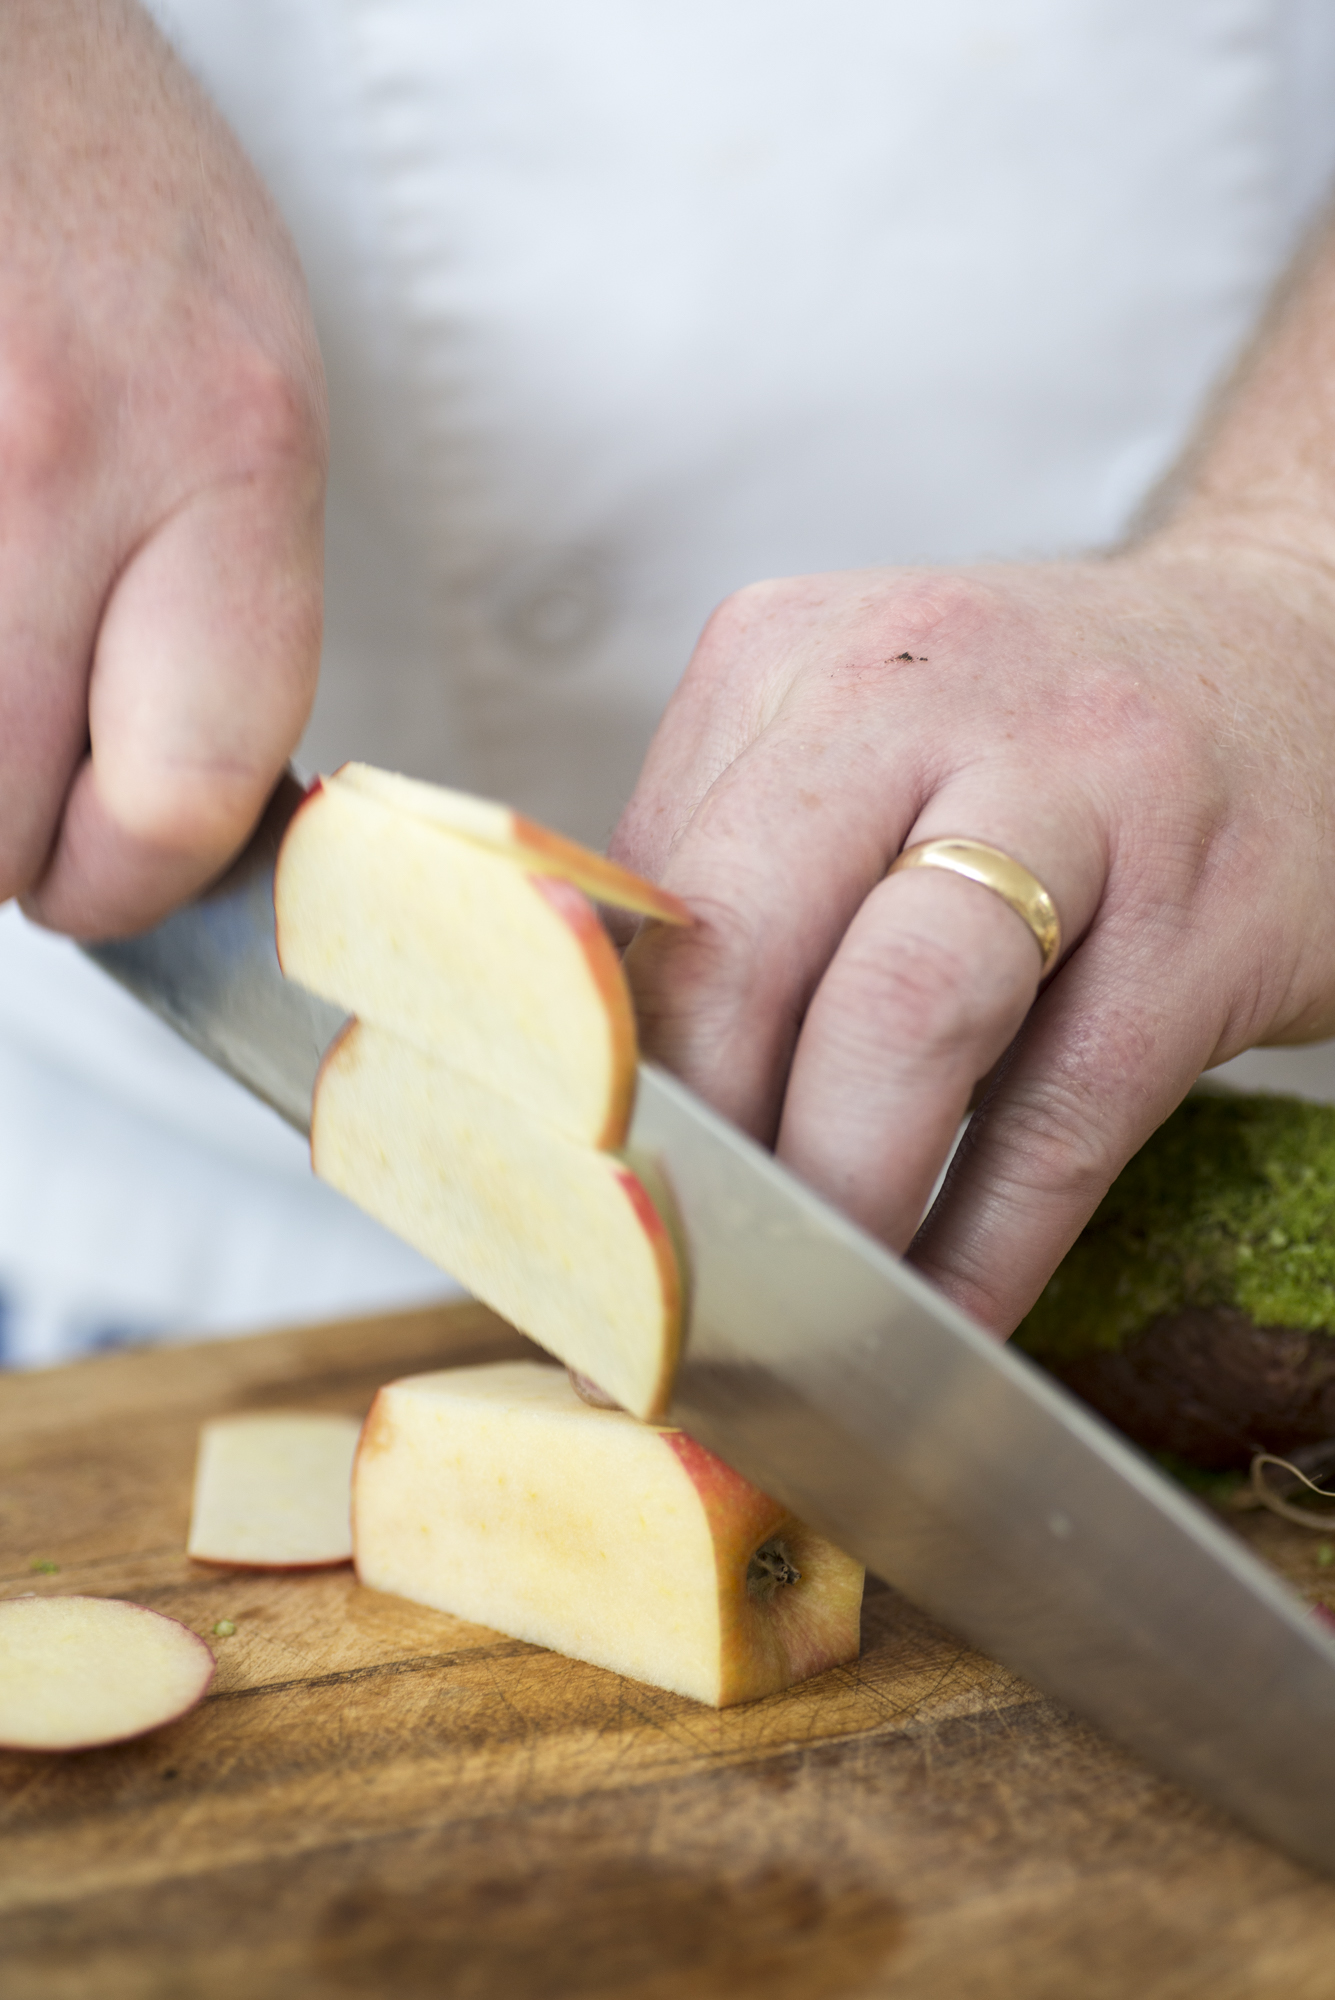
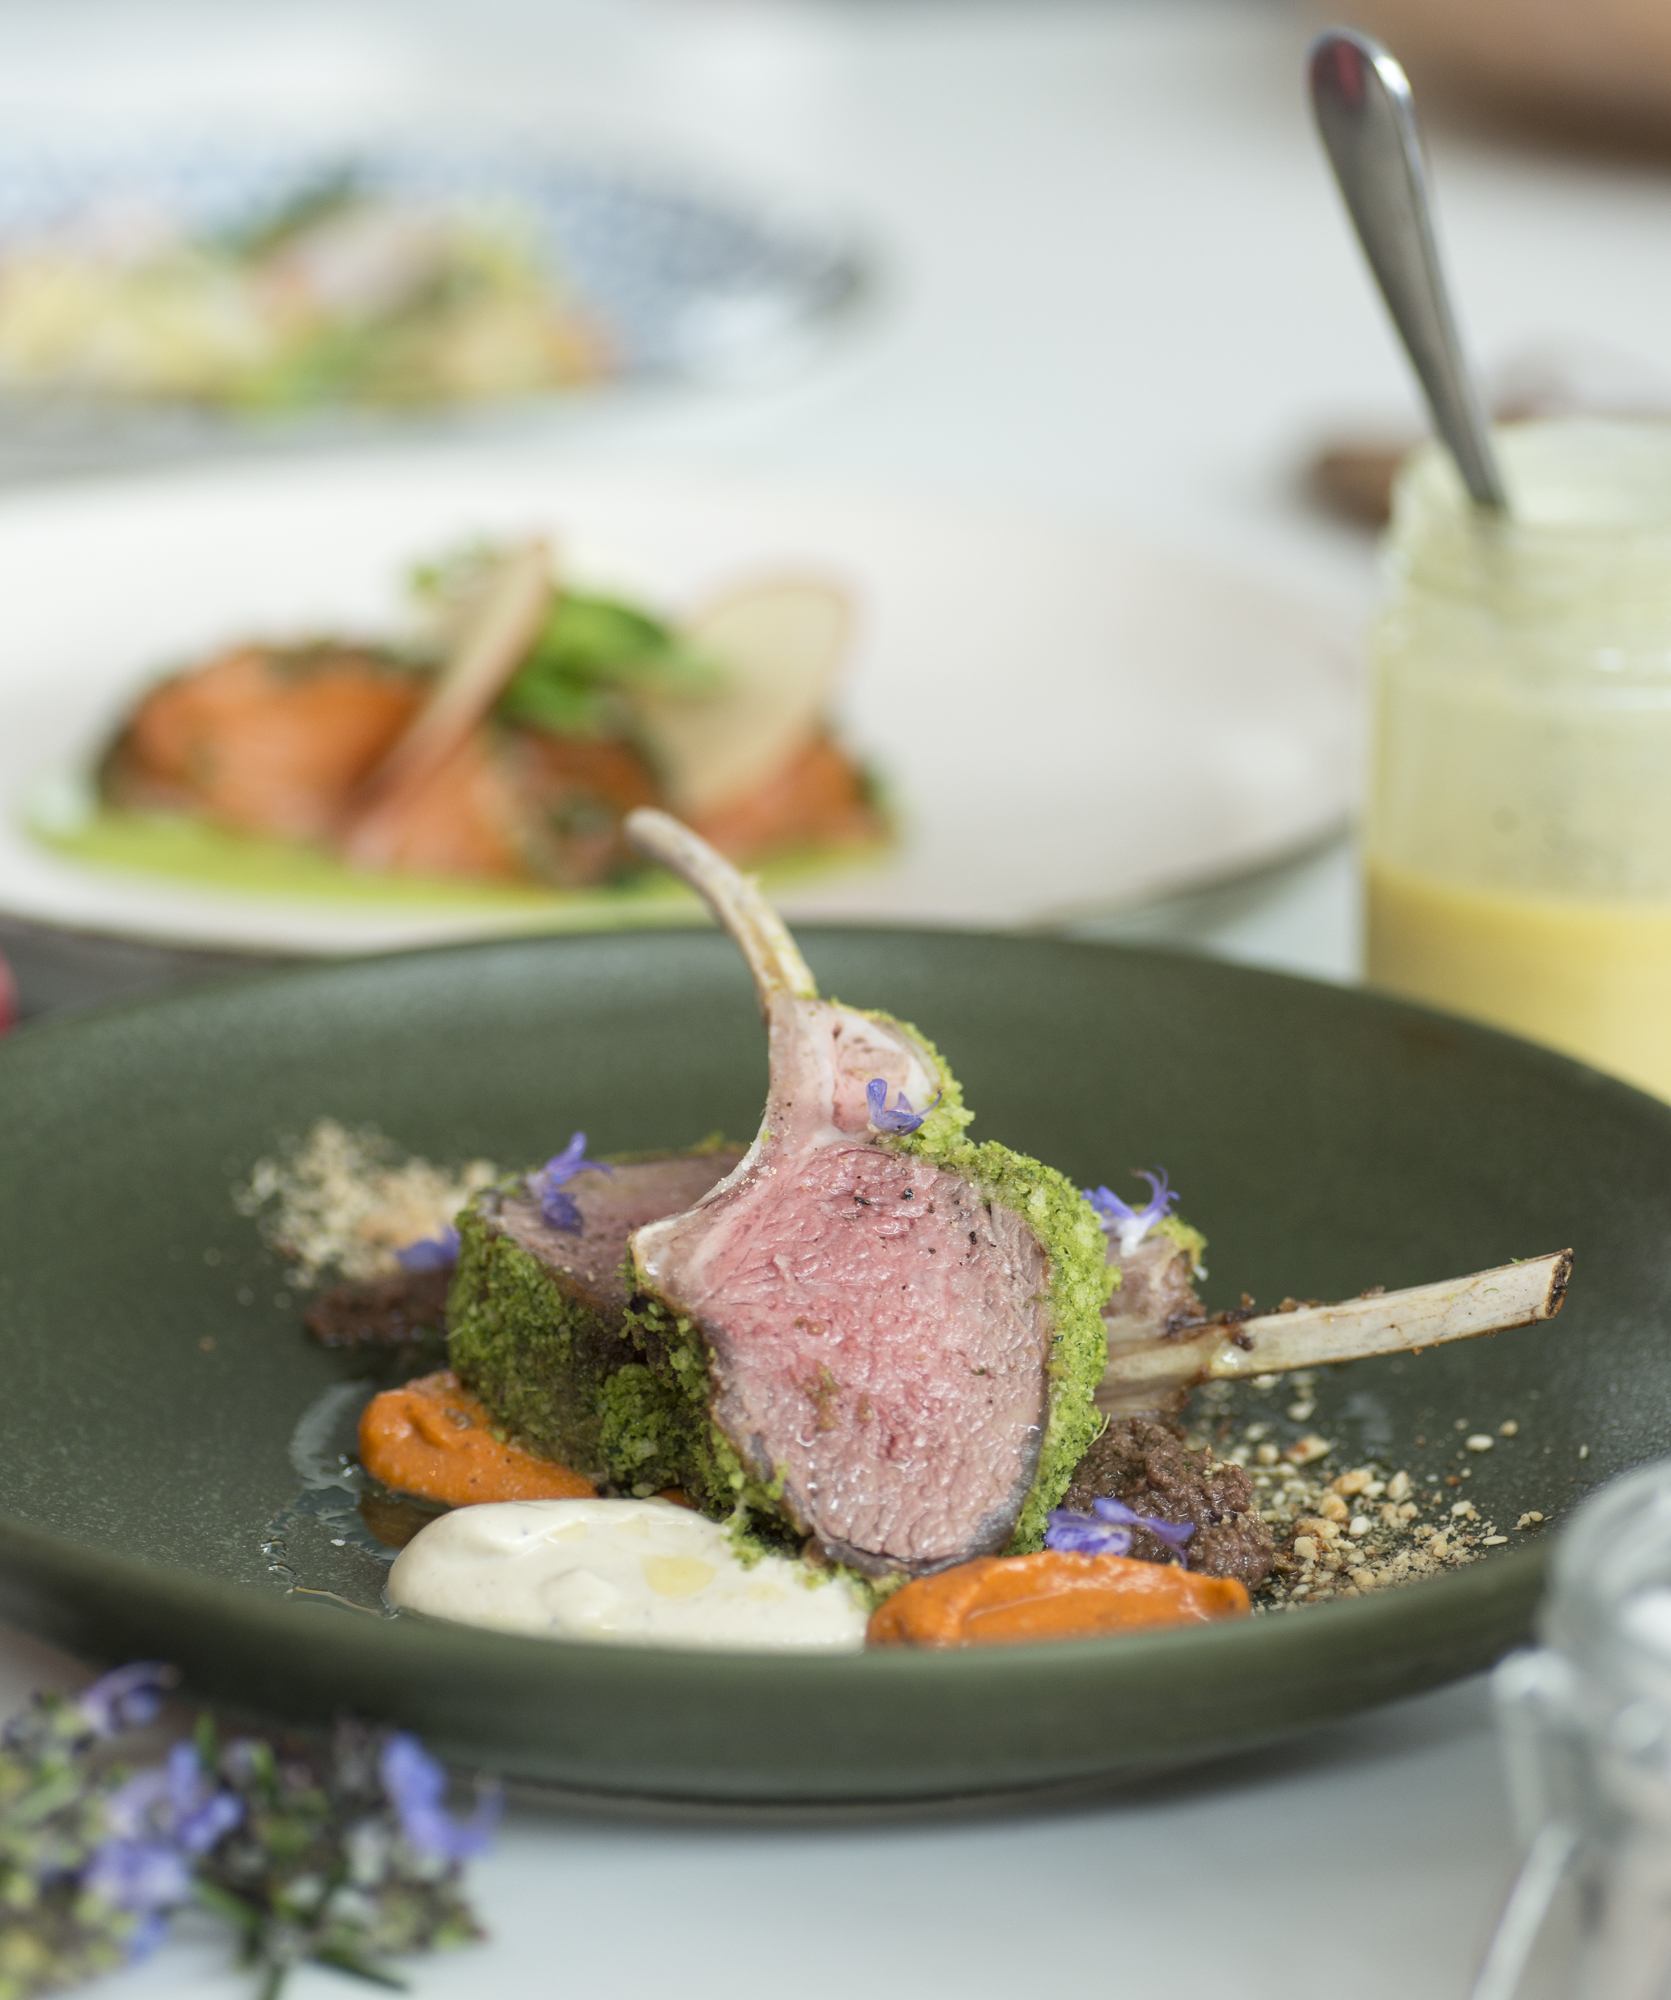
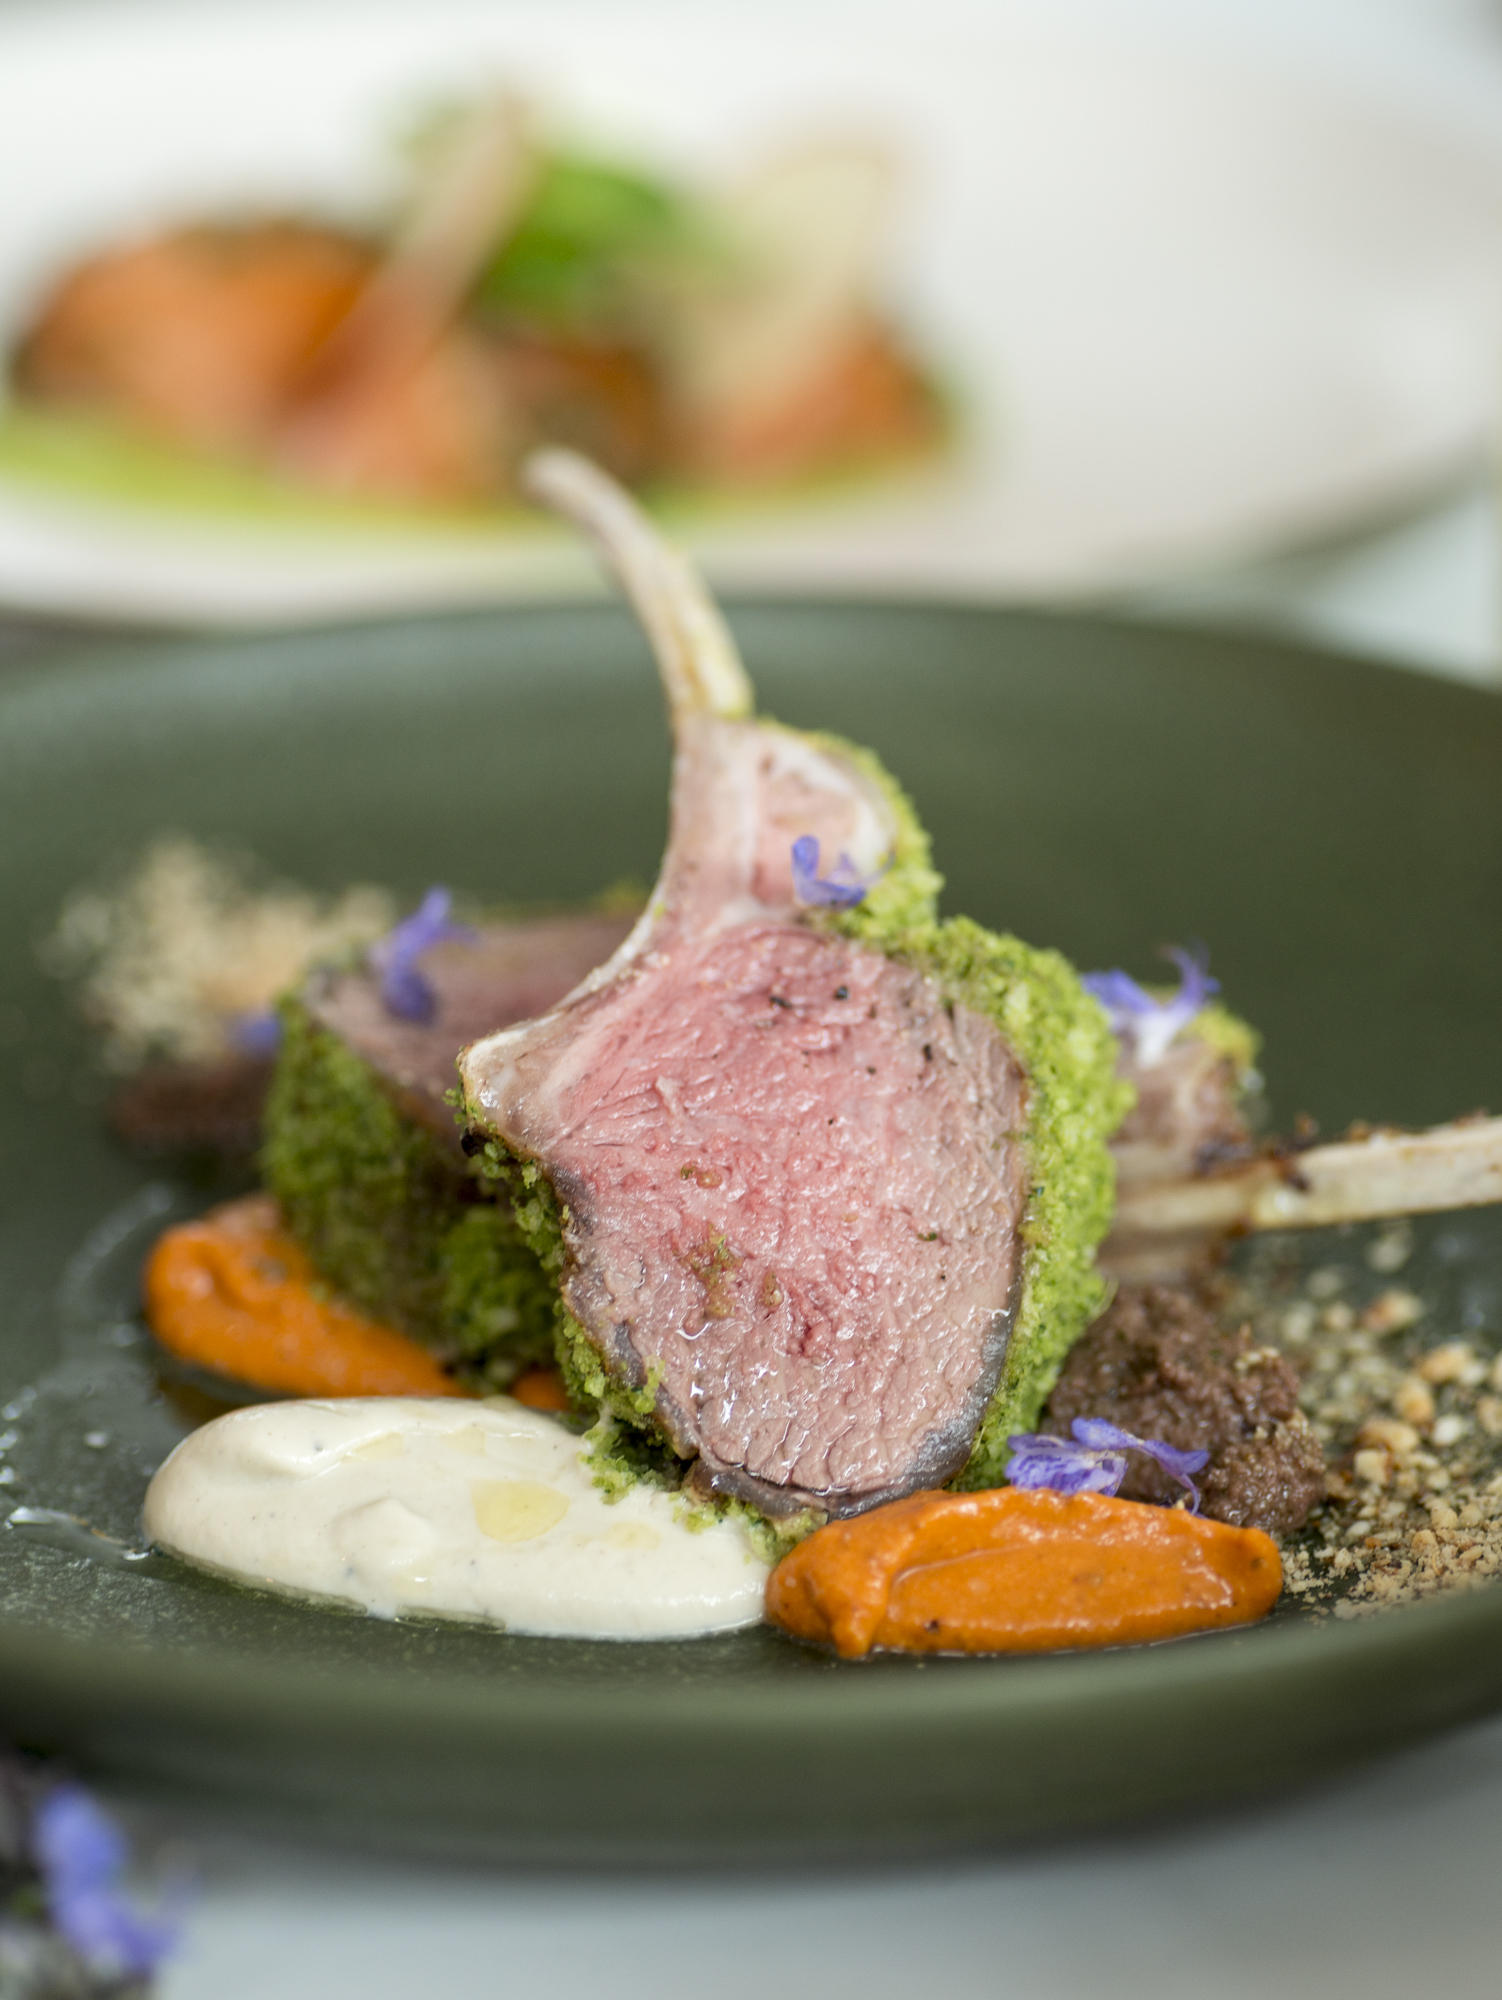
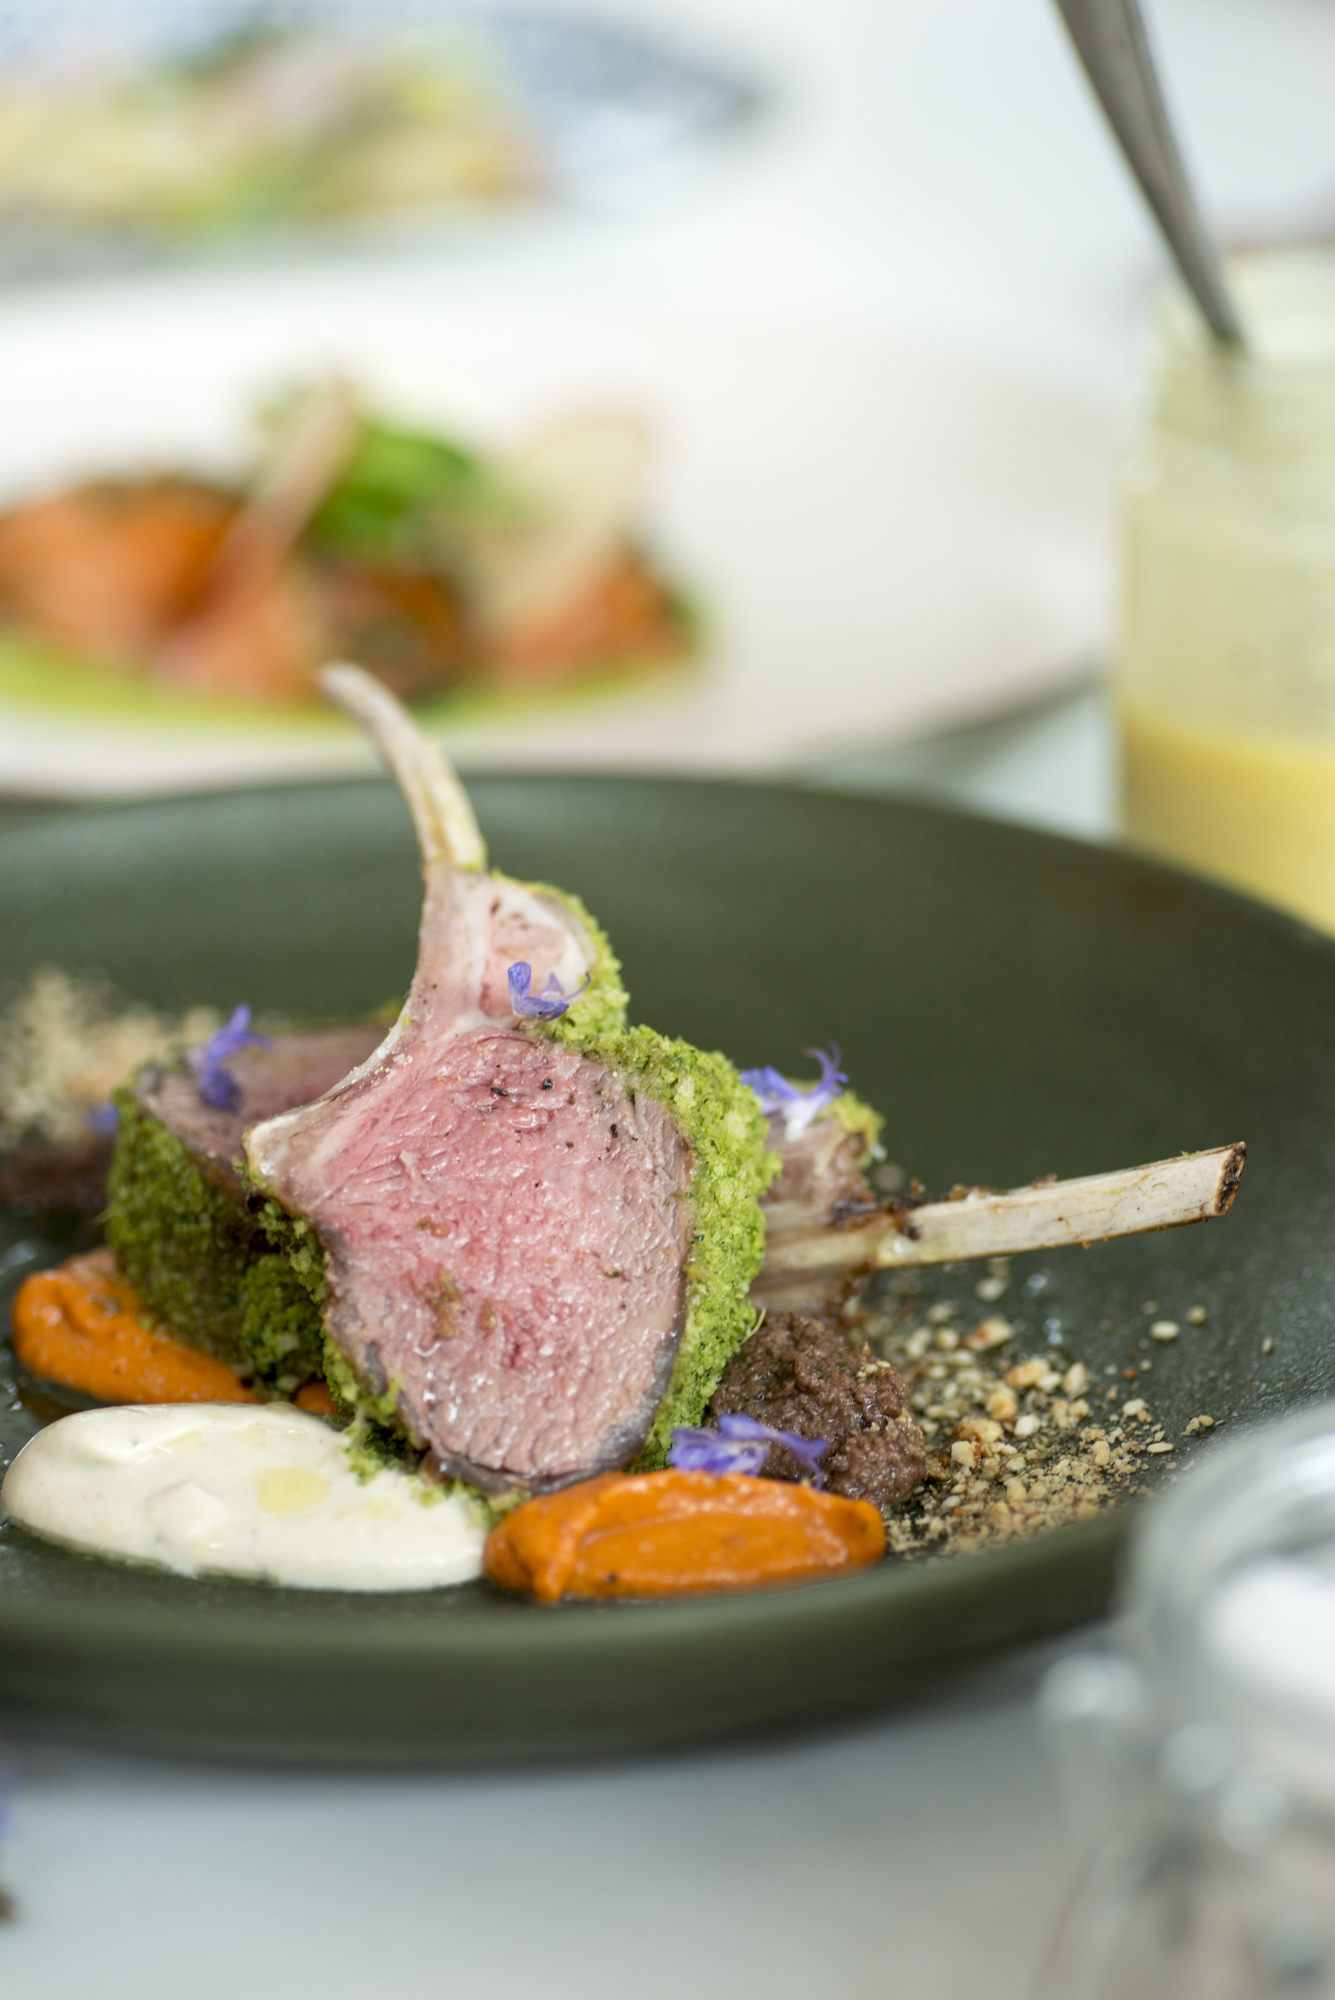
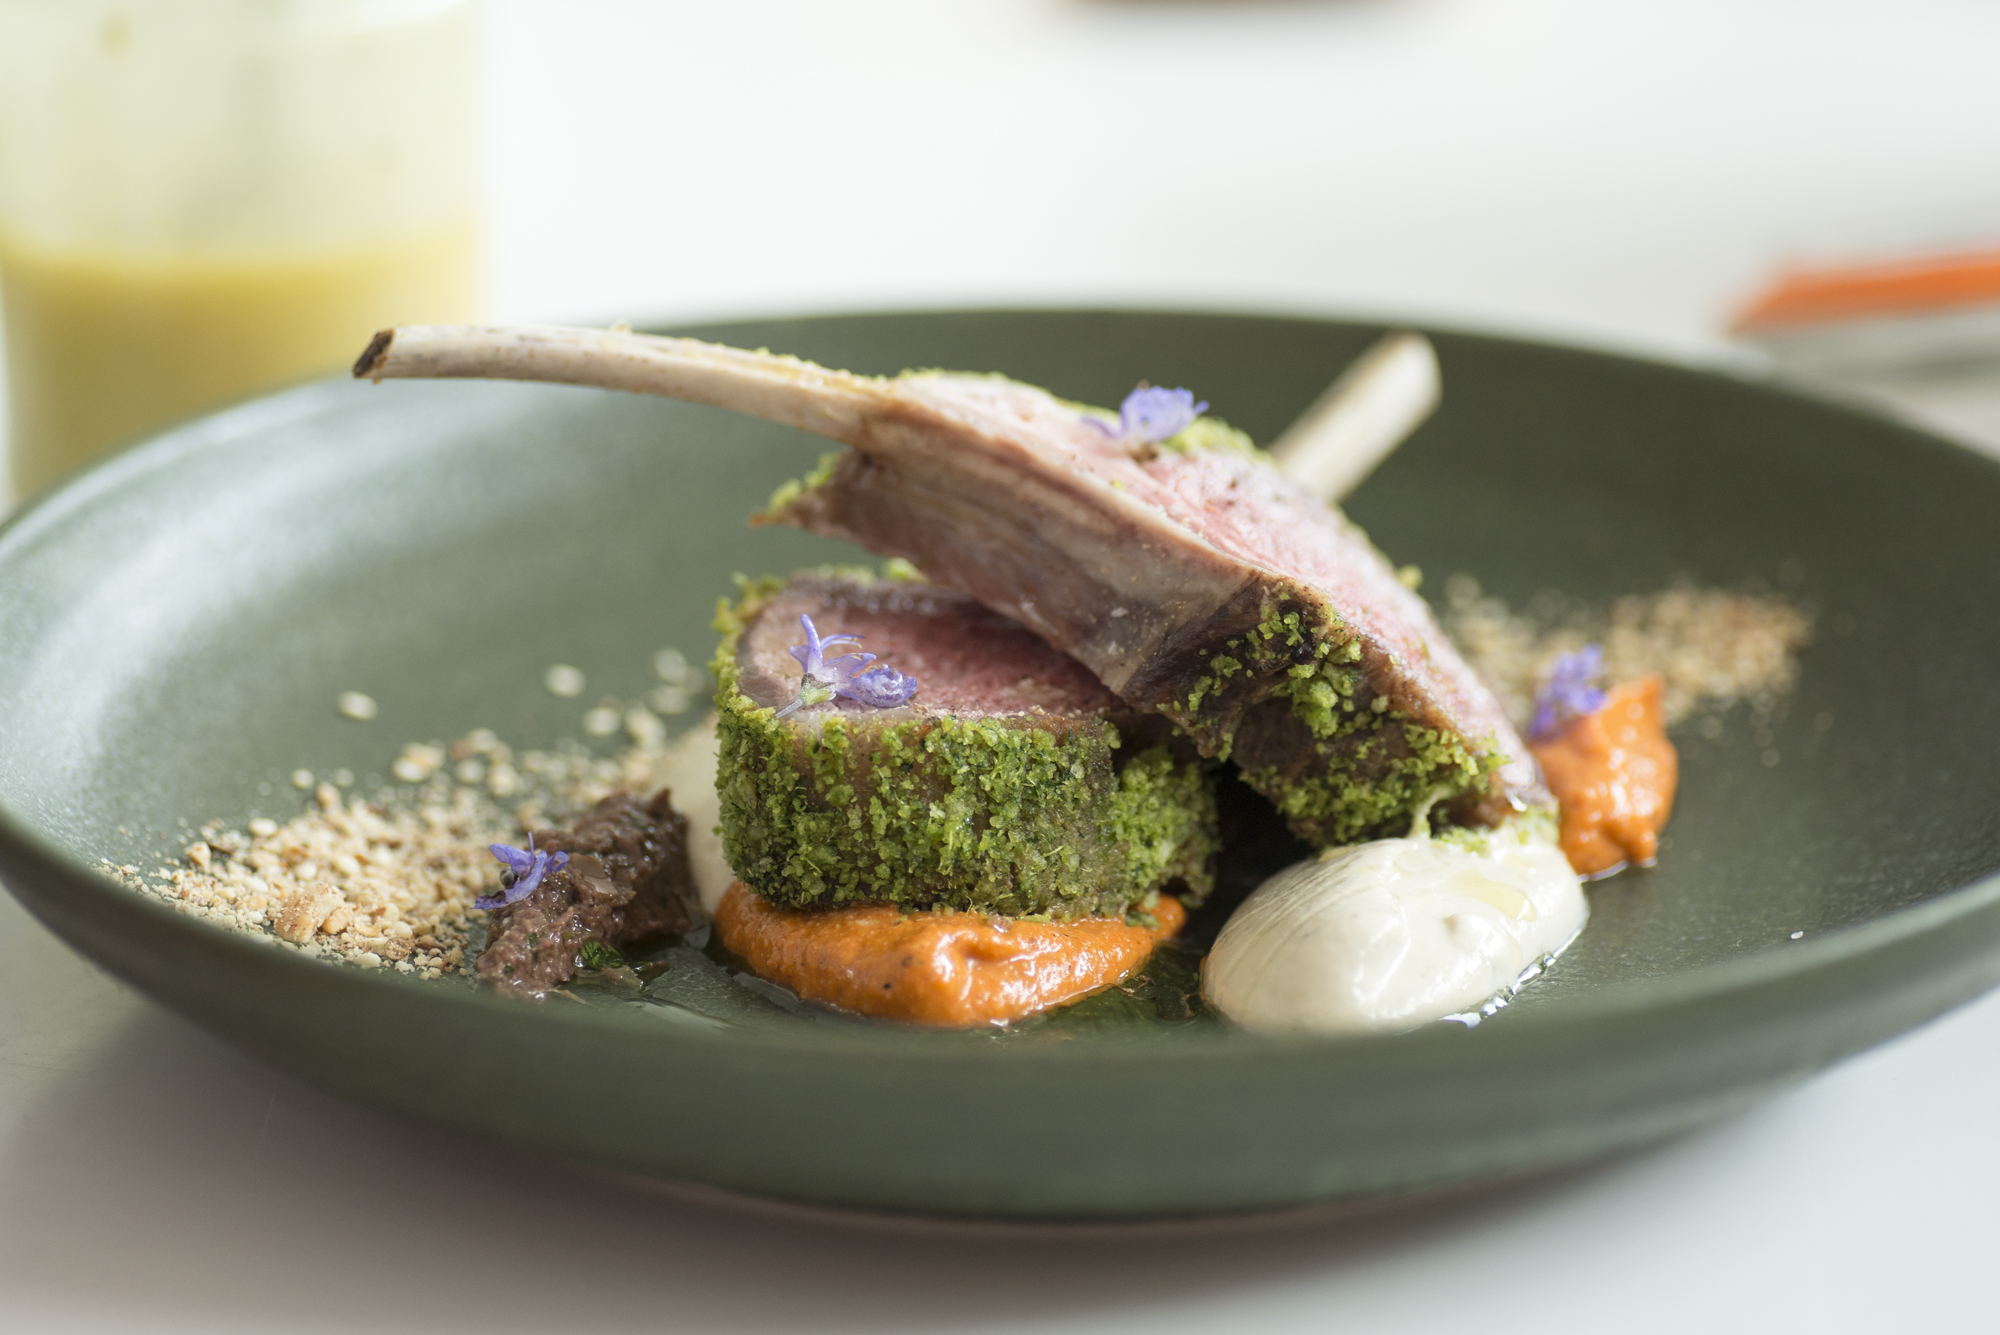
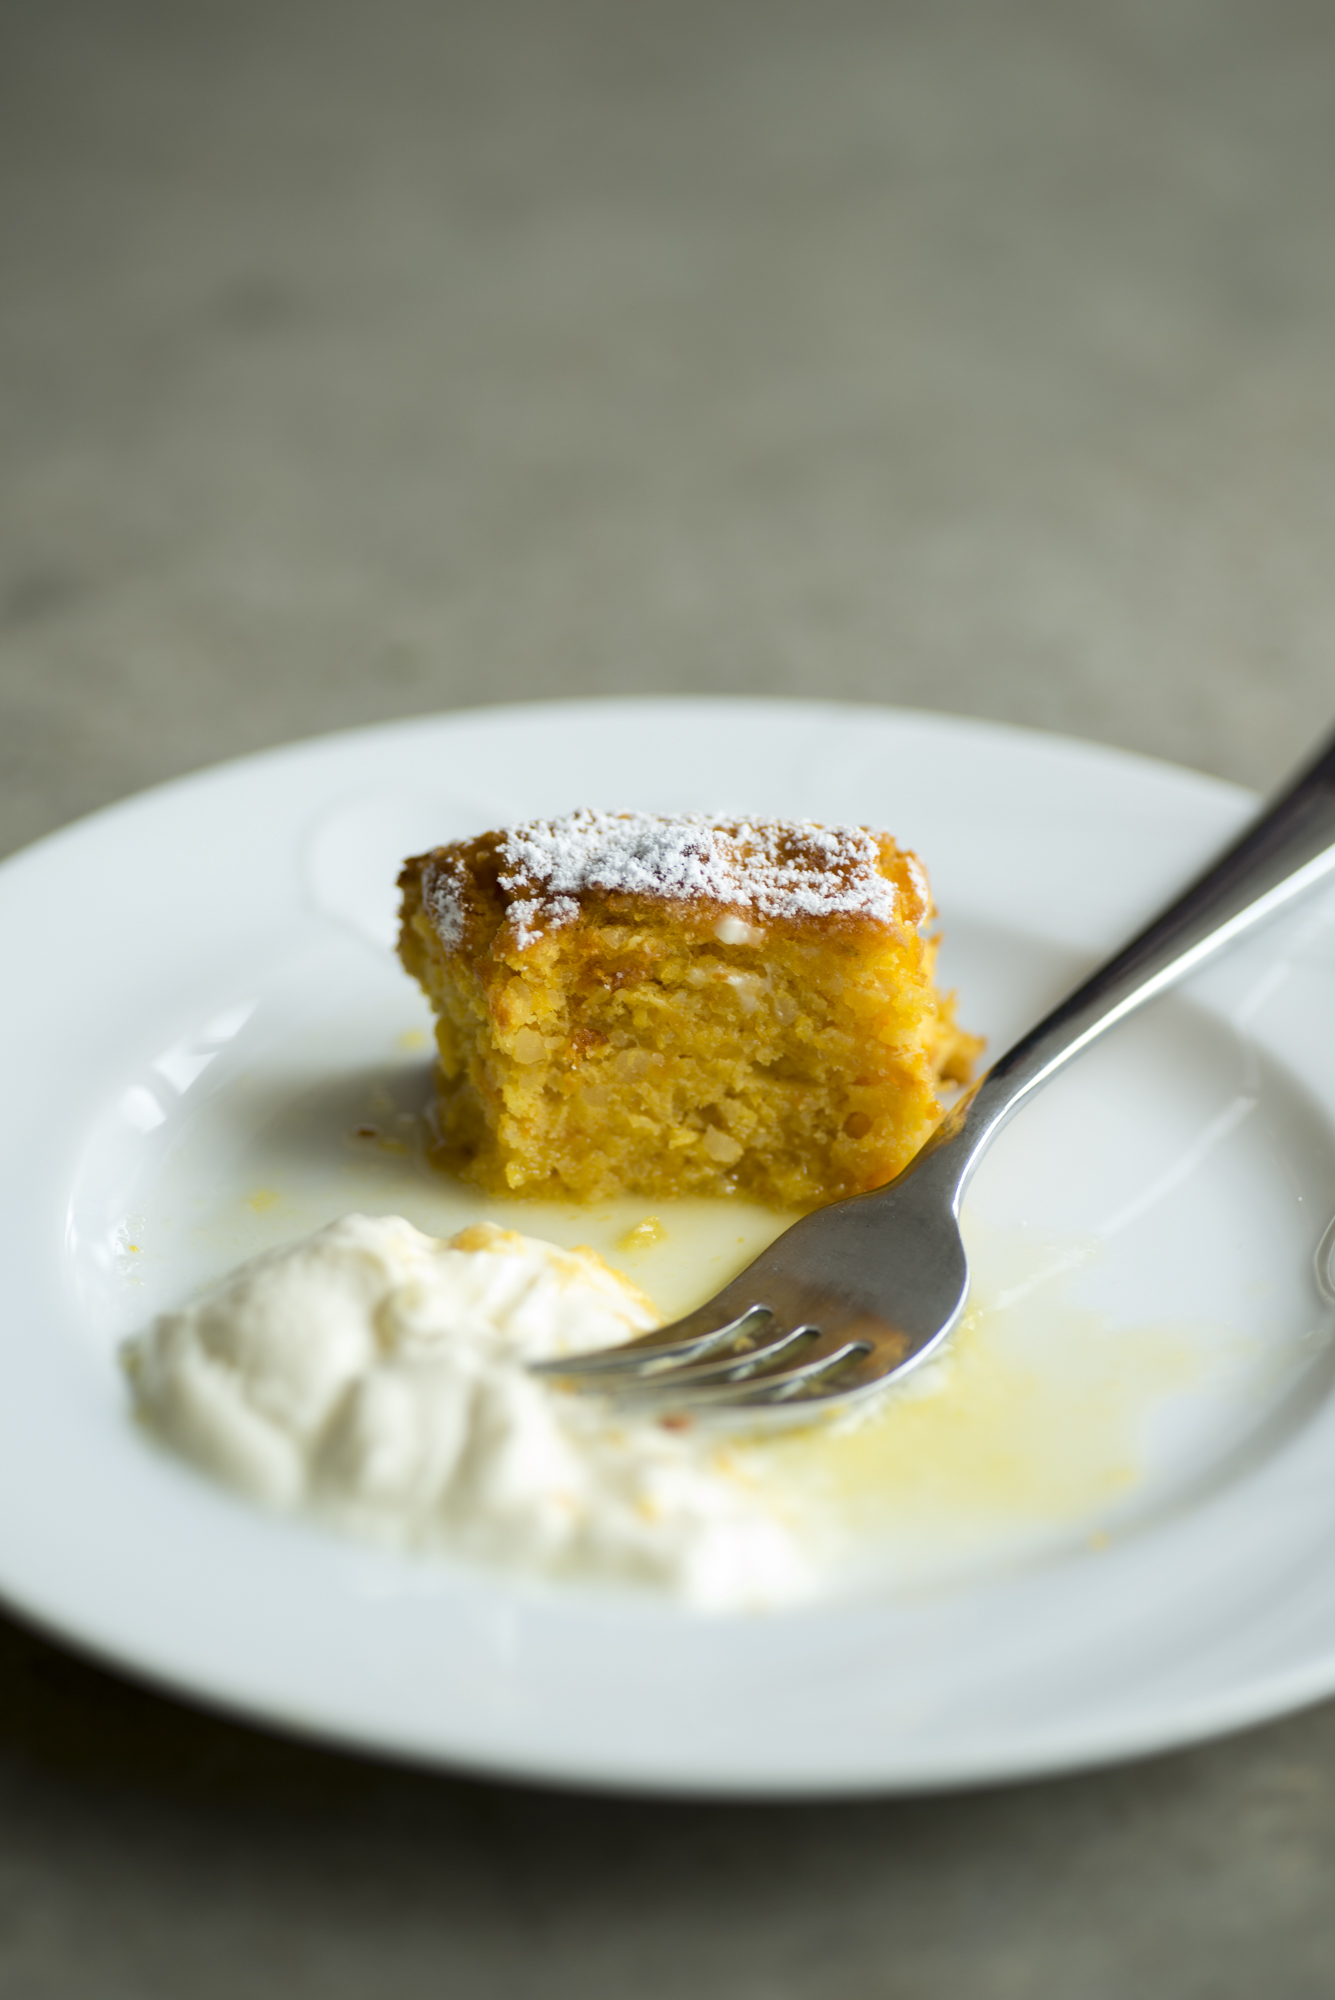
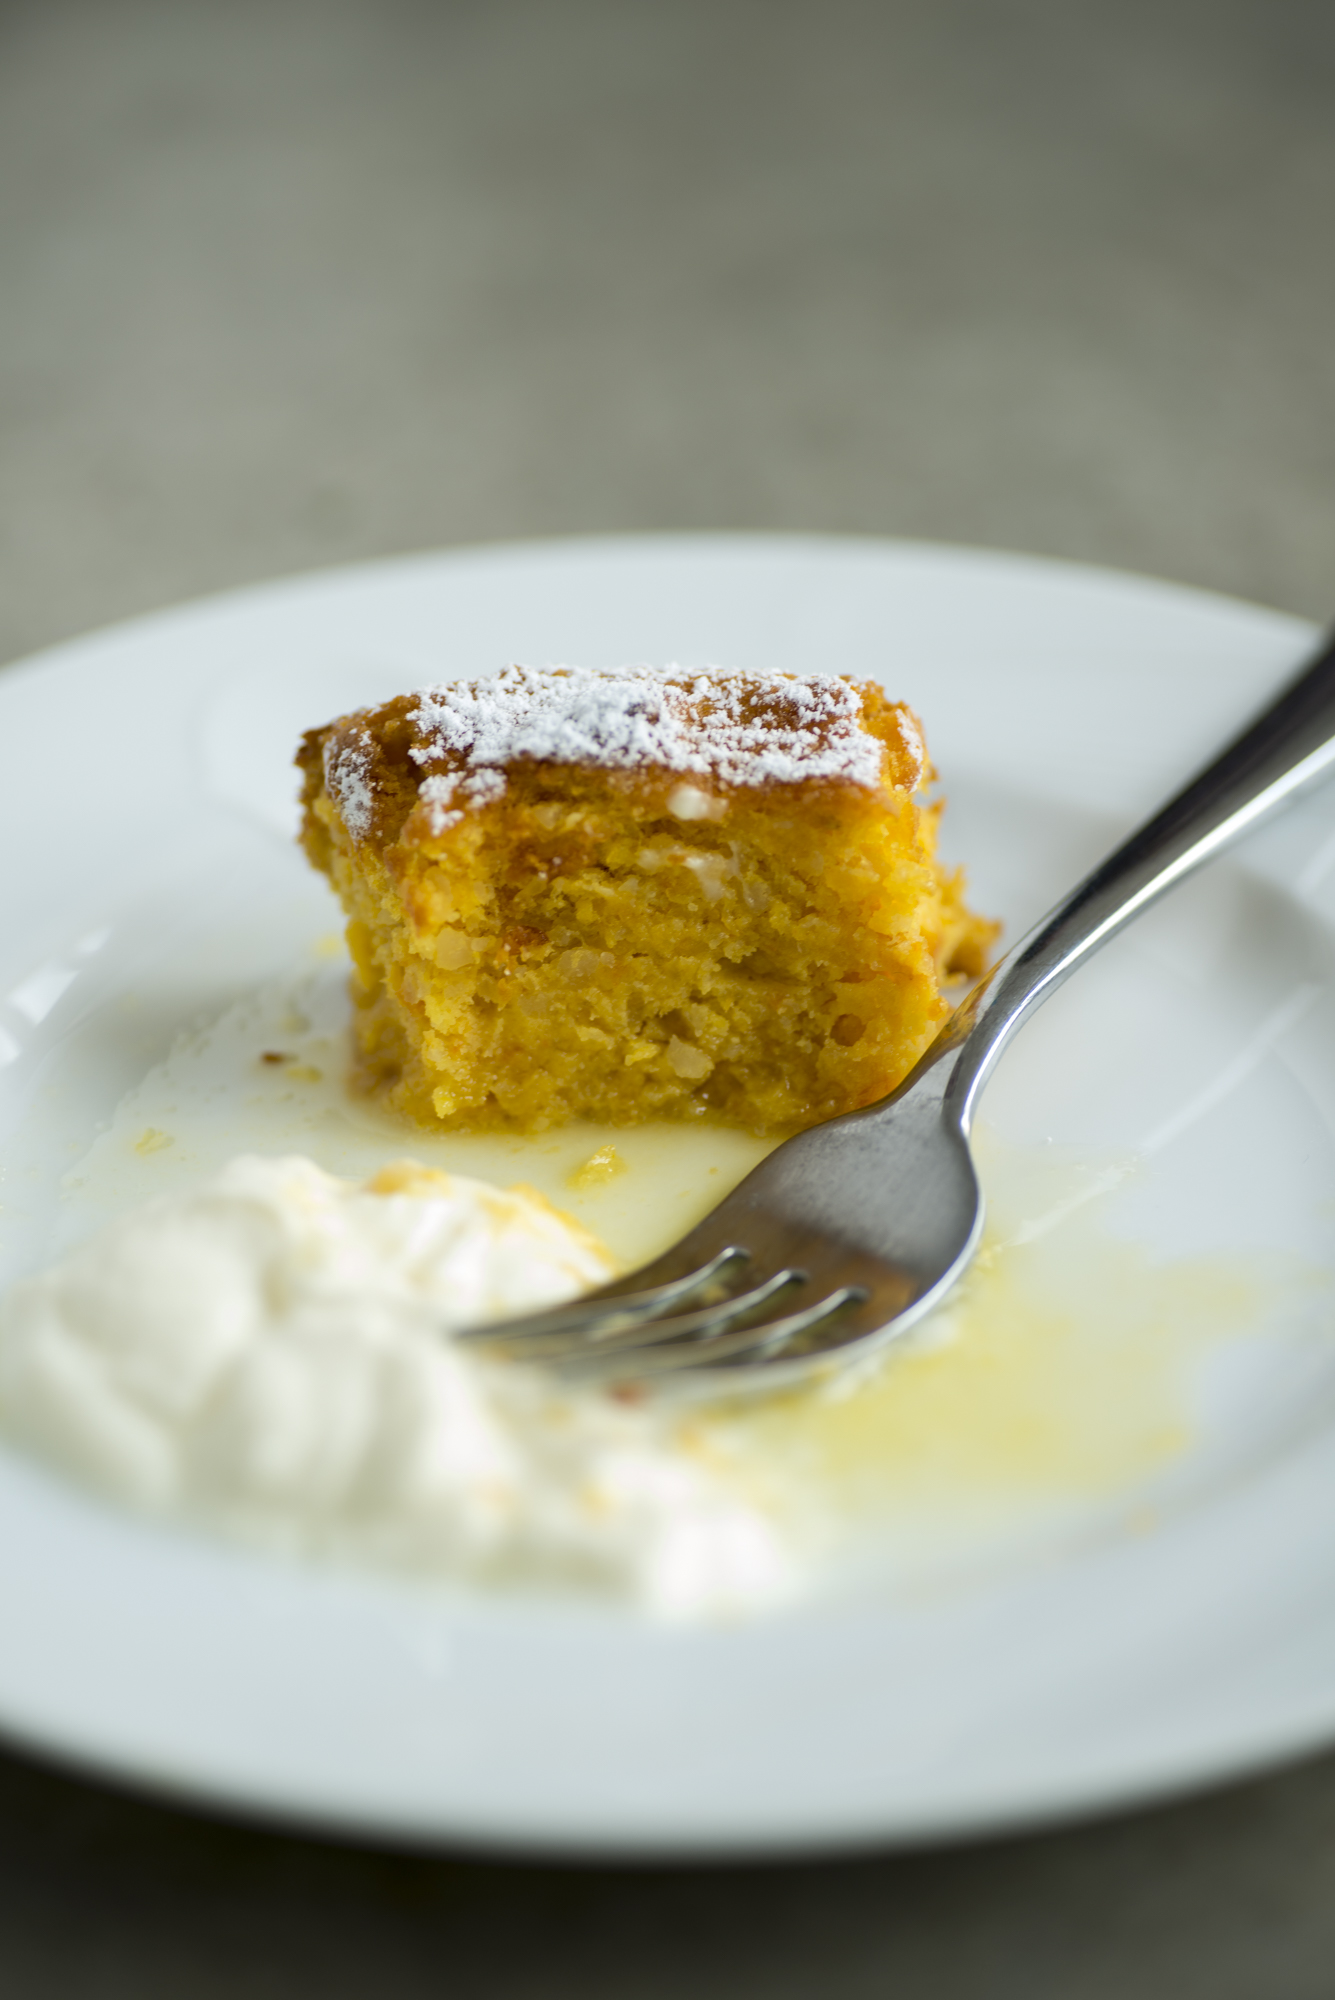
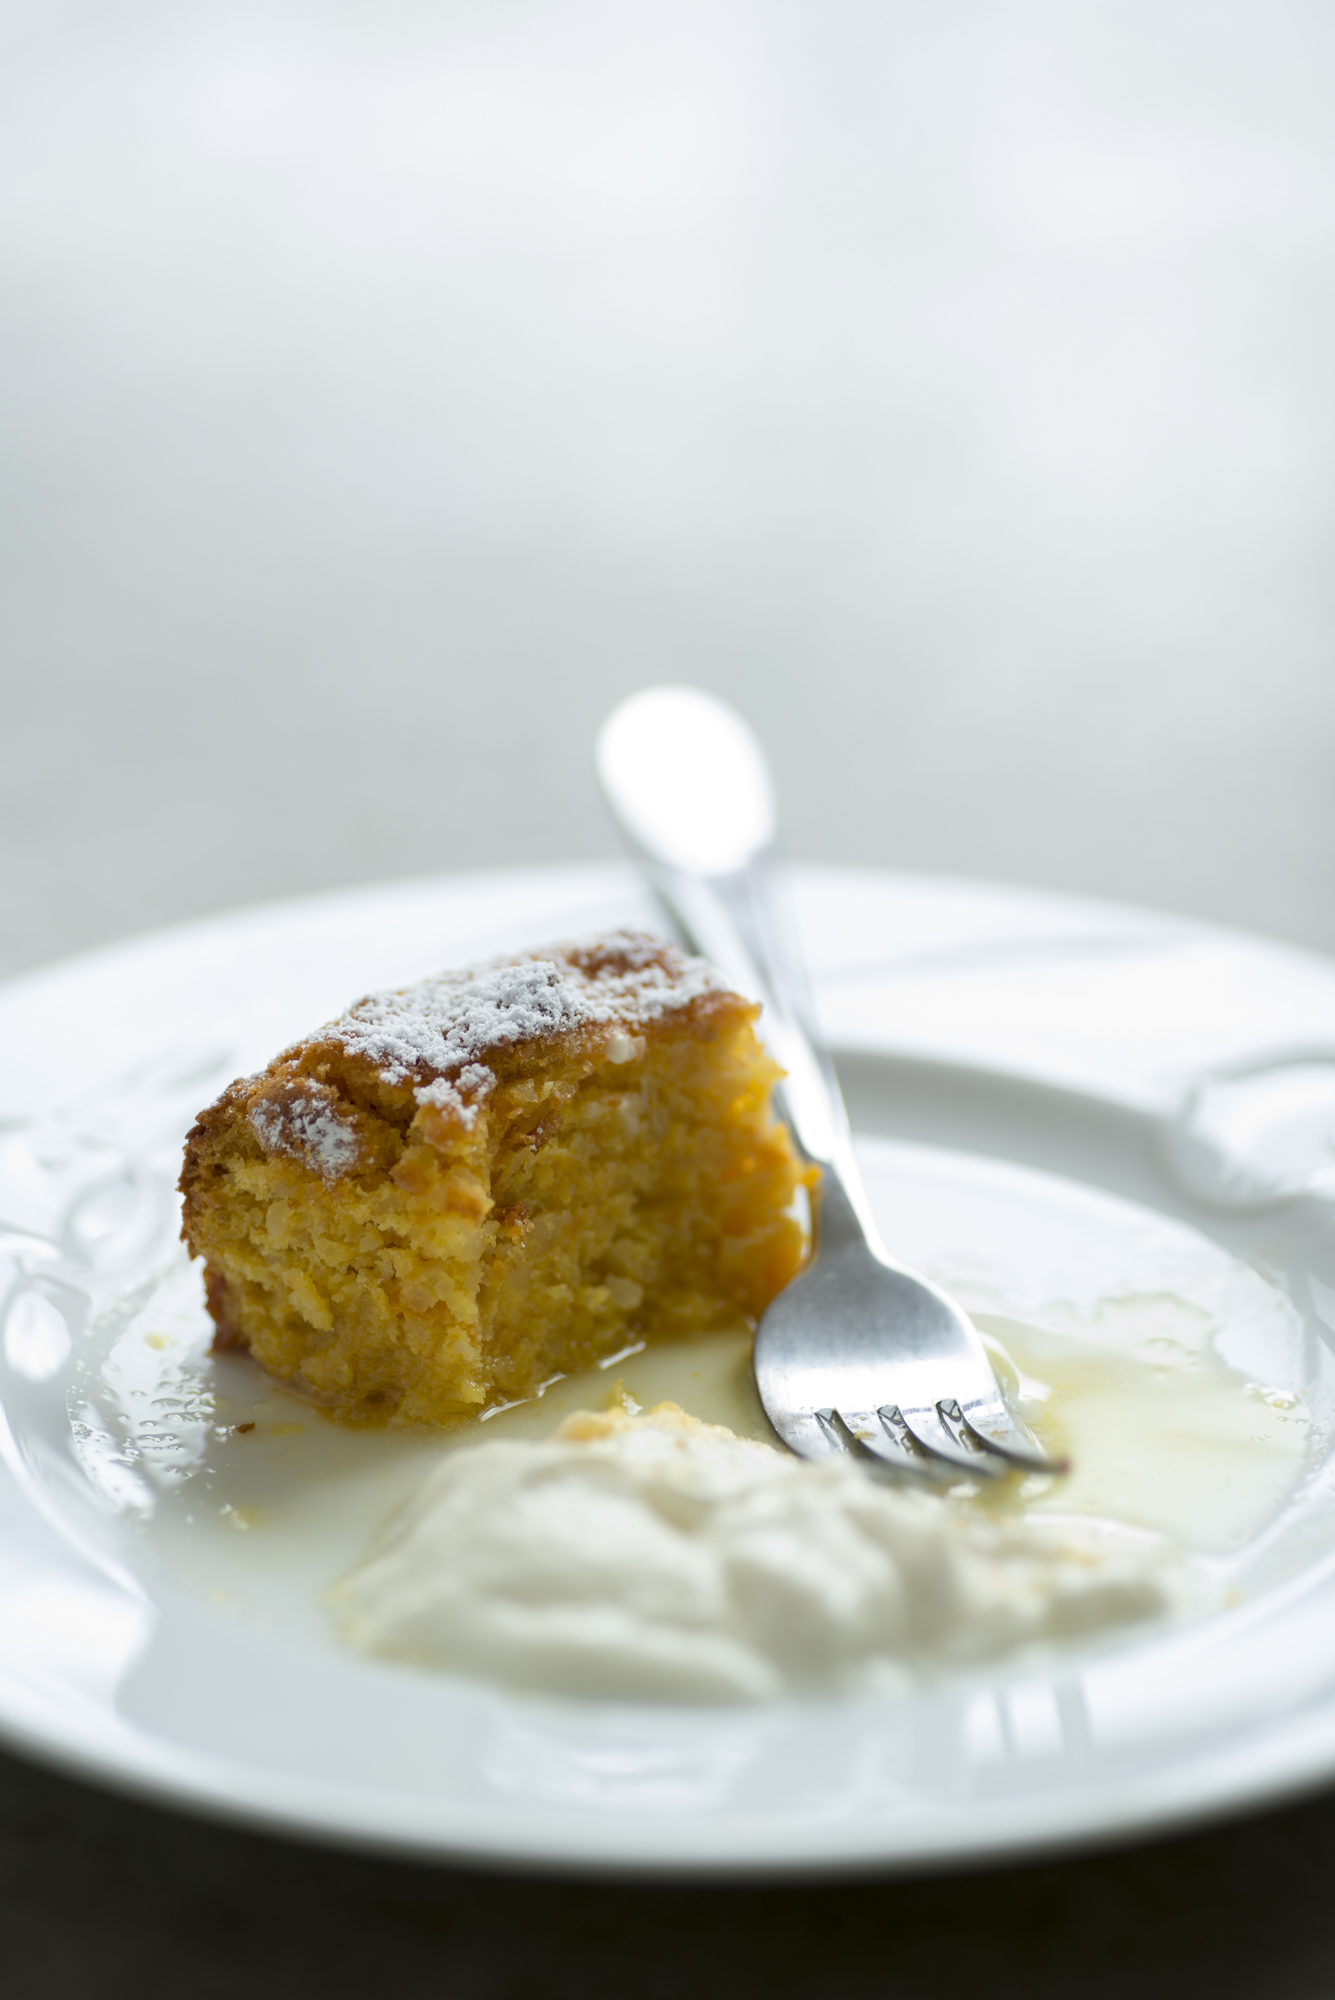
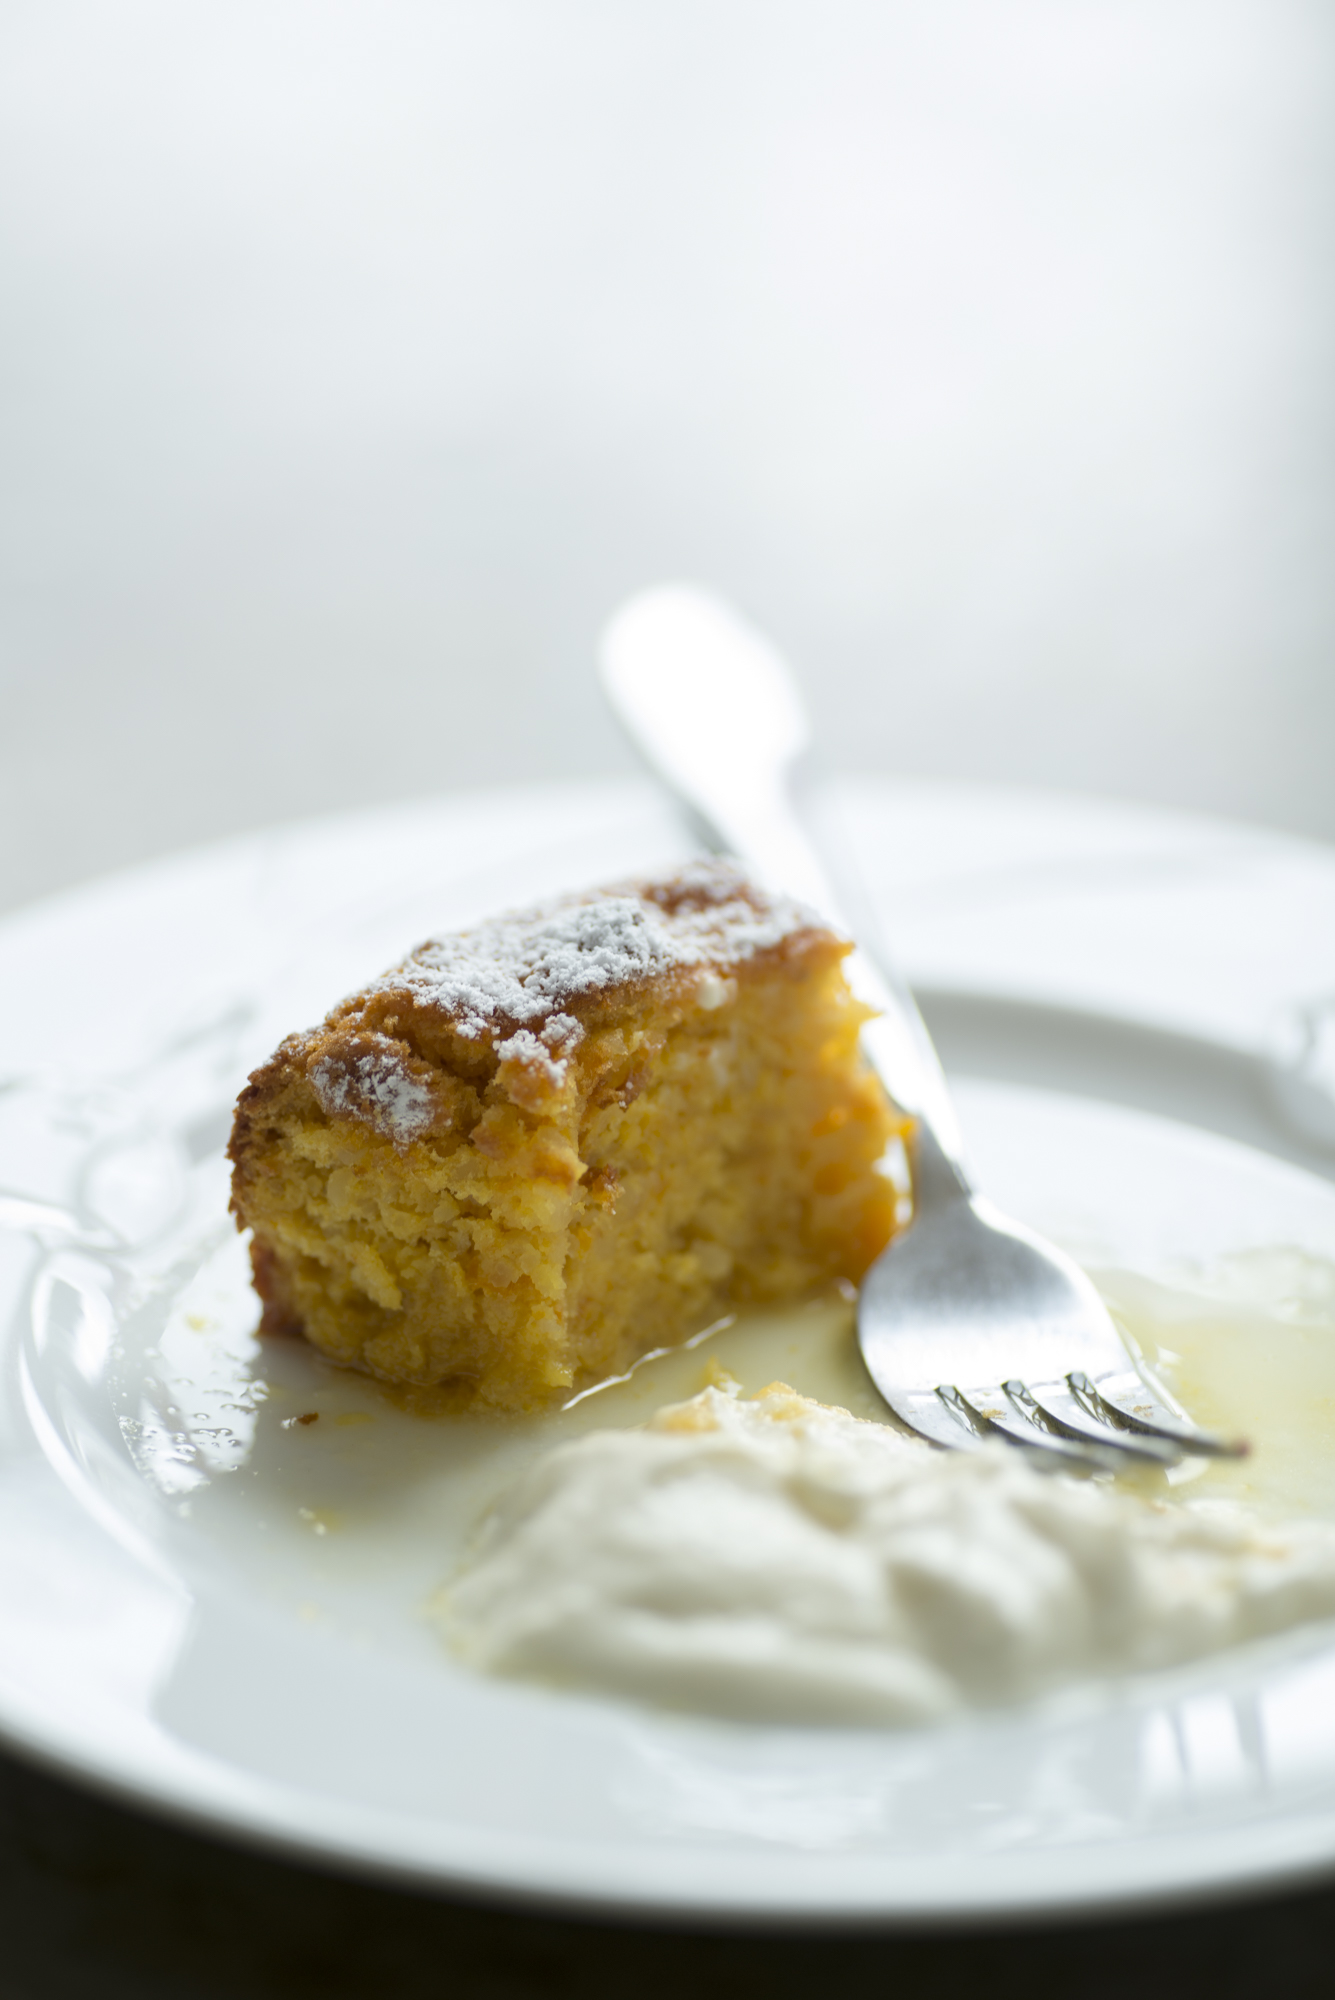
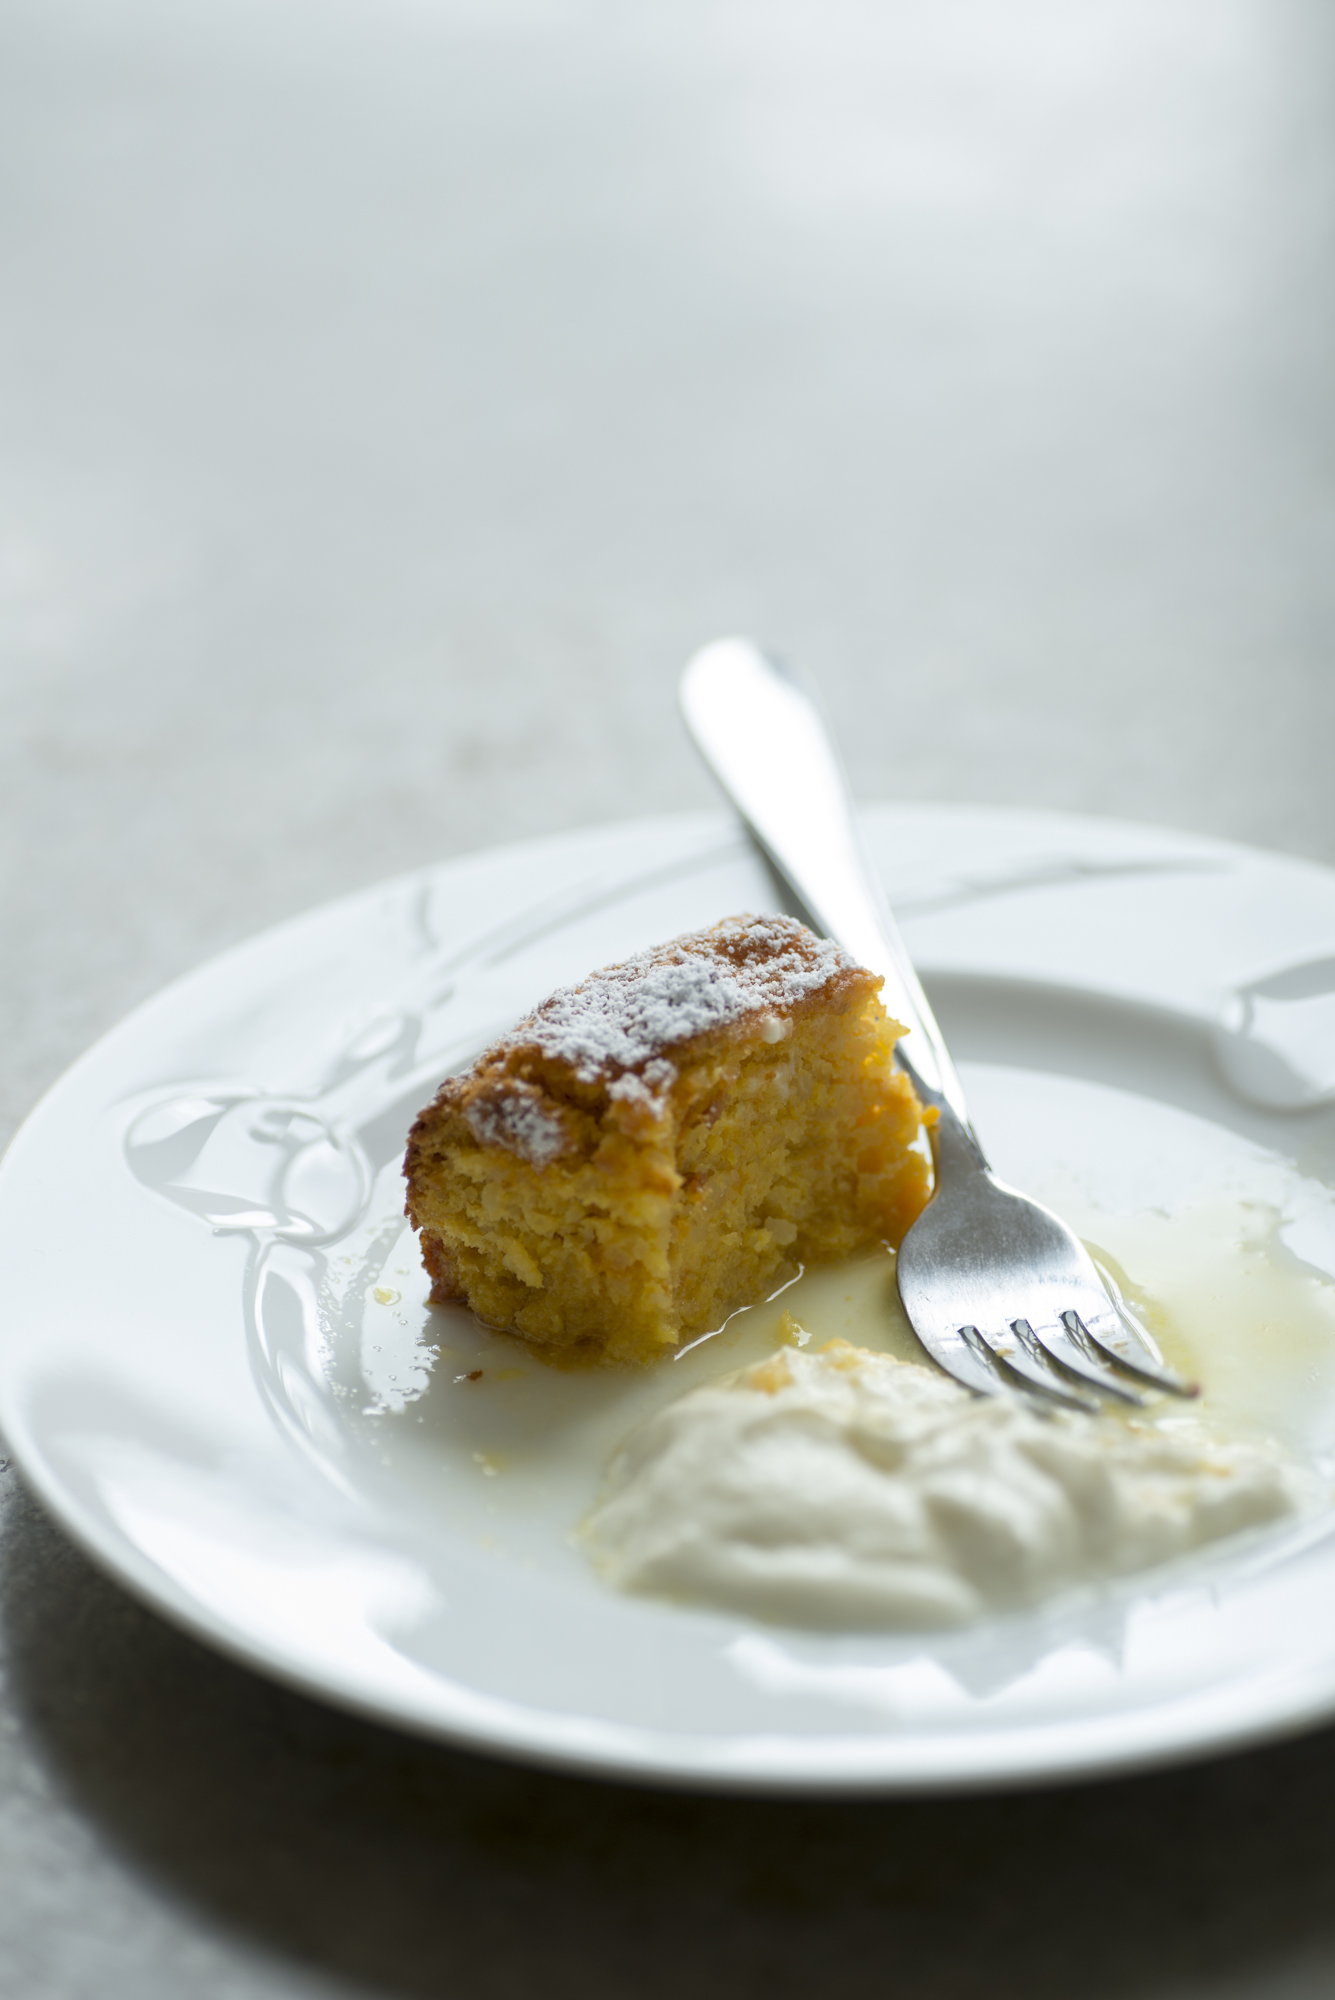
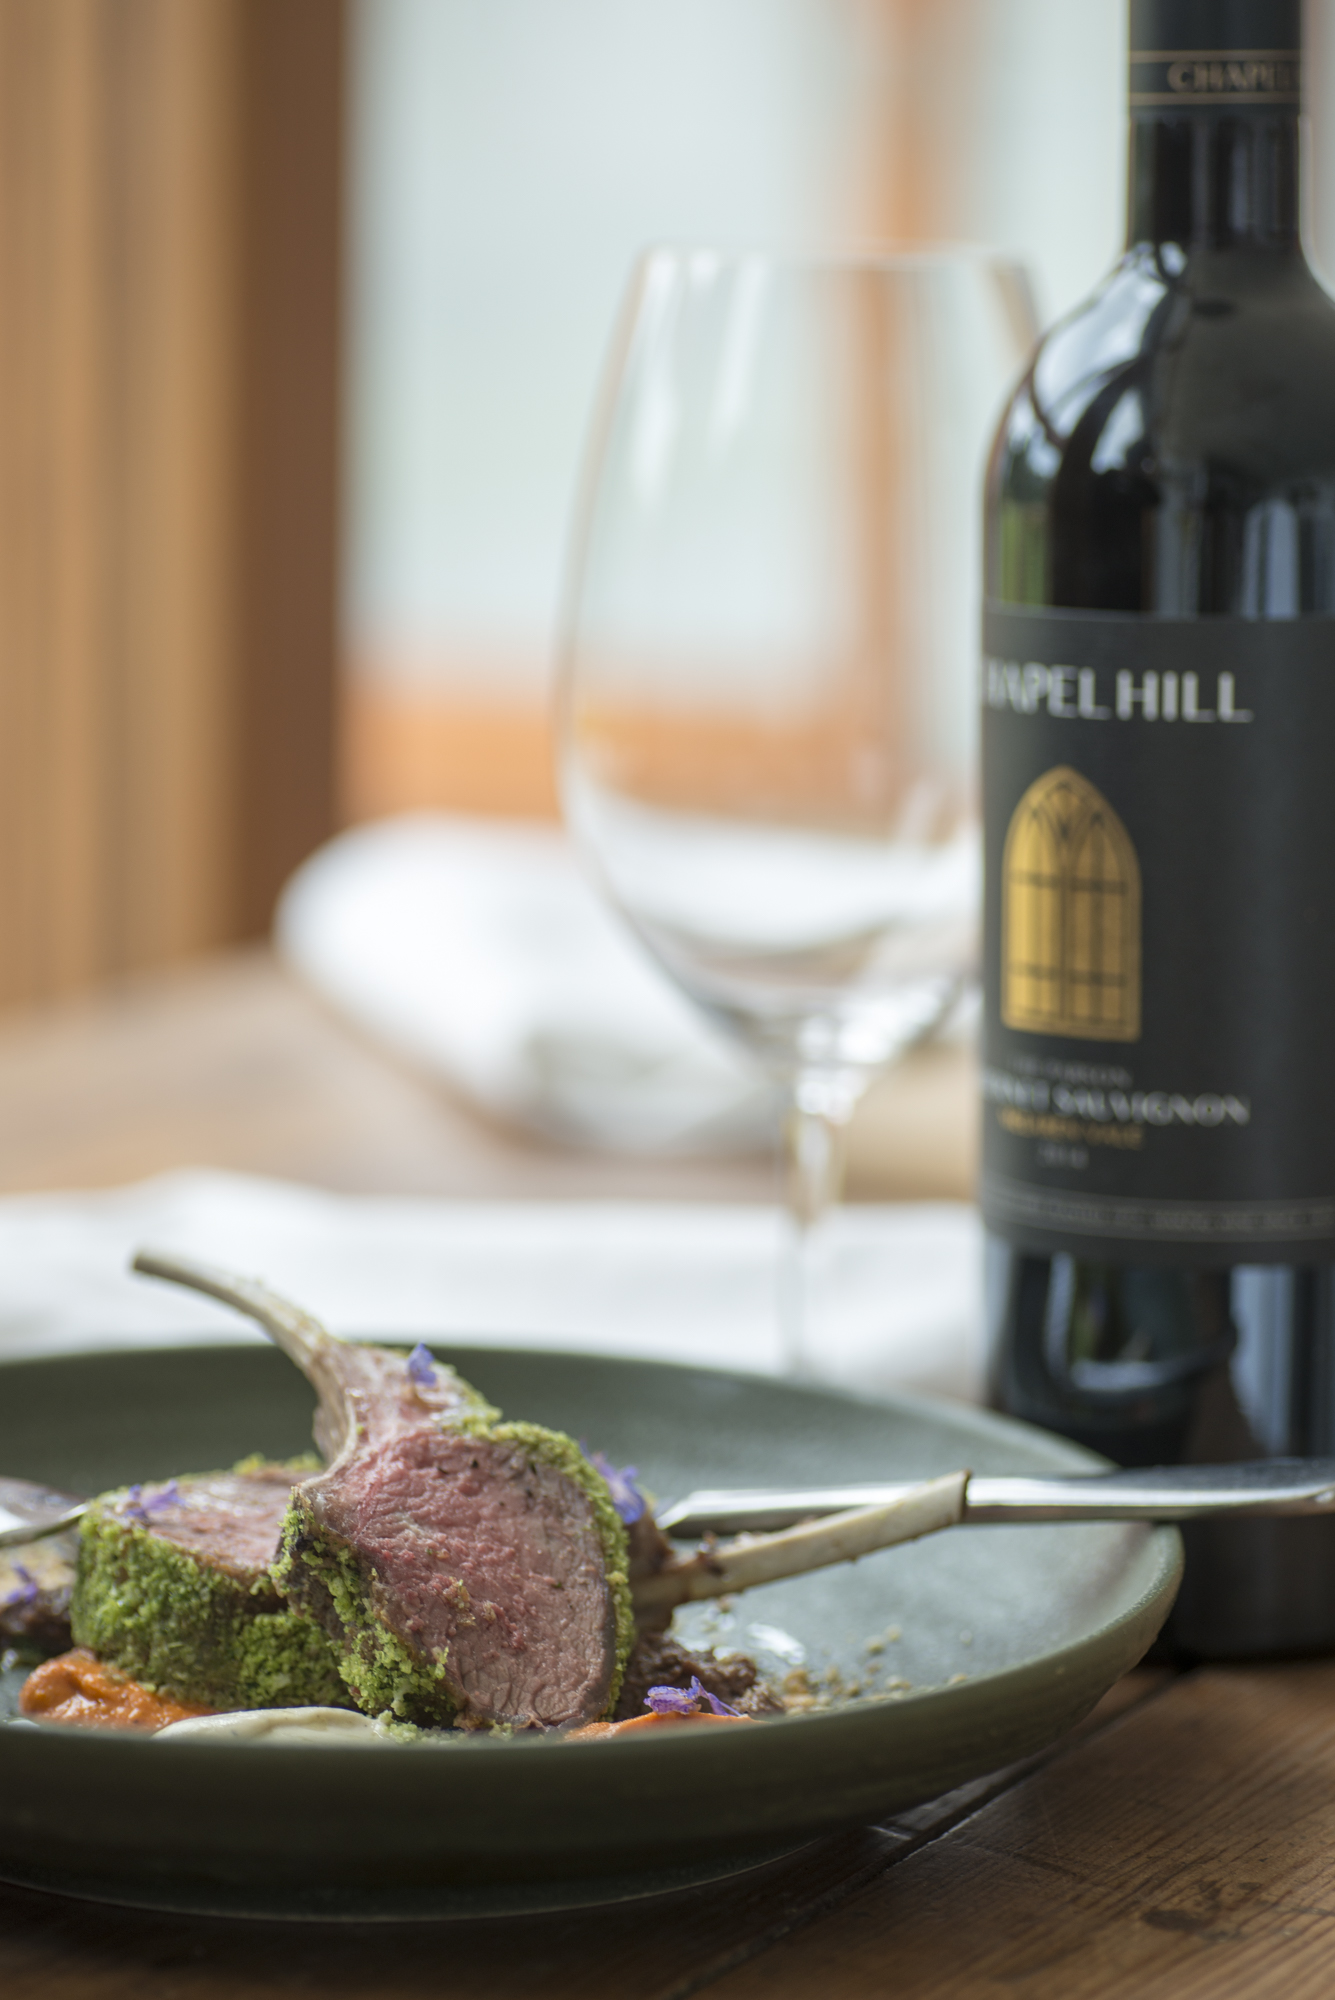
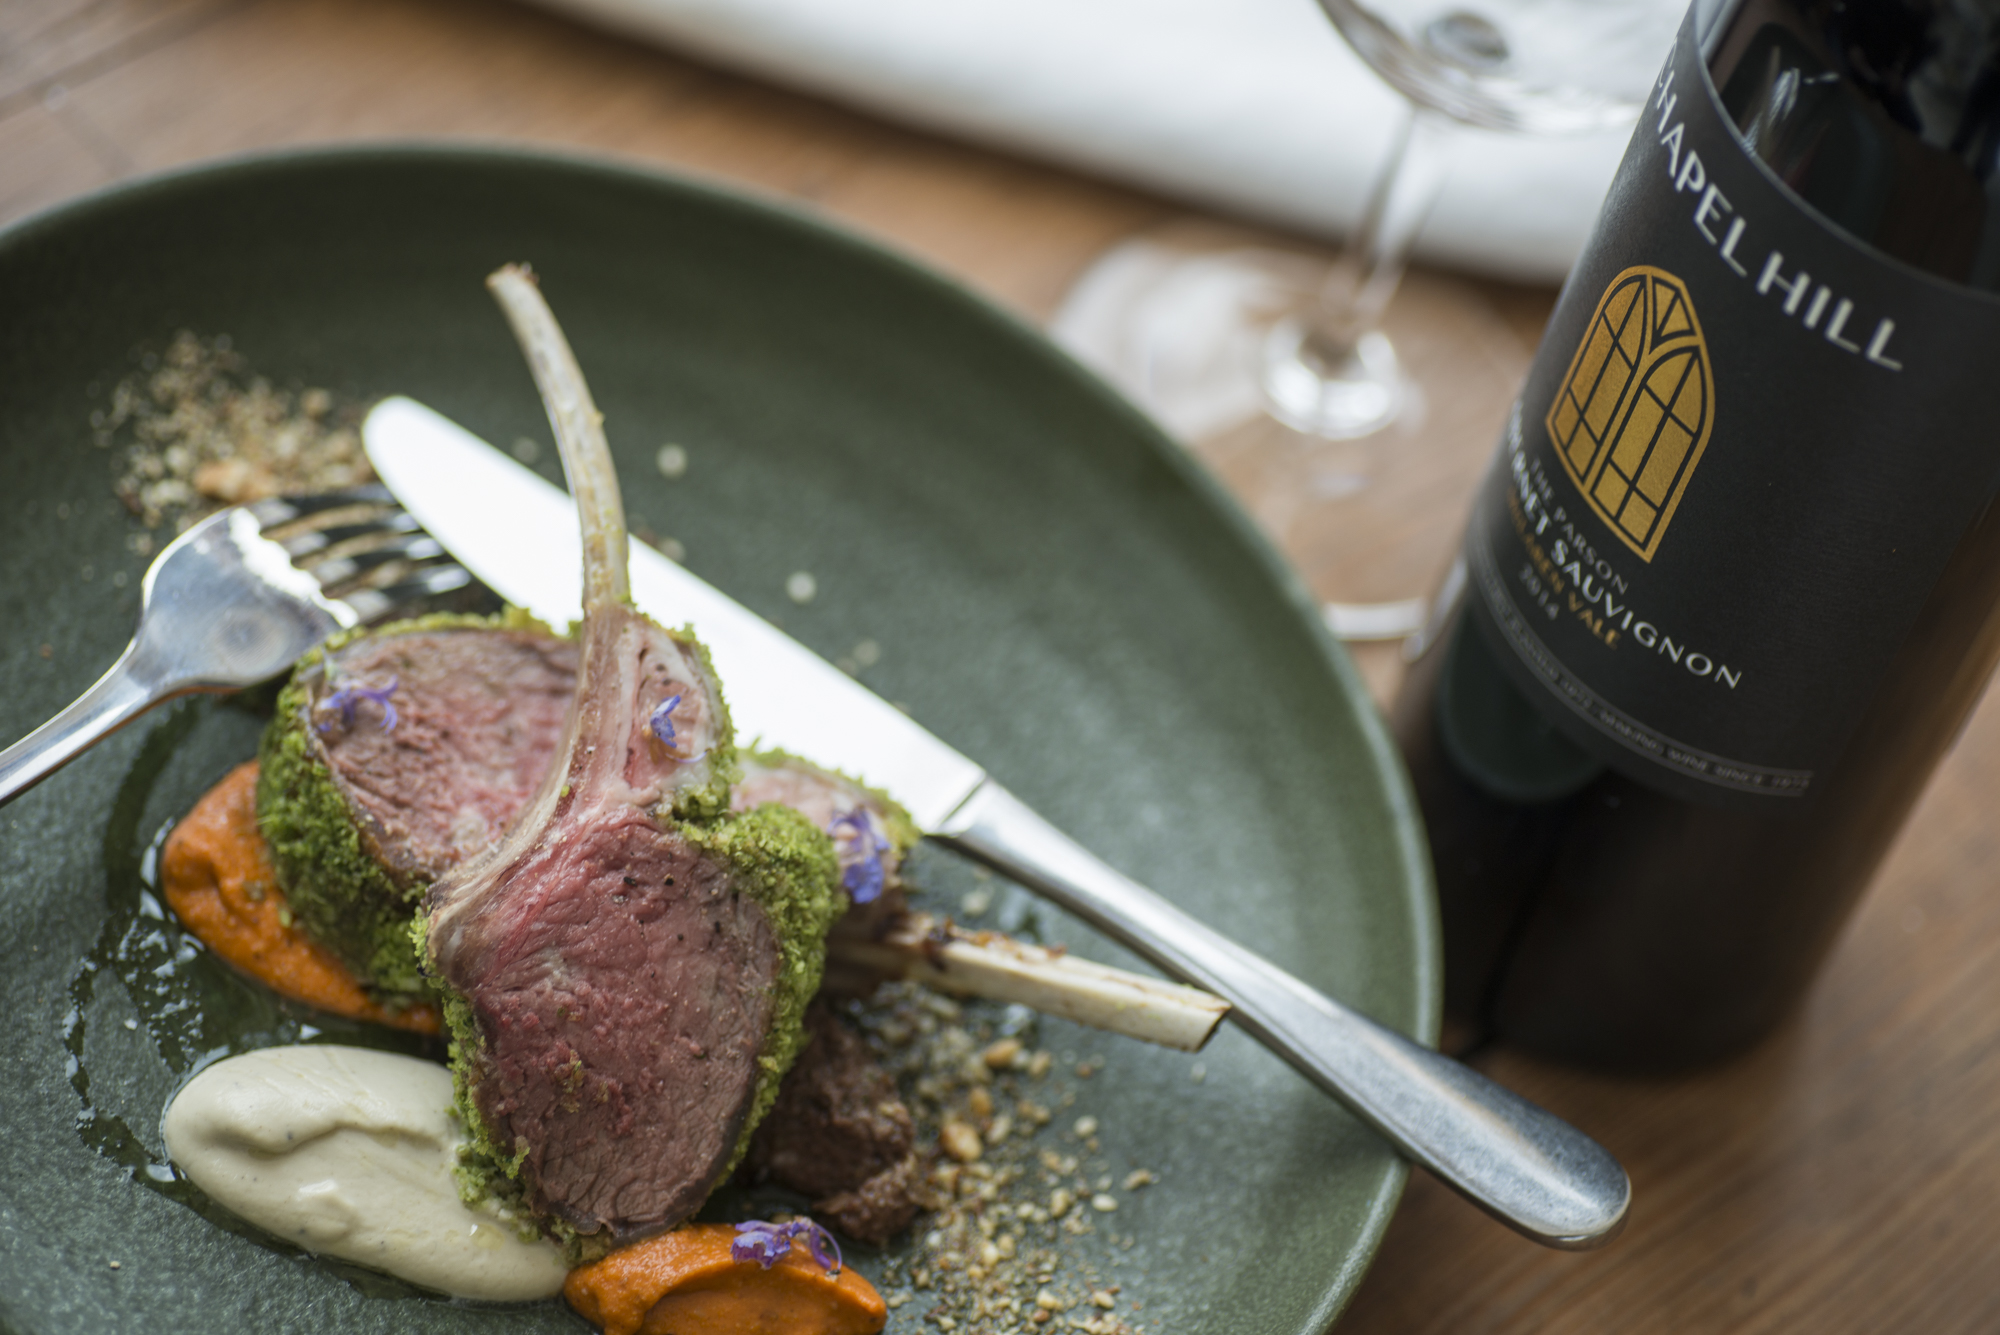
So here are the snaps I took over the course of the Fleurieu Food and Shimmer Festival workshops to demonstrate light, storytelling and composition.
Take a look through them and see if you can 'see' what I am banging on about. :)
If you want to learn more, check out my Better Pics for Business eCourse - group intake starting soon!
2016 - want to learn?
Who wants to learn how to get better photos? MENTORING ECOURSE STARTS ON MARCH 1ST - COME JOIN US!
And welcome to 2016! I hope this year is a year full of fun, excitement, adventure and love for you. In all areas of your life - personal, career and family.
I read something from a good friend of mine today, about setting your intentions on progress rather than goals. I love it. So often we are disappointed when we don't reach our lofty goals. Setting the bar high can be good, so long as you don't beat yourself up if you don't achieve exactly what you set out to do. What is that saying about reaching the stars? I forget. I guess that is also why many business plans are set out with many smaller tasks and activities scheduled to achieve the one big goal. Like a ladder - step by step.
This year, that is what I am doing. Taking things one step at a time. To have my intentions but not dwell on achieving them. I'm going to look more at my little steps. From small things big things grow. For me, it's new beginnings. I'm continuing with my location photography but also introducing a stock photography library, developing my blog and an app, and something else rather special...
So, with that. I'd like to announce the first round of my eCourse 'Better Pics for Business' (check out promo link at end of this). It's all about learning how to get better photos for your social media, newsletters and general business stuff. Of course, there is always going to be a place for a pro photographer (can I suggest myself :) ) but sometimes you just need to get some pics. We all know how important visuals are, especially with so much competing for attention in the online world. We need to stand out and be personal and unique - and grab attention to get more attention.
Instead of talking all tech and geeking out on you, we are going to go through the storytelling aspect of the photo, talk about things to think about when aiming up your camera. AND, it's not just for fancy DSLR users, you can learn with any camera or device that takes a photo. It will be fun.
Members will get homework and feedback - to make sure you learn what is taught rather than finishing up with fuzzies still going around in your head. I guess it's a bit like a mentoring group.
I realise that you can do any number of online courses, in-person worksops or learn for free via YouTube - but the thing that is missing is the feedback on your photos, unique learnings and techniques that you need. With the Better Pics for Business course, you have the opportunity to tailor what you need and get the answers.
Check it out at www.heidiwho.com/betterpicsforbusiness. Starts Tuesday 1st March. AND... as a reader of heidiwhotravels you will receive the course at nearly 50% off! To get your discounted rate make sure you use the link below - this is the only place you will find the discounted rate.DON'T FOLLOW THE LINKS IN THE SHOP PAGE - UNLESS YOU WANT TO PAY FULL PRICE. :)
Feel free to email or phone me if you have any q's - I'd love to chat.
Slow shutter
Using a slow shutter for effect.
Using a slow shutter for effect can dramatically change your photo.
A moving car with blurred wheels gives the feeling of movement.
A person moving through a room shows life and feeling. Coffee beans roasting, showing them turning - I can nearly smell the beans by just looking at the image.
With the coffee bean image above I used a slow shutter, probably something like 1/30 or 1/15. How slow you go depends on the subject you are photographing. Playing around is the best way of learning. Experiment with the effects.
1/125 = one twenty-fifth of a second
1/30 = one thirtieth of a second
1/5 = one fifth of a second
you get the idea...
If you are shooting with an iPhone, there is an App called Slow Shutter (and various others) or Manual which allows you complete freedom and control over settings when taking a pic.
The faster the object you are photographing, the faster the shutter speed you can have. All depending on the effect you want.
I have done photos in the studio with the shutter open for seconds and moved people around.
I have photographed cars and movement on the street at 1/60.
I have photographed details of dancers on stage at 1/30.
There is no right or wrong shutter speed - it all depends on what you want. Experiment!


